Polyskop
Permanent art installation / Kunst am Bau
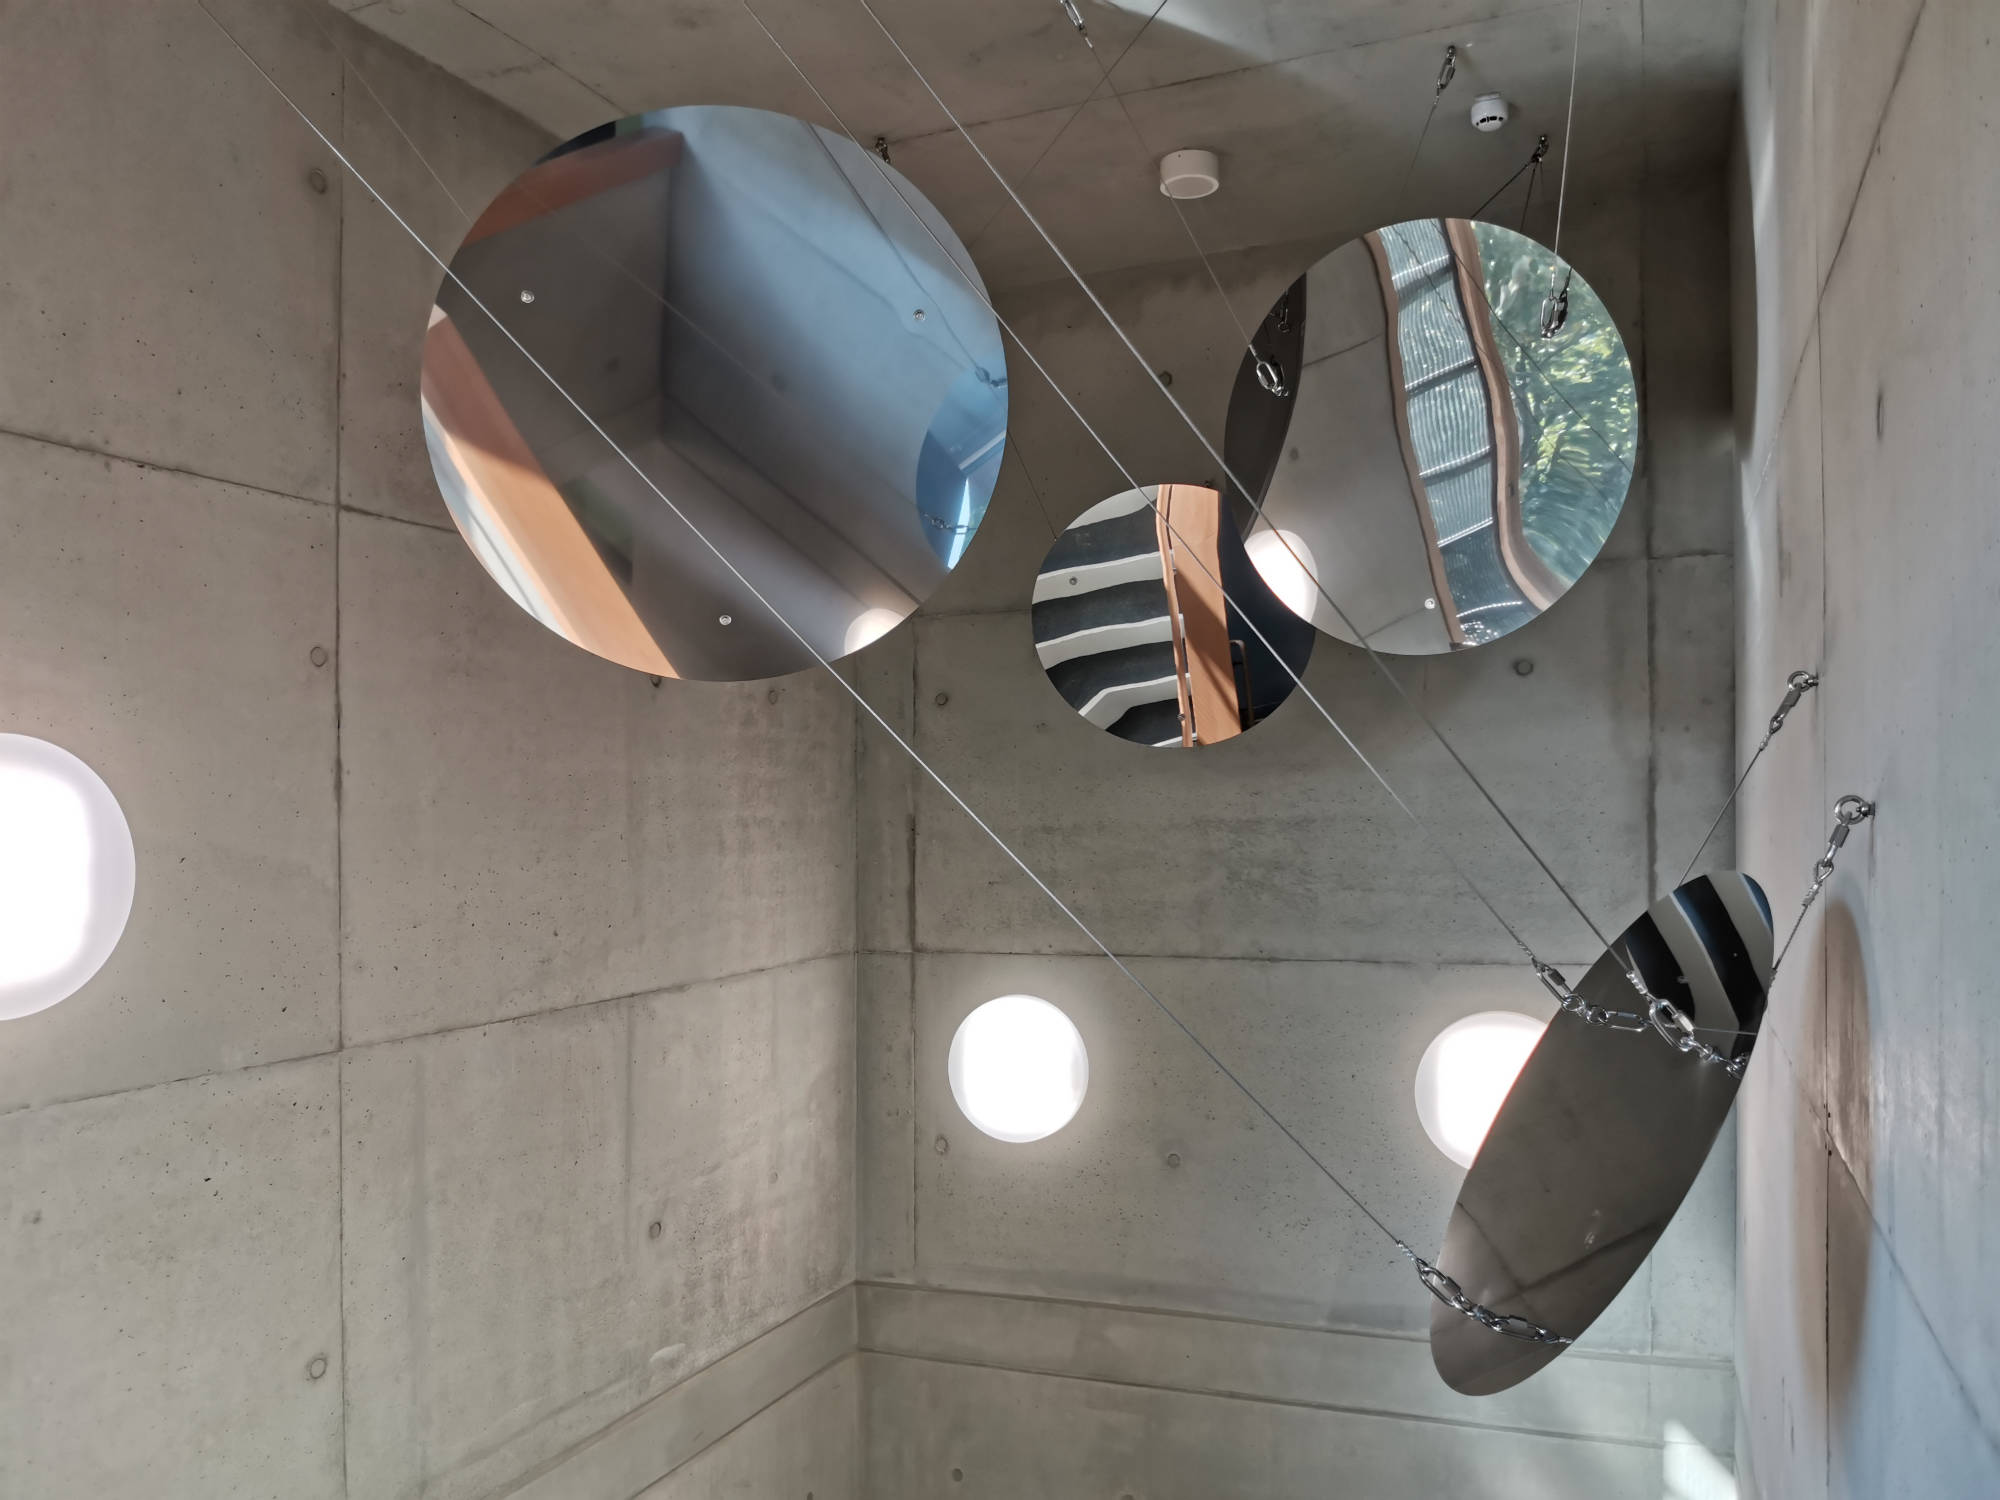
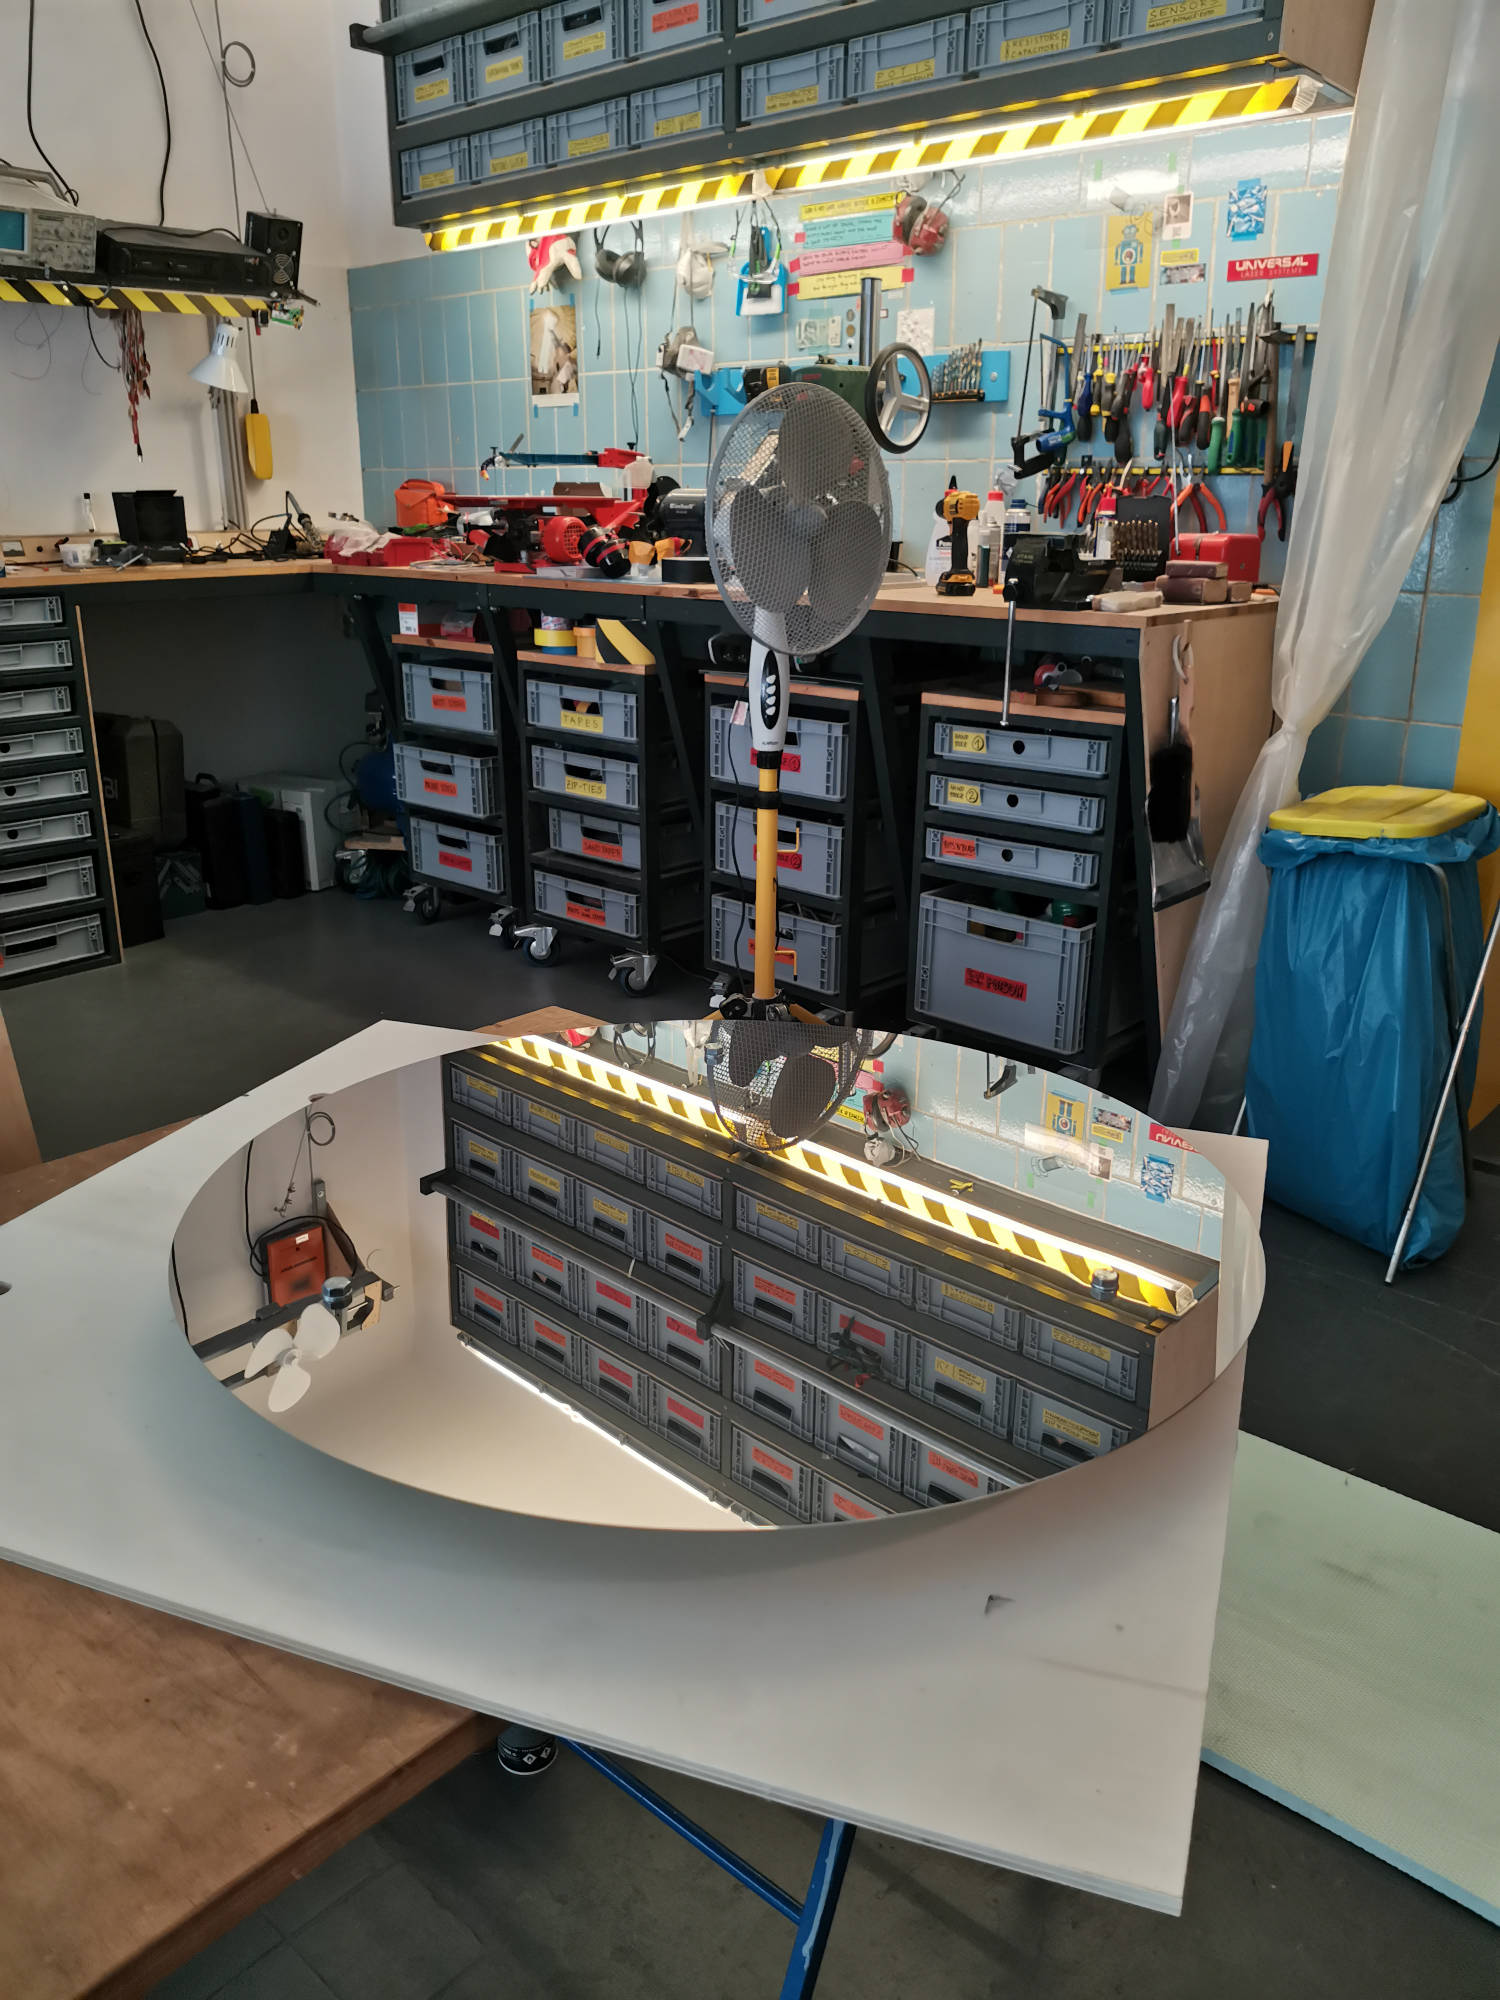
POLYSKOP is a permanent art installation that I made for the new building at the Gemeinschaftsschule Campus Efeuweg, a public school in Berlin / Neukölln, with a focus on STEM education. The installation consists of eight mirrors, which are laser-cut sheets of stainless steel. Together, they form experimental periscopes, spanning over three floors in the main stairwell of the school.
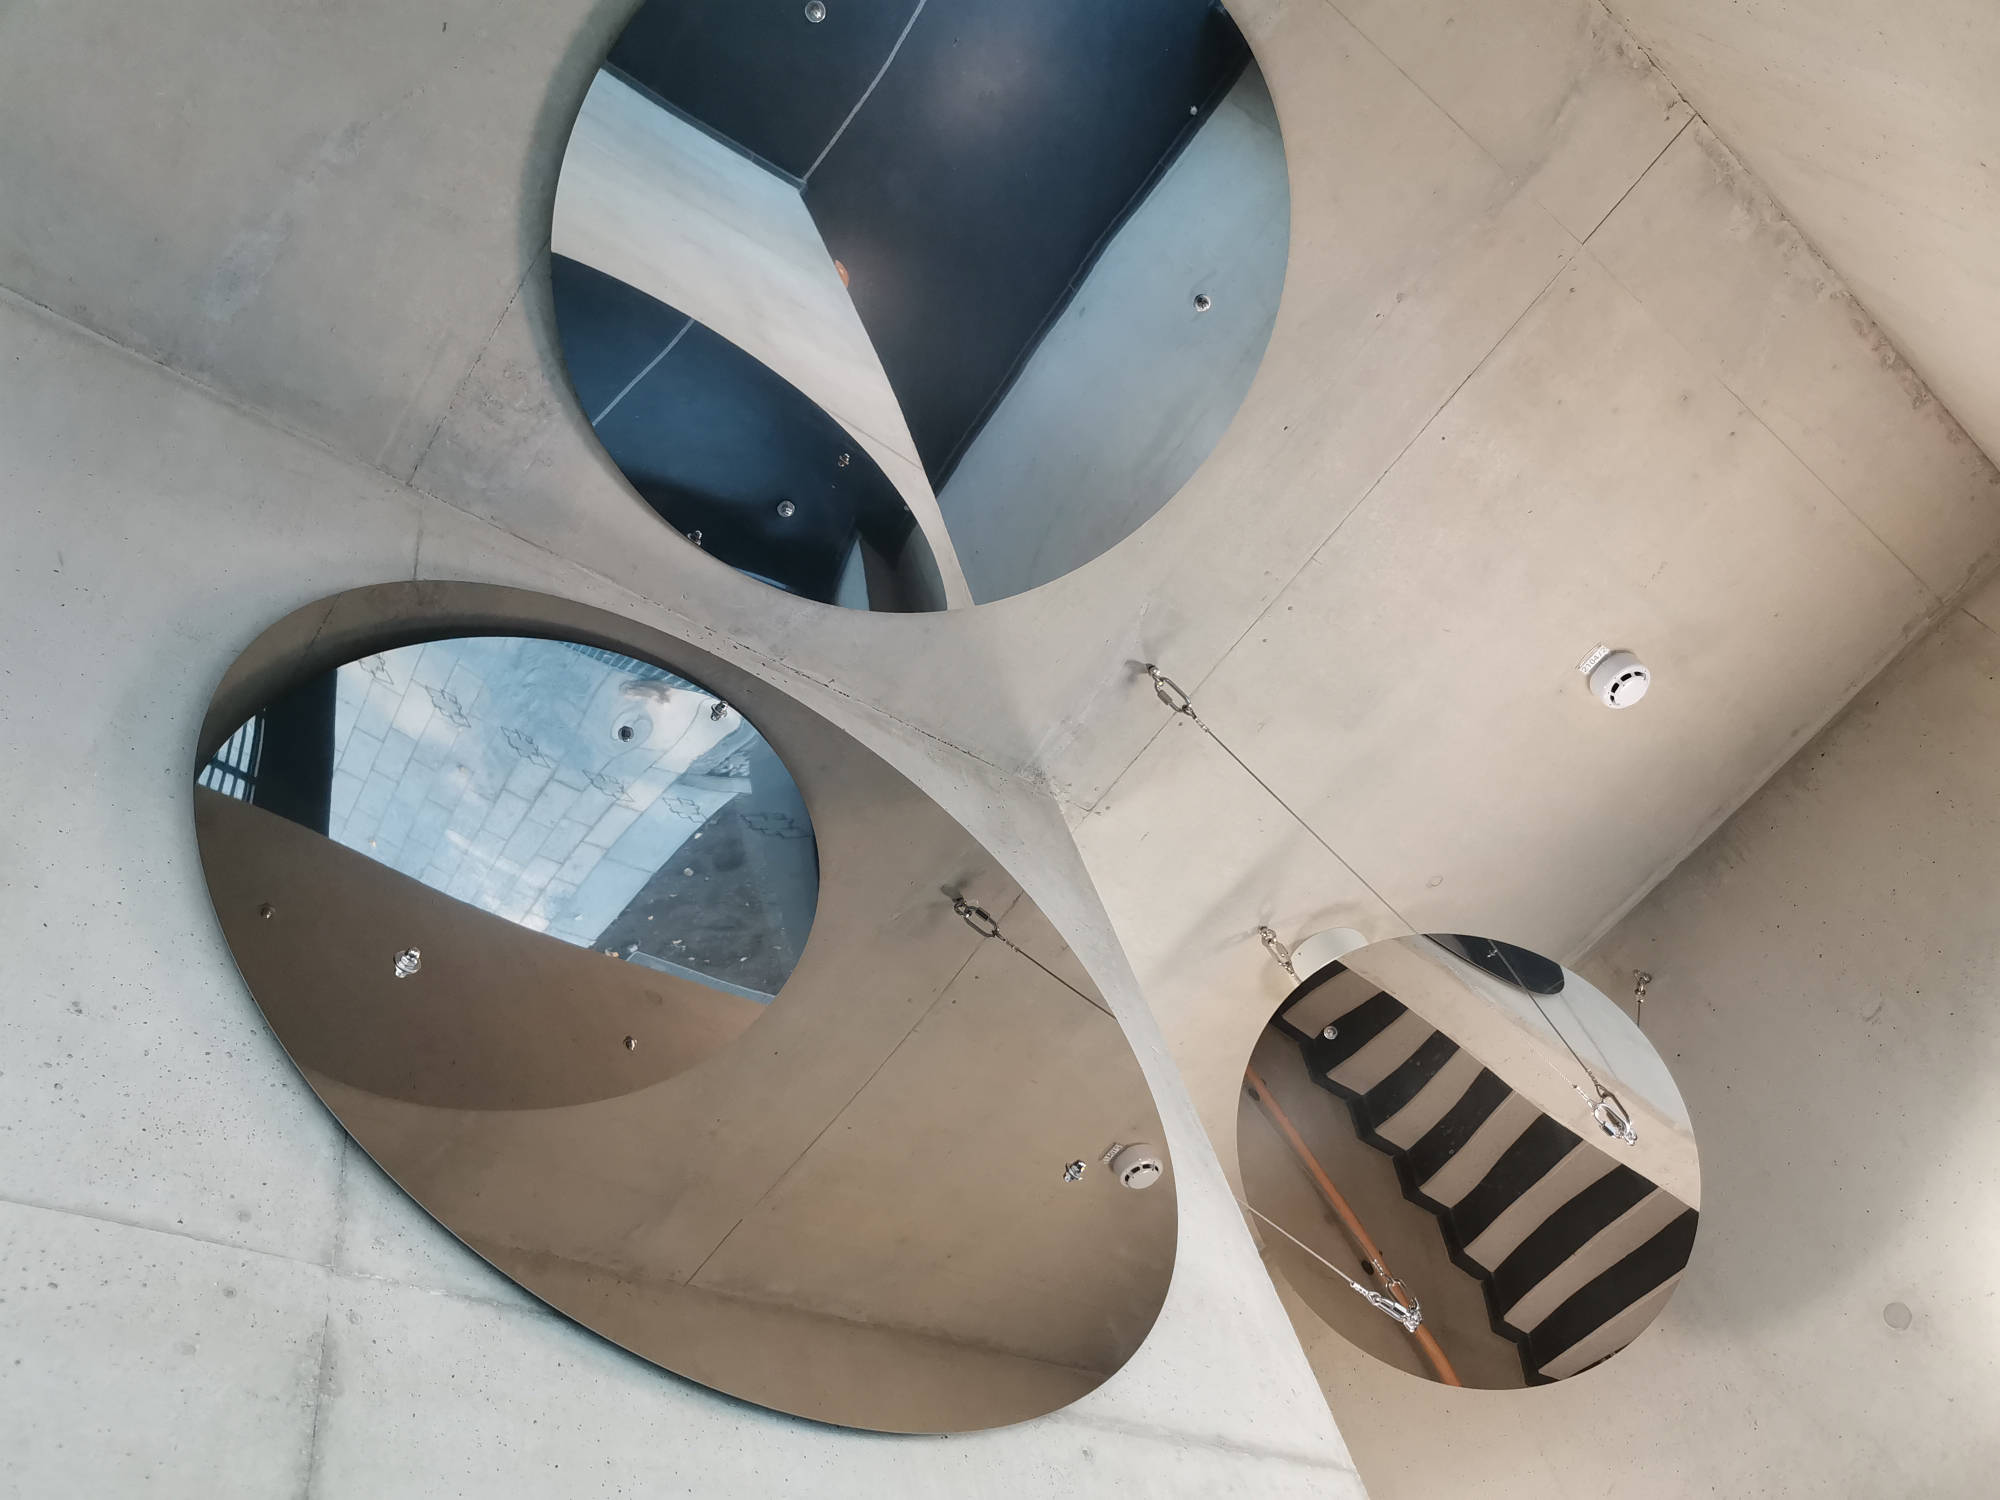
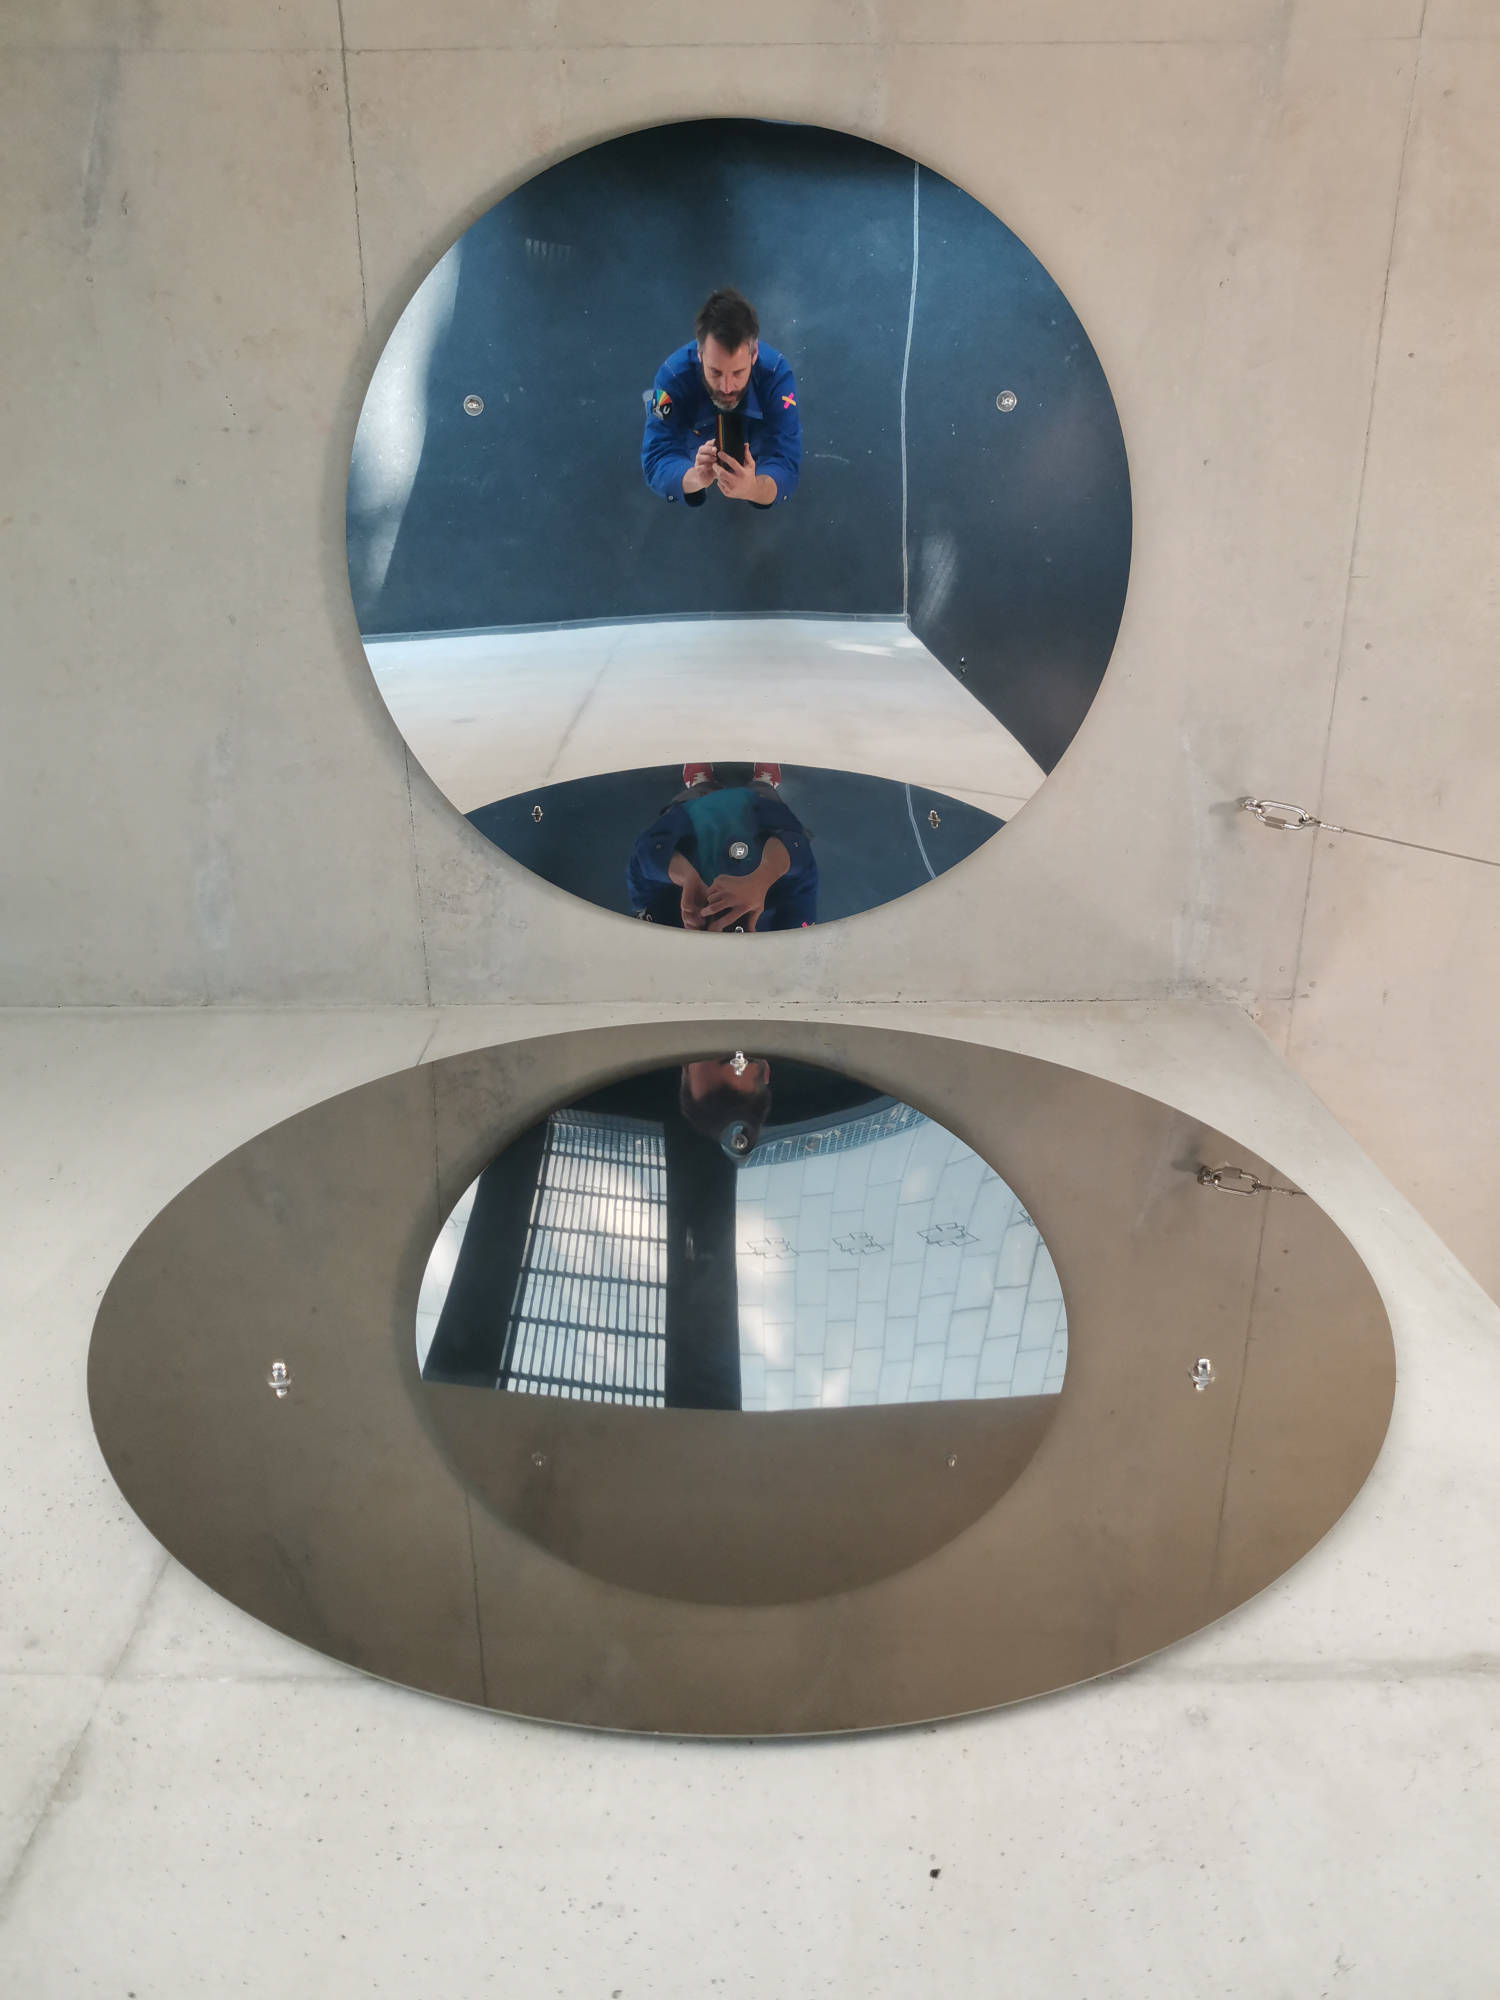
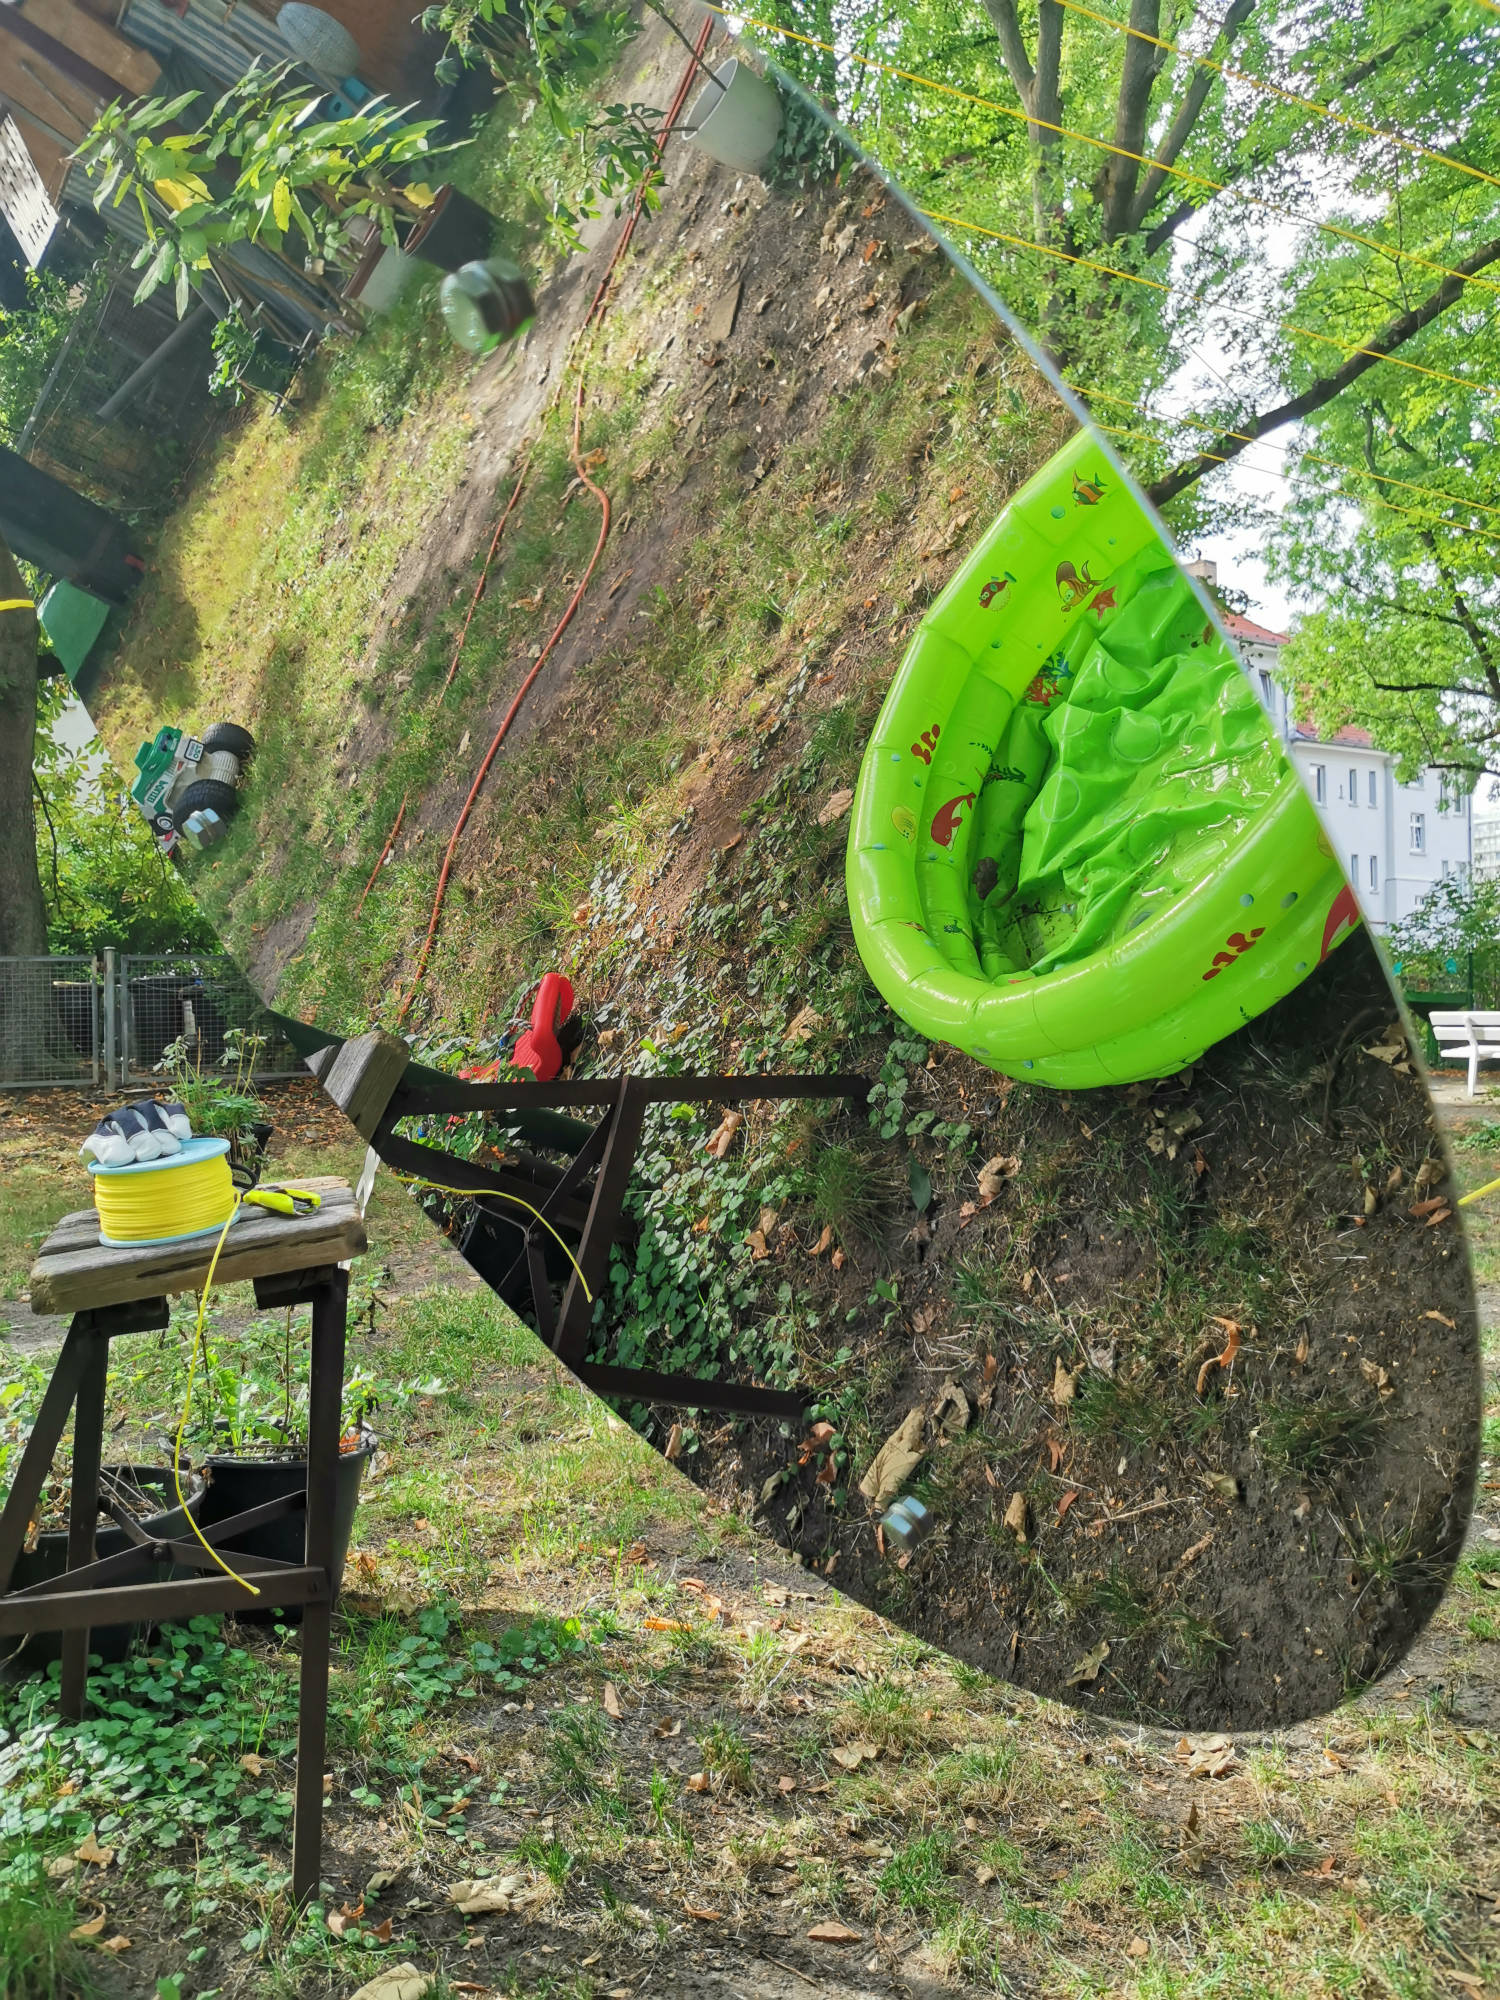
Looking into the staircase, the view is reflected via several mirrors in a multitude of different directions. One can look from the second floor onto the first floor and vice versa. Some mirrors show the green trees outside, others provide an opportunity for a selfie. The mirrors twist and turn optical perspectives and new unexpected viewing possibilities arise.
The building containing this installation is a place of learning, where intellectual perspectives will be broadened and shifted. The POLYSKOP literally reflects these processes. It is meant as an unusual visual instrument that sparks curiosity and invites the observers to discover laws of mathematics, geometry and physics in a playful way.
The competition
When a public building is built in Germany, a certain amount of the budget has to be spent on art. That is called “Kunst am Bau” or “percent for art” in English. Back in 2019 the construction authority of Berlin's district Neukölln invited me to participate in a competition for making an artwork for a new school building, planned by kklf Architekten. I happily accepted this invitation, visited the construction site and studied the building plans.
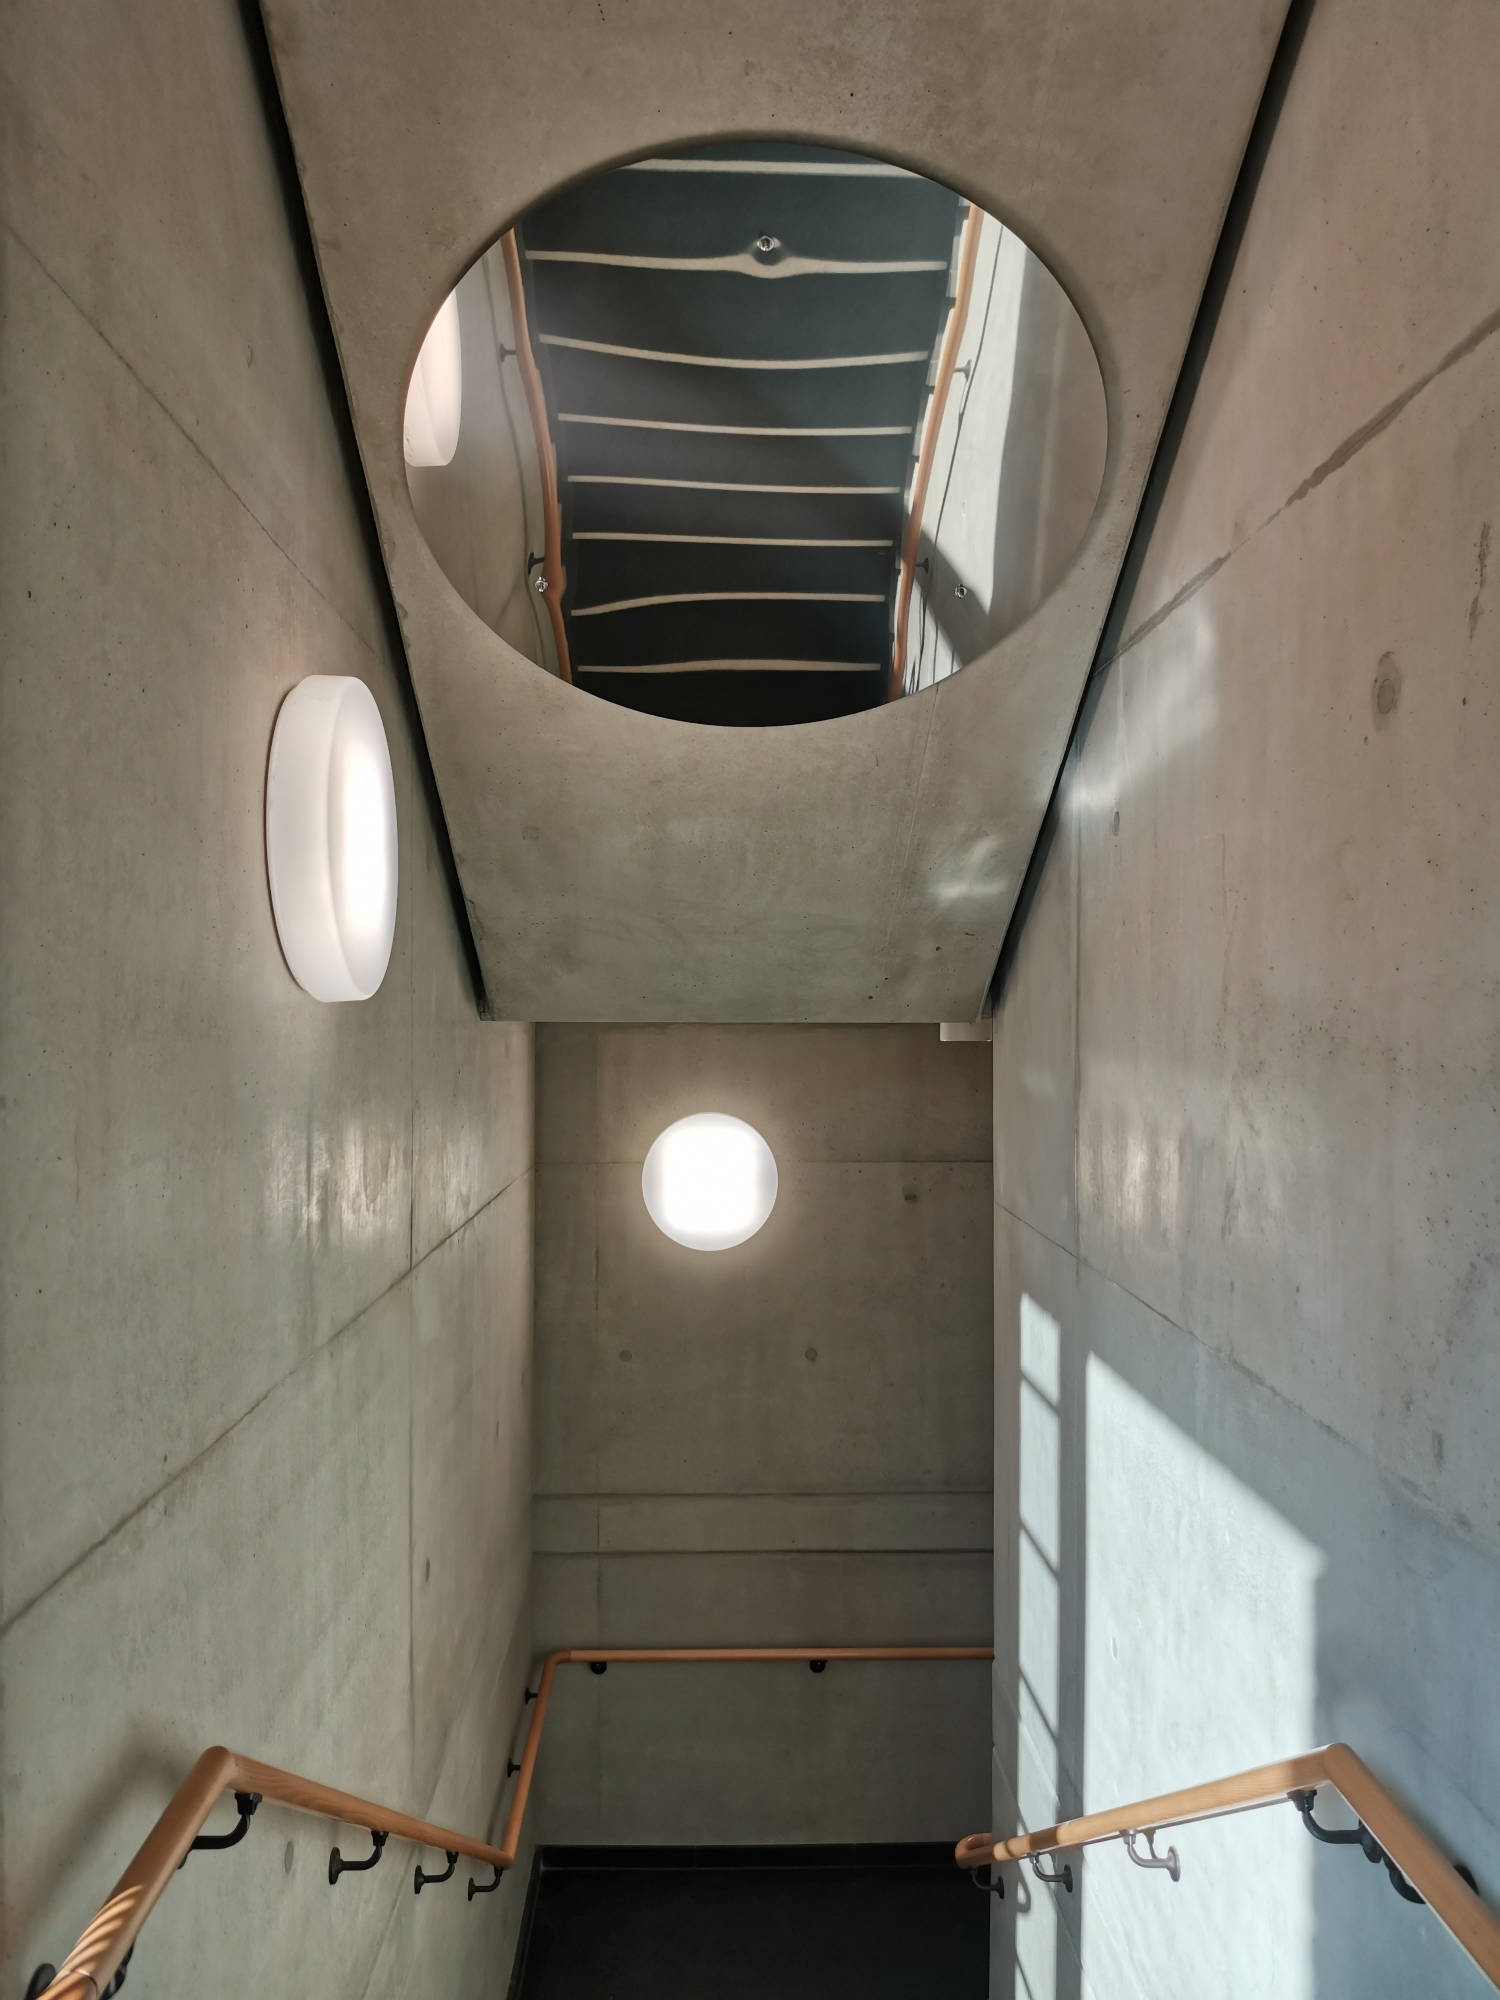
There were already very good ideas for the designs of the classrooms and for the common spaces in my opinion, so I did not want to add any art there. The empty staircase sparked my interest, though. It's a tight space, but very high with plenty of unused volume below the ceiling on the second floor. The platform which connects the stairs with the door to the classrooms is ideal for observation, but the emptiness of a hollow monolithic block of concrete was the only thing to see. I thought that there should be more to look at than just grey walls, that's what led me to the idea to install mirrors and periscopic optical constructions there.
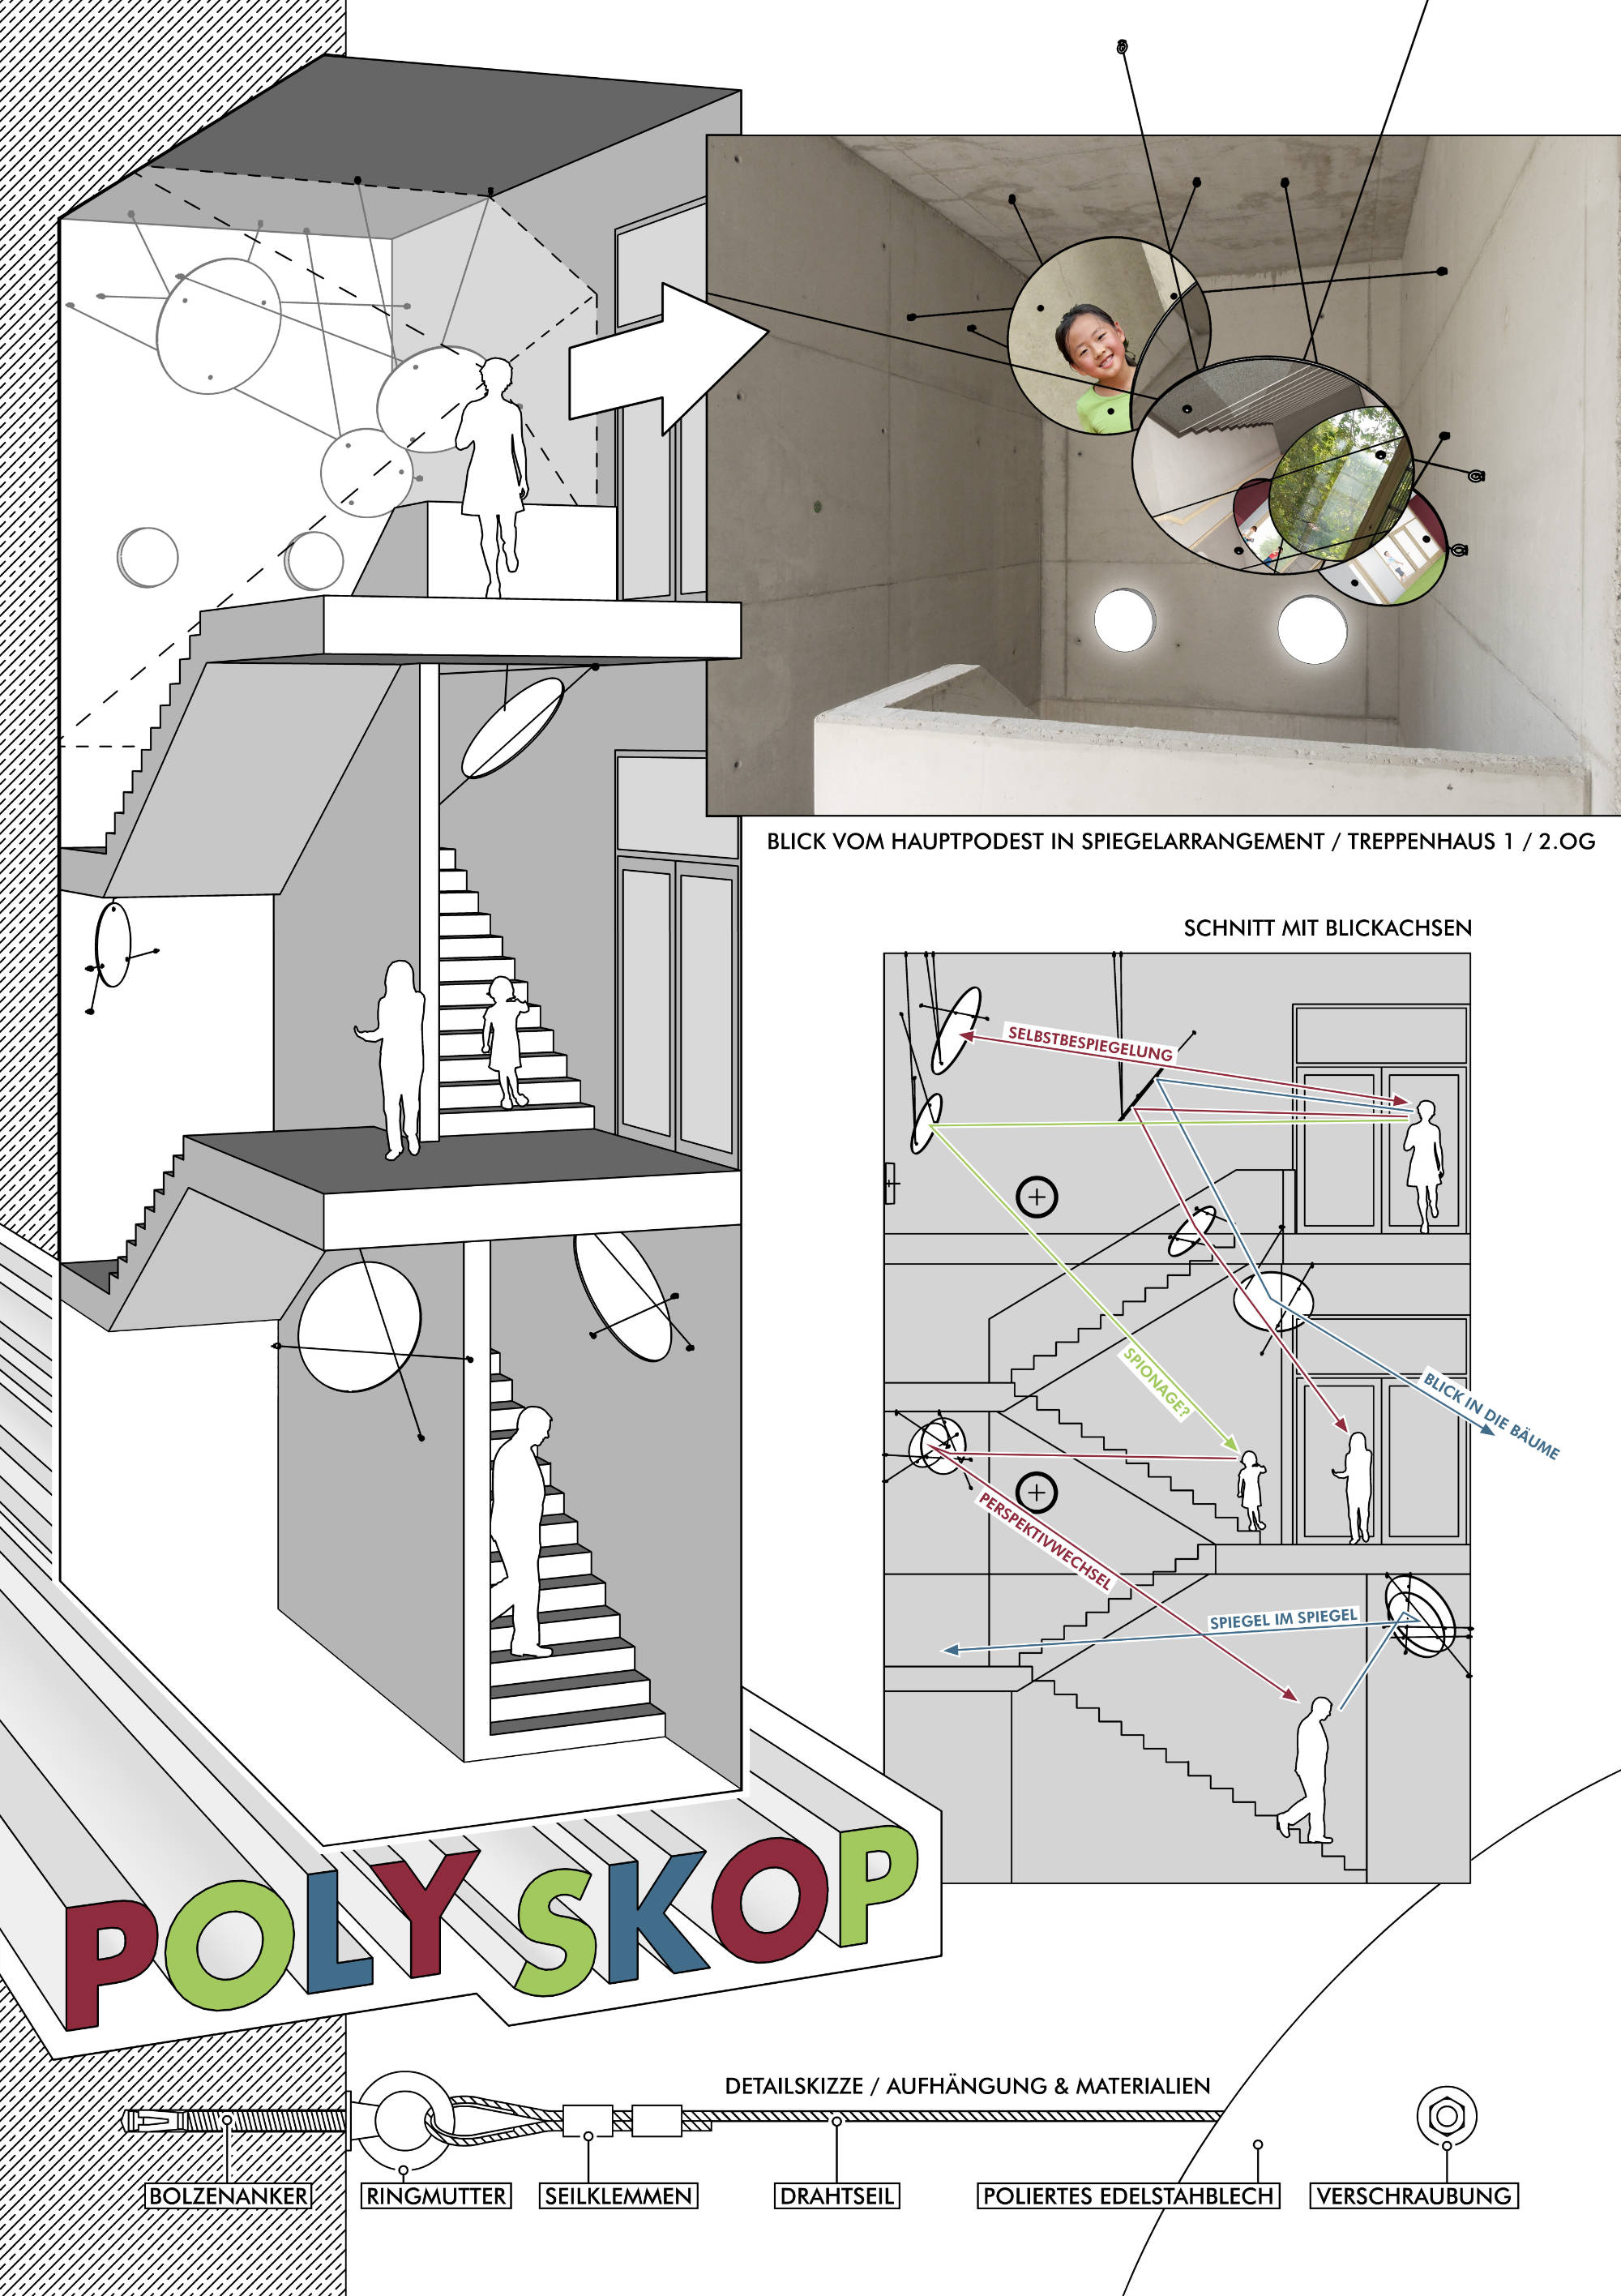
The submission to the competition had to be in the form of a poster. This is how I visualized my proposal:
Planning the installation
A few months later, I got a call from the jury, telling me that I won the competition. Woohoo! Now things became serious and I had to work on a detailed plan for the installation. When I drew the poster for the proposal, I already thought a bit about how the installation could be built, but there were still plenty of details to be figured out. Here are a few of them:
- Which building regulations apply for suspending heavy things above the heads in a fire escape?
- How well do suspended sheets of steel work as optical mirrors?
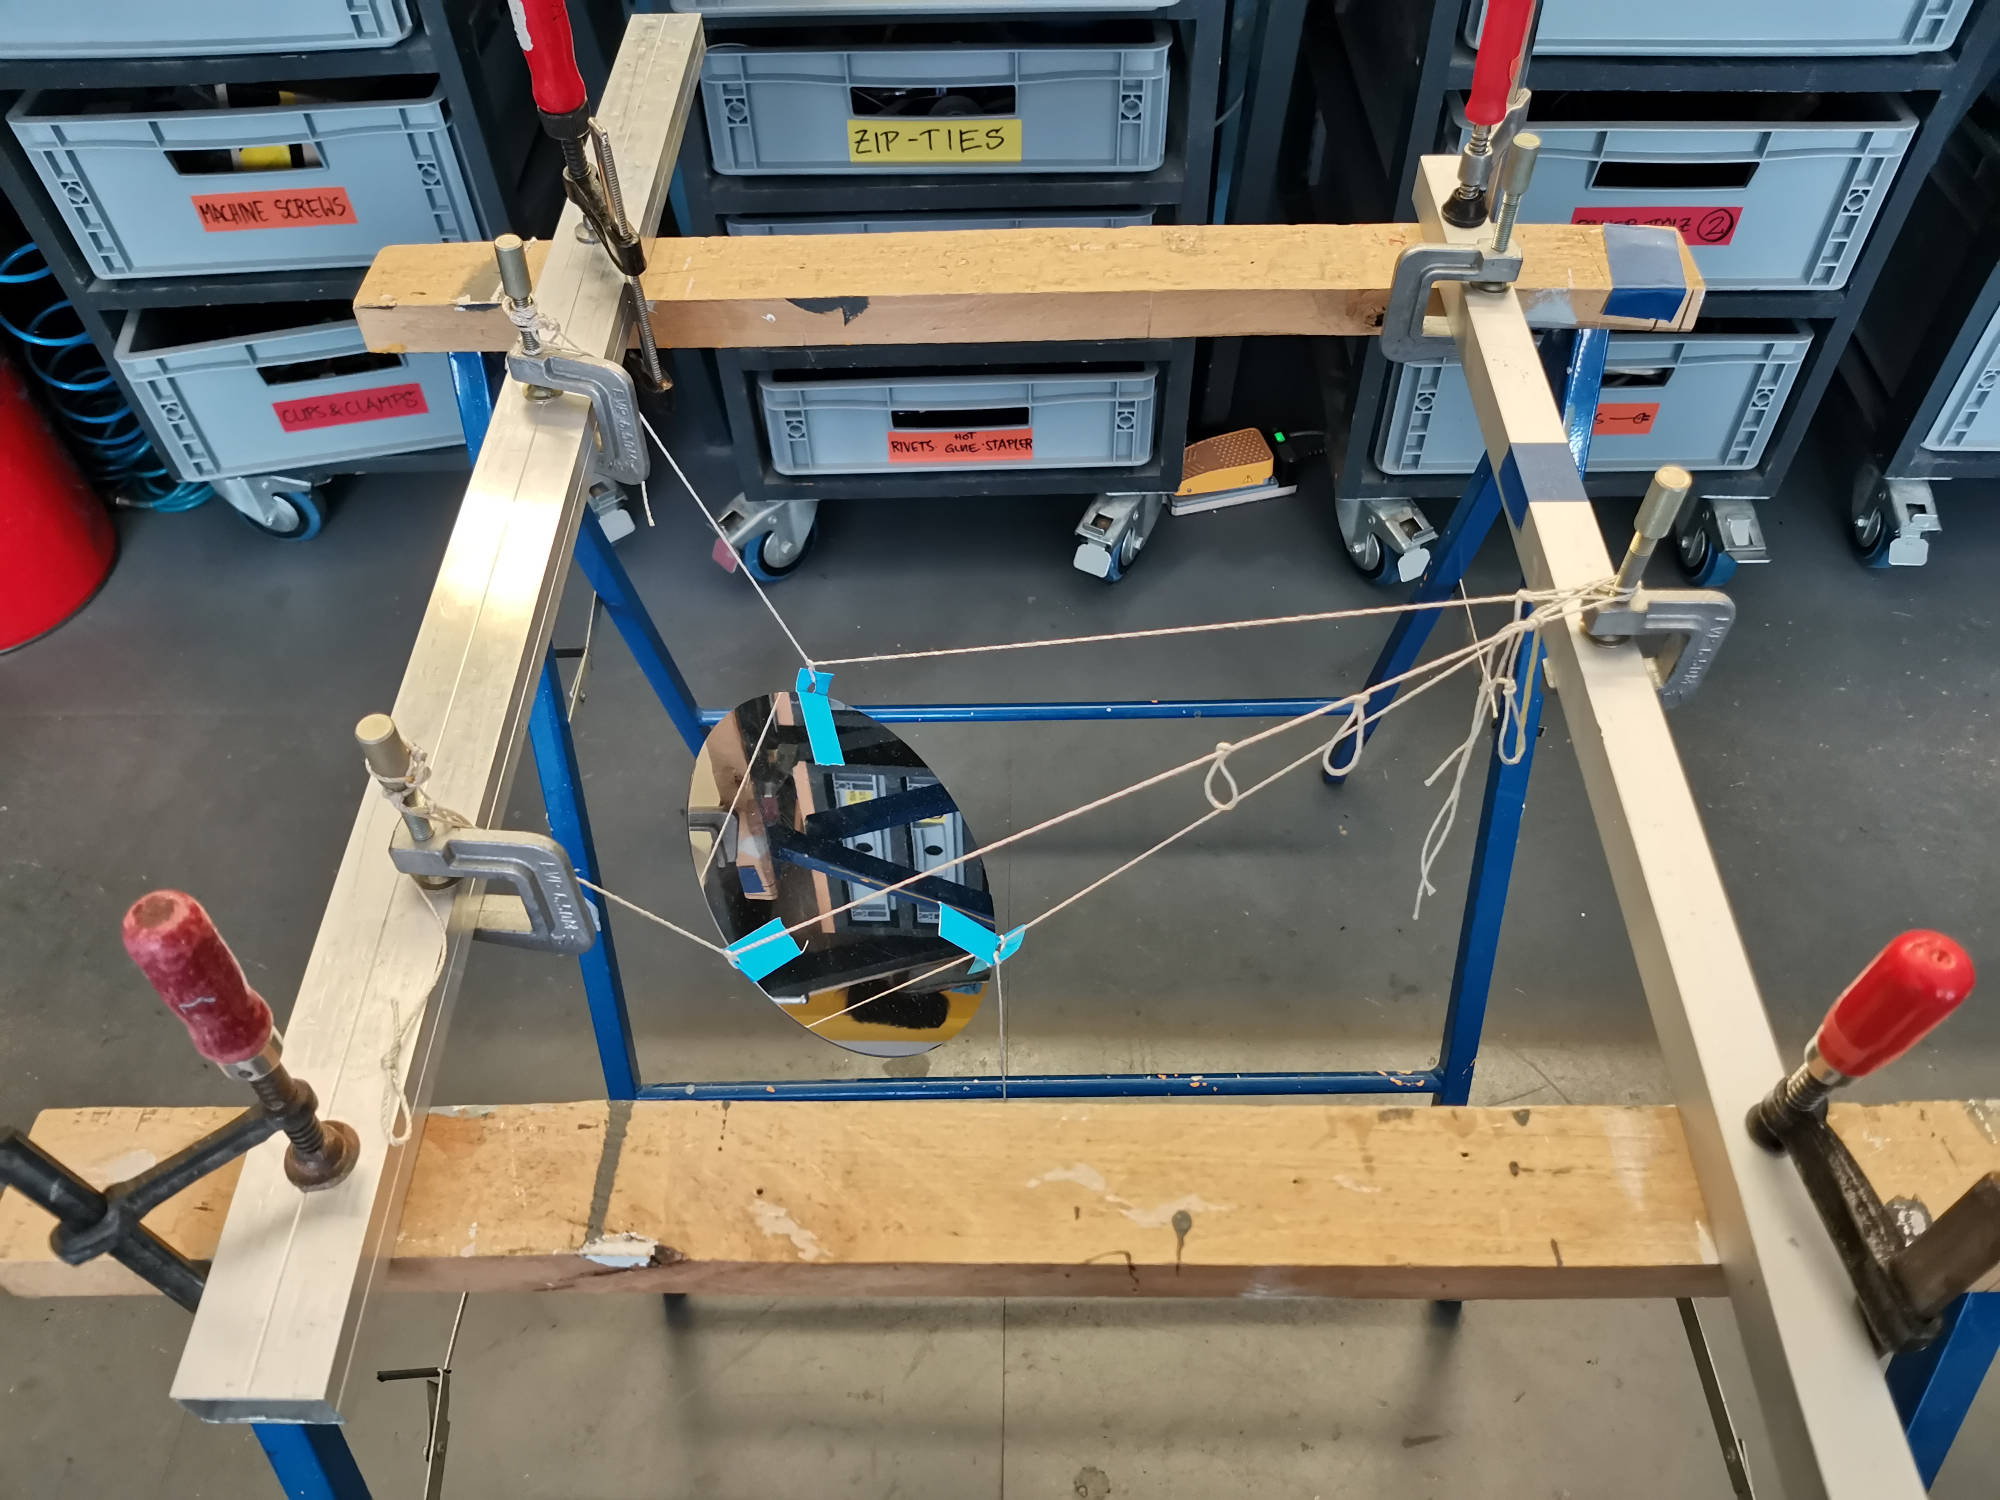
- How do I position the mirrors precisely with ropes? How do they swing and where are tipping points?
- Where do I position the mirrors so that they are out of reach, but also fullfill the conceptual requirements.
I planned the entire installation in a 3D model in Sketchup, starting with drawing the desired lines of sight in the staircase. Based on those lines, I positioned the mirrors orthogonal to the bisecting lines of the reflections. Finally, I added the suspension ropes.
The 3D desing process was accompanied by small scale experiments with a little mirror, which helped me to understand the dynamic behaviour of the suspensions. I also wrote a simple interactive program in Processing to quickly calculate the forces on the ropes and on the mounting points. That way I made sure that all mechanical elements would be strong enough to hold the load of the steel sheets.
It took more than thirty iterations until I had a final plan which looked like it would not just work in the 3D program, but also in reality.
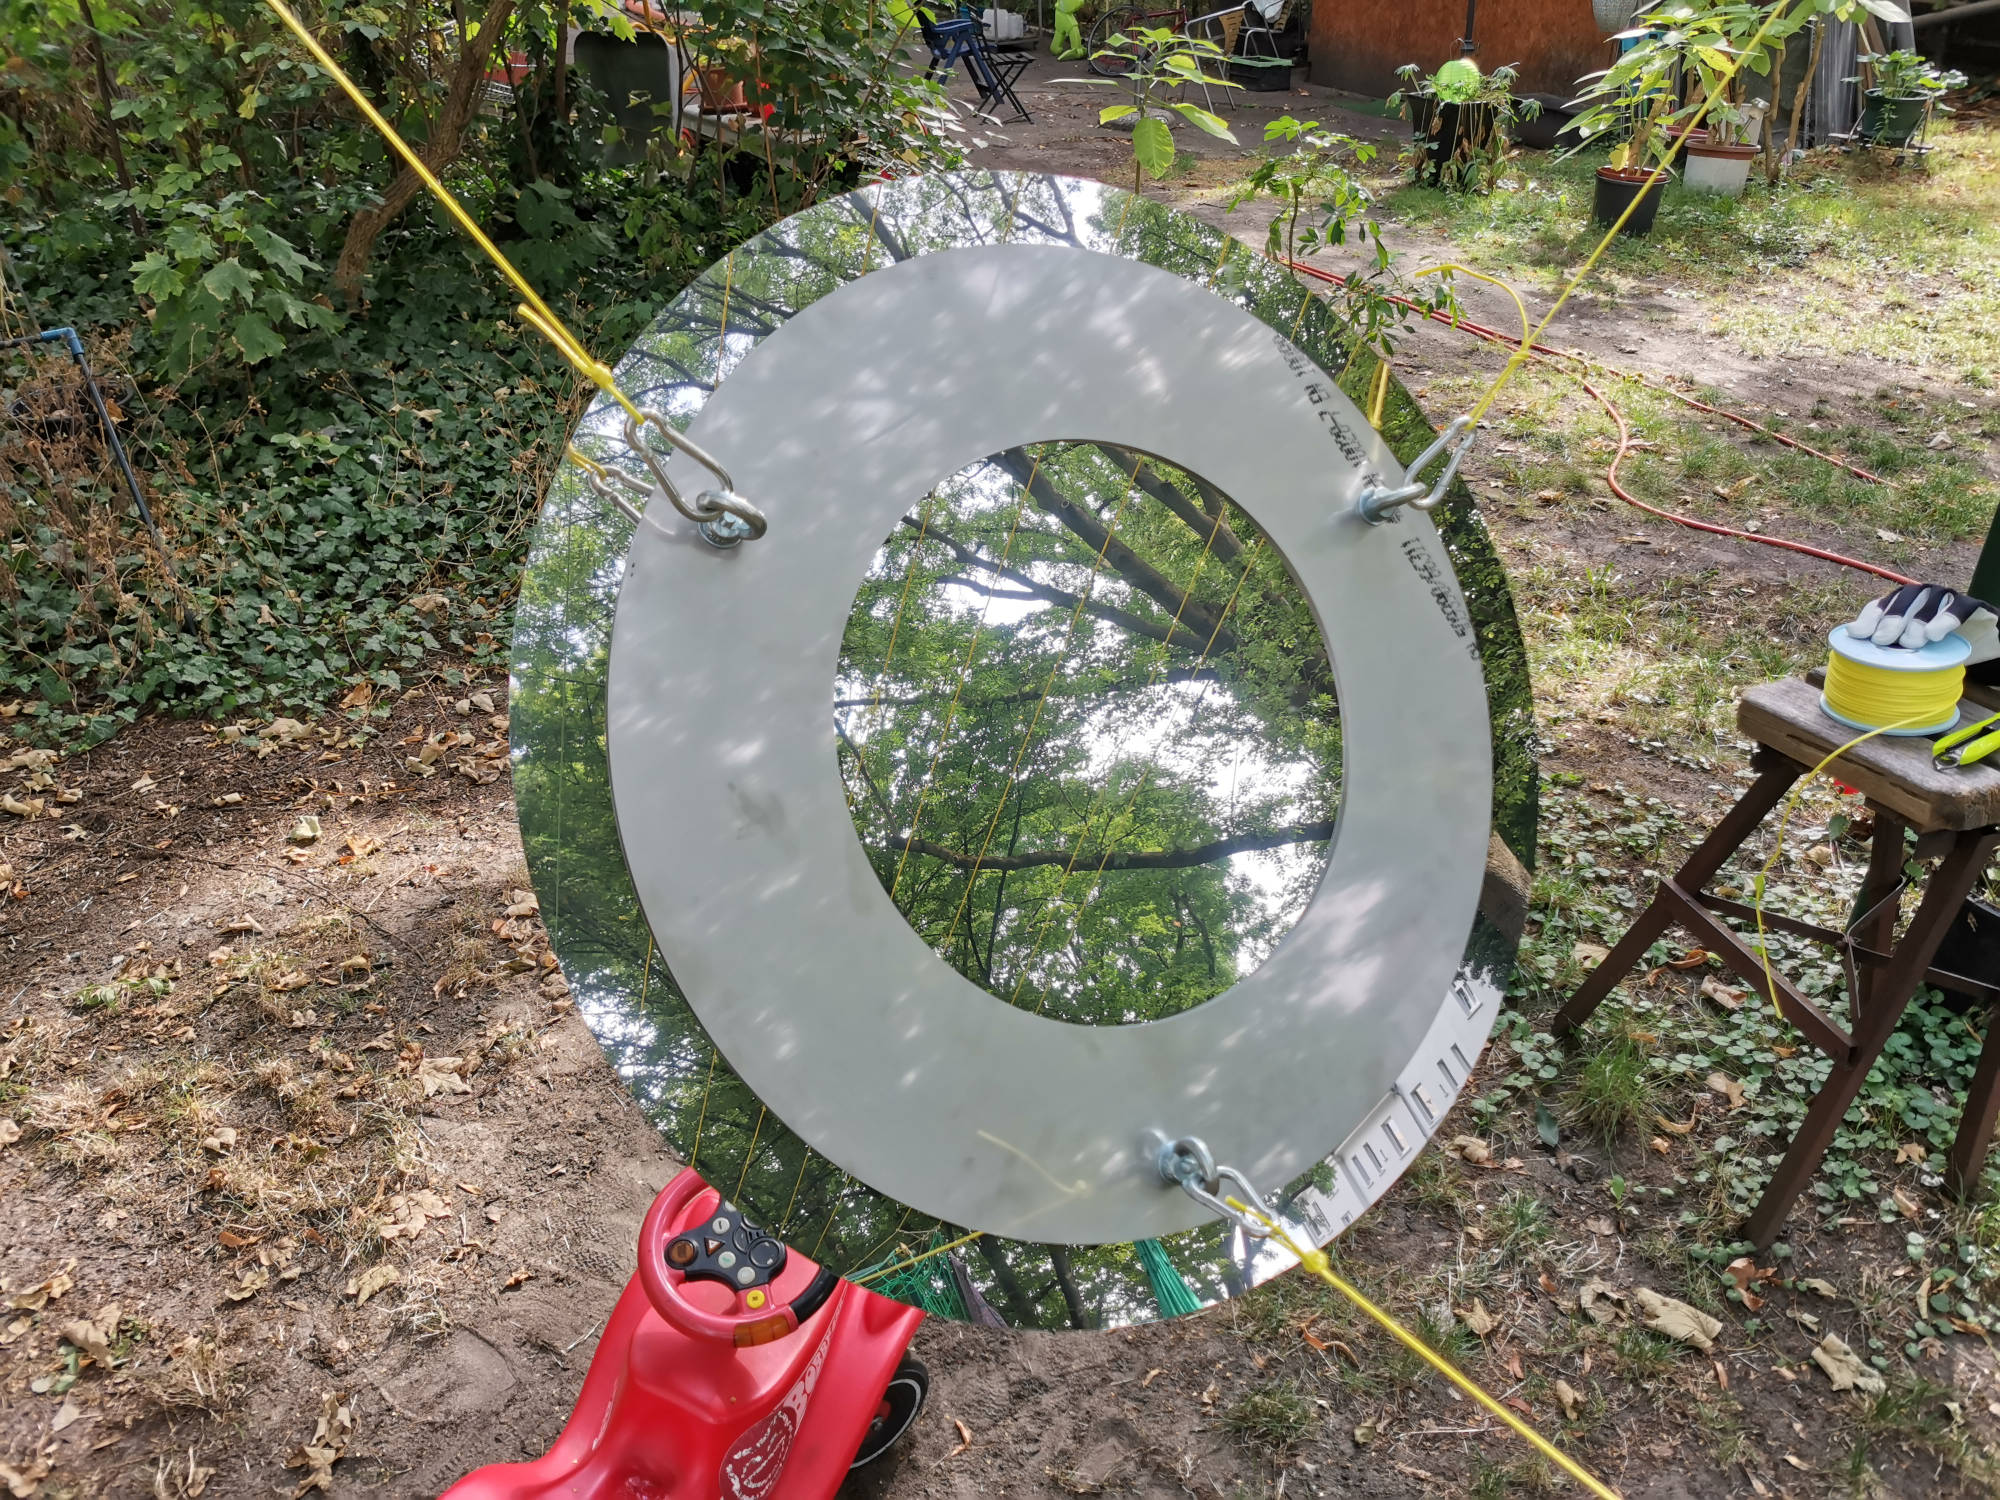
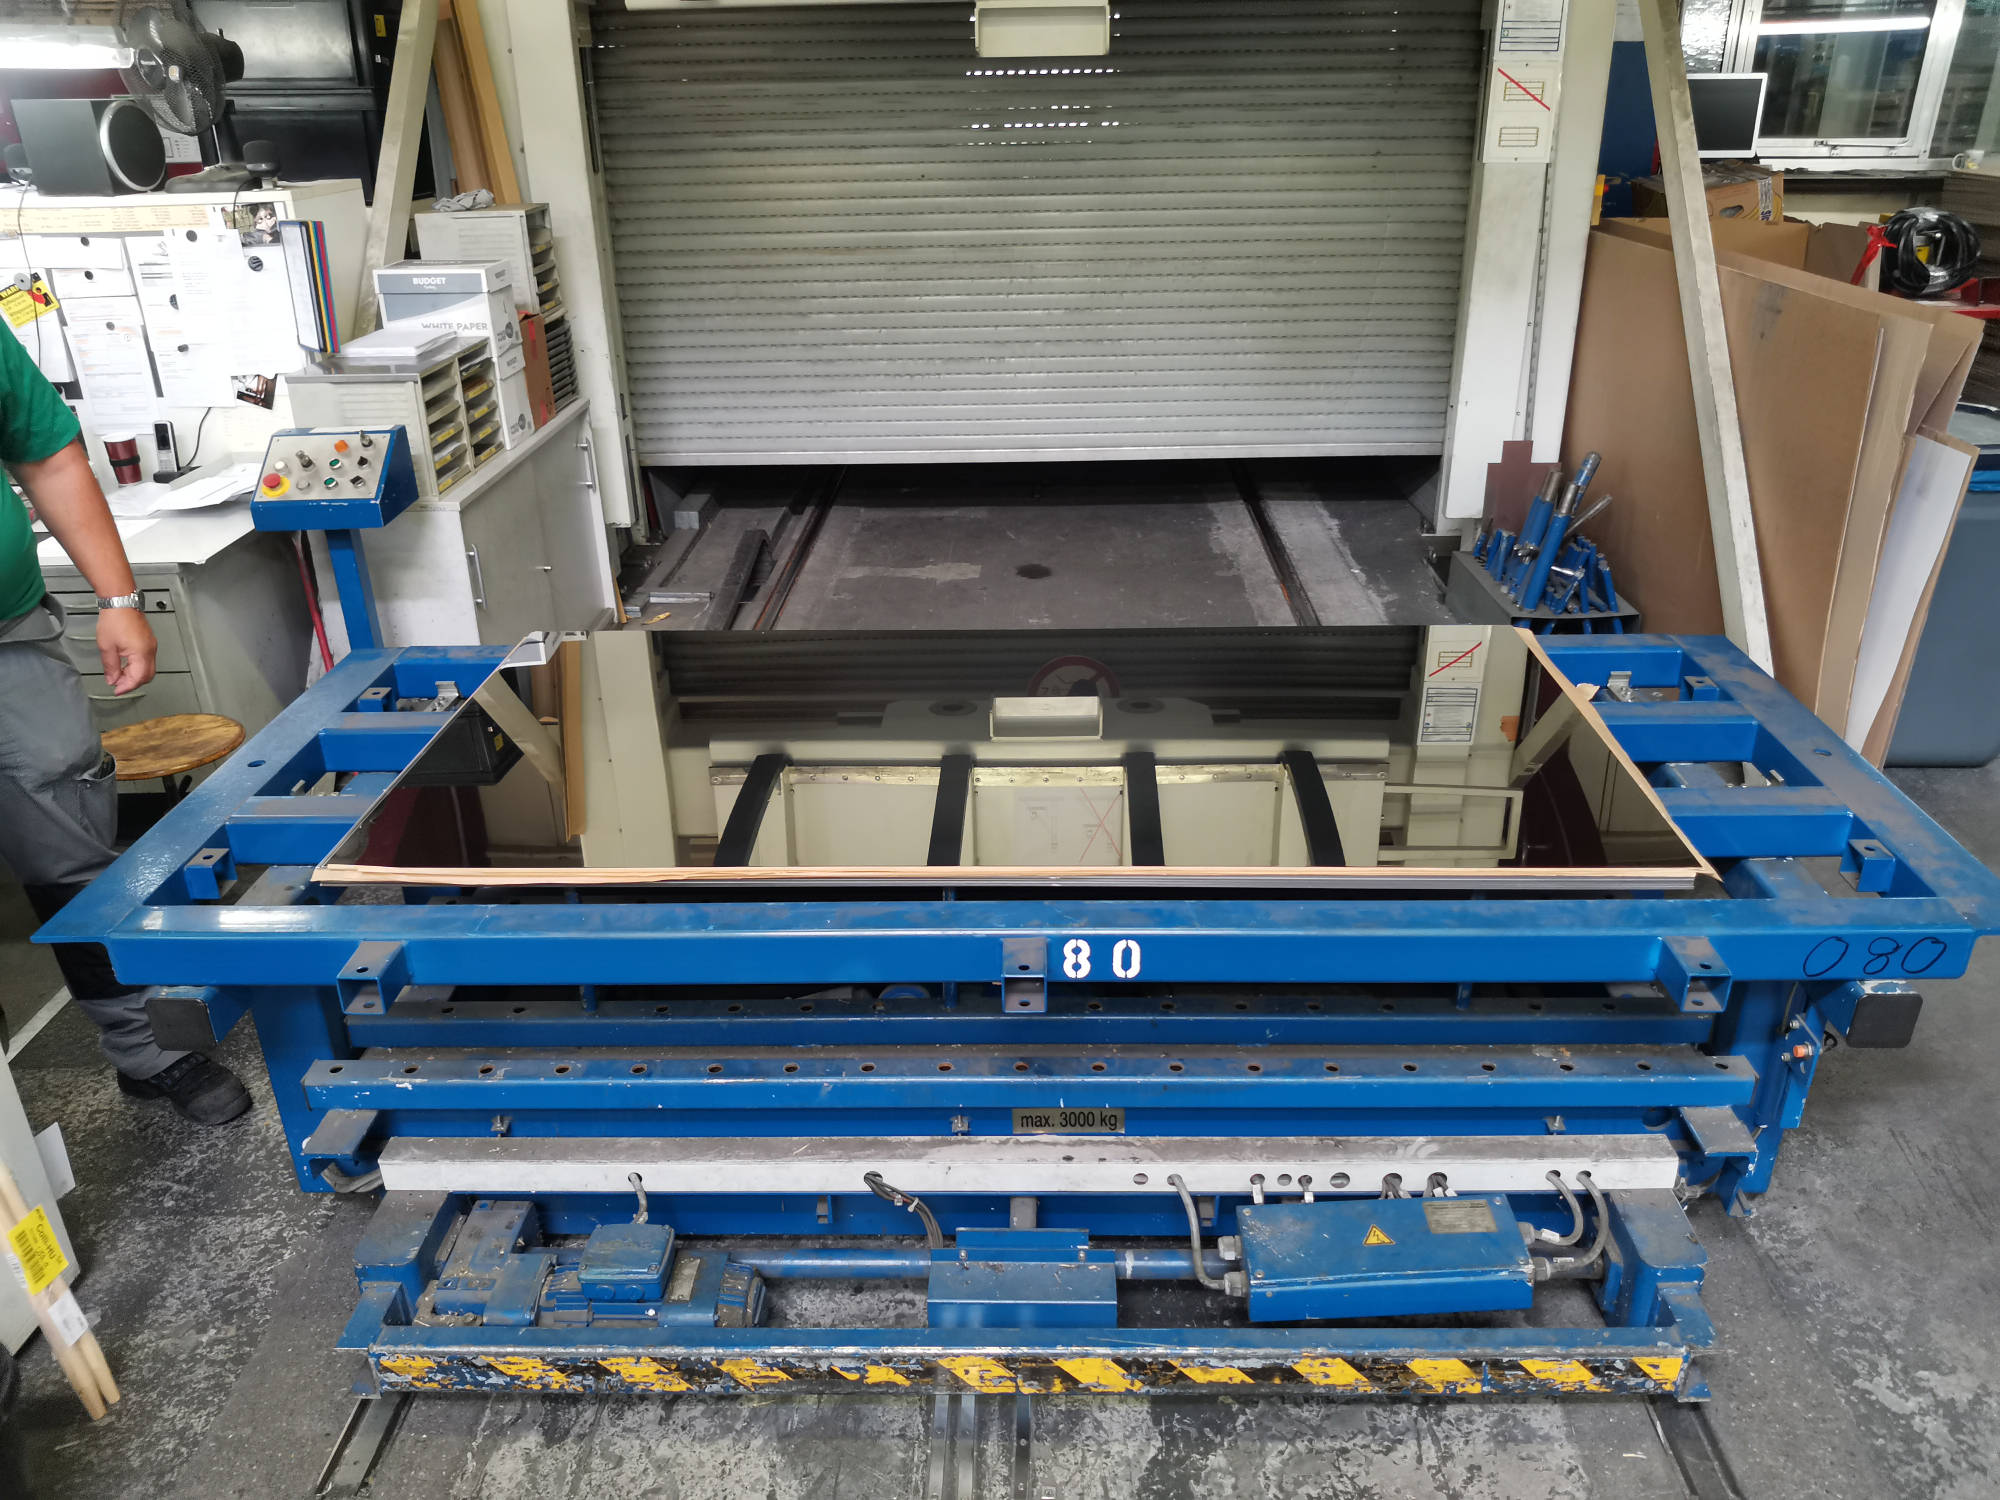
Making the mirrors
The production of the steel mirrors was done by GK‑Formblech,
a Berlin based company who has a bunch of really big laser cutters.
When they made the mirrors, there was a bit of a surprise, though:
Allthough the raw material is marketed as “mirroring steel”,
it turned out that the shininess of the sheets of stainless steel was not
consistent. Some sheets were reflecting very well, others were relatively dull.
The solution was to inspect several production batches of the raw material
and to select the most shiny sheets.

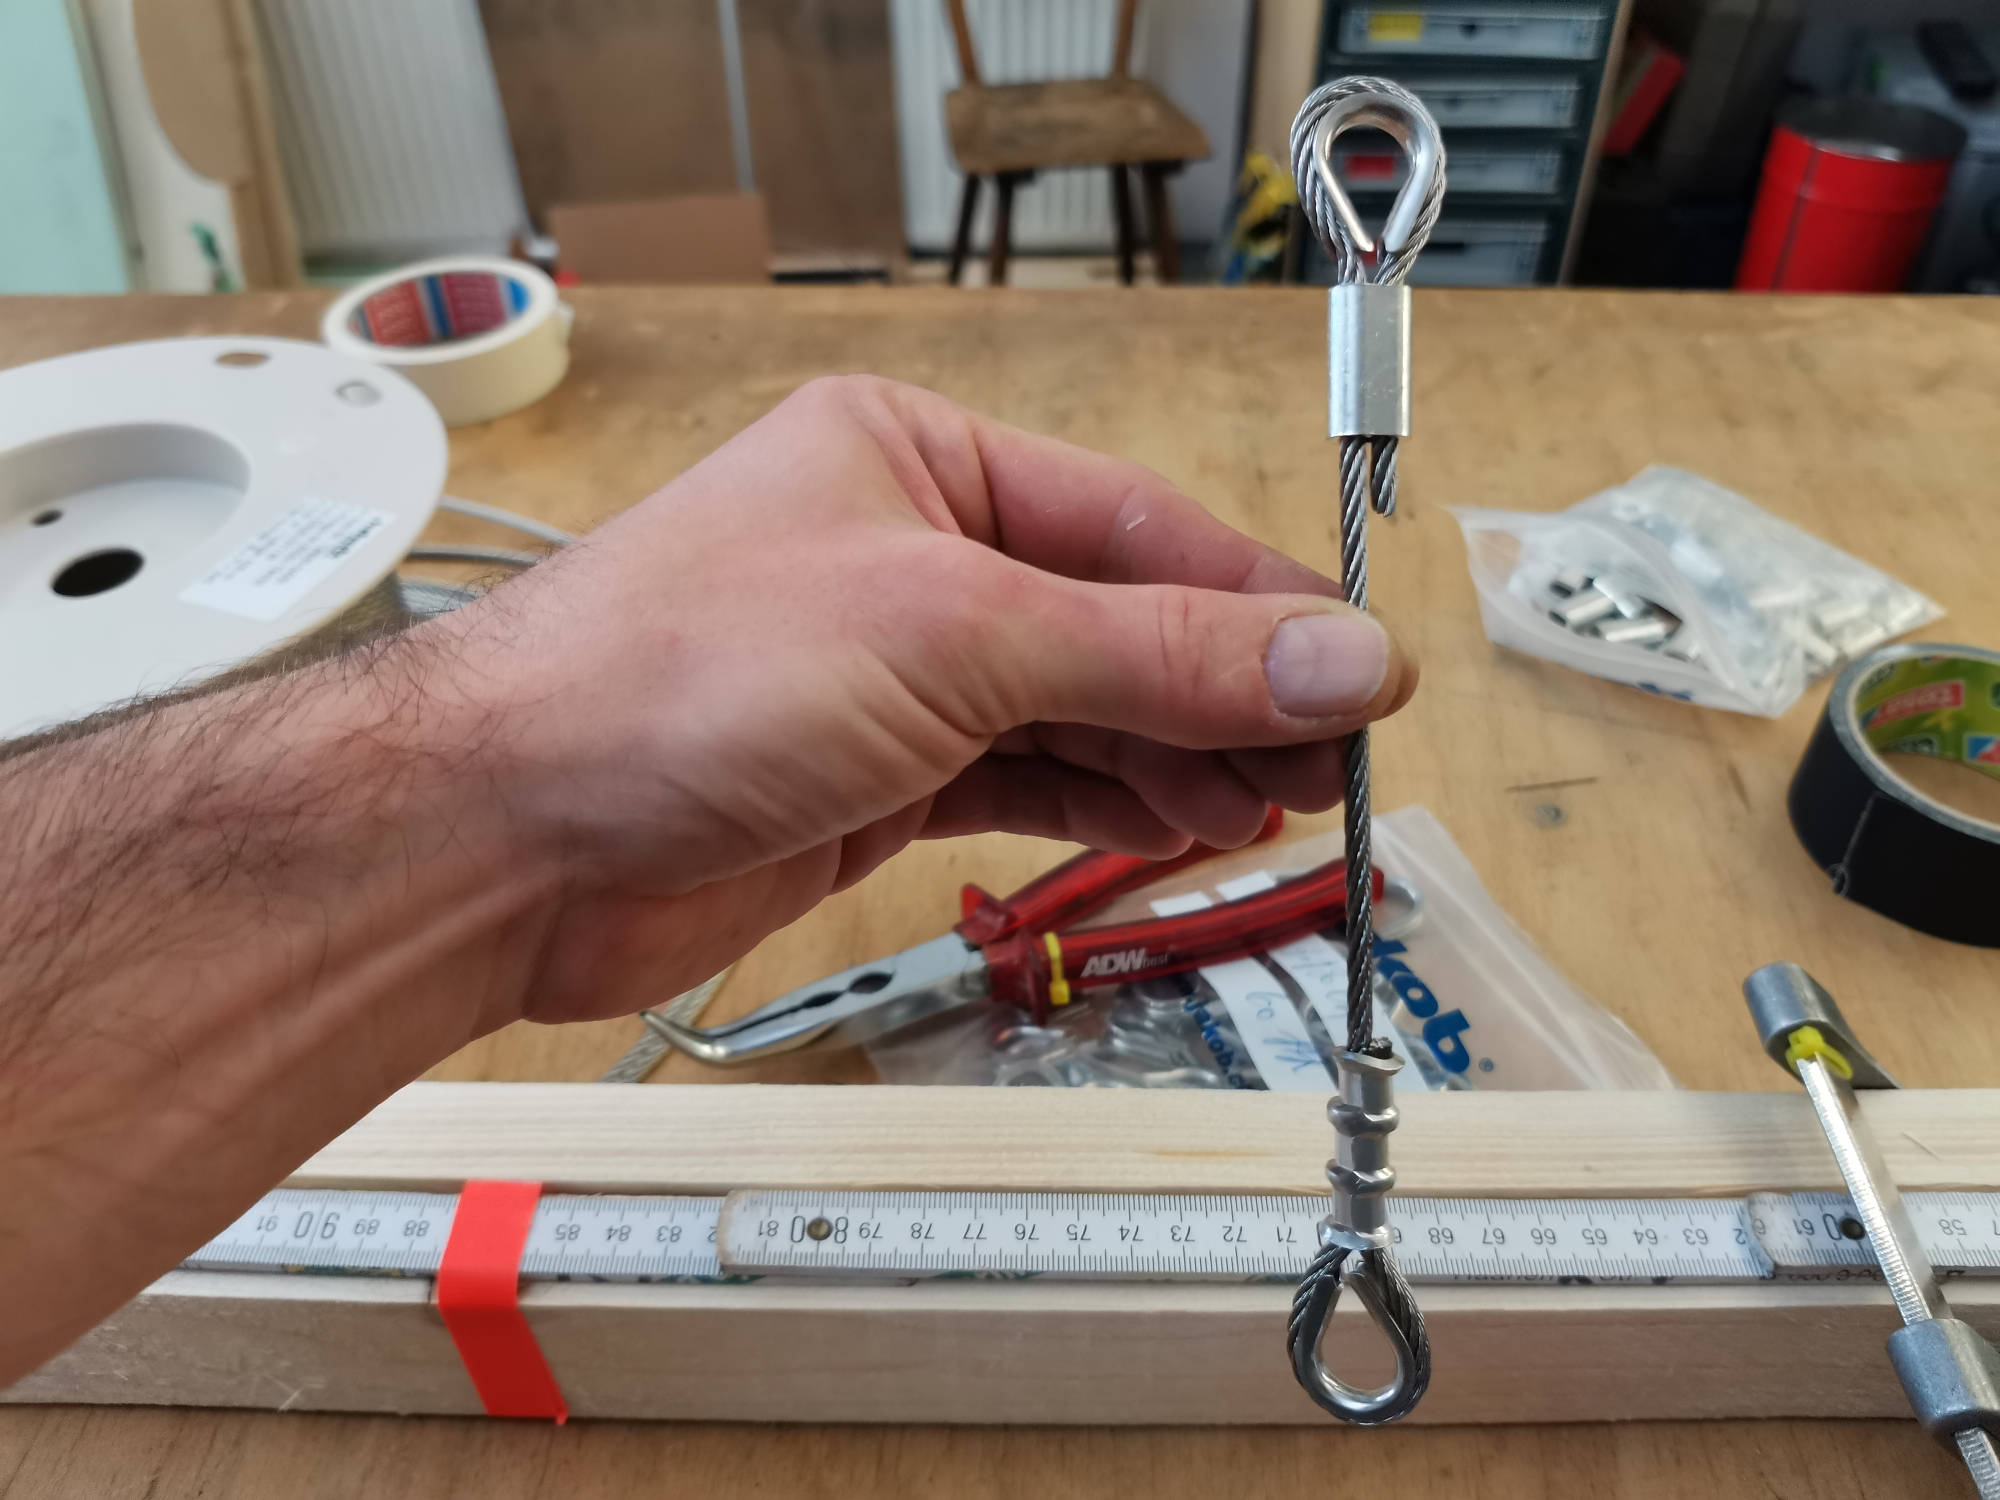
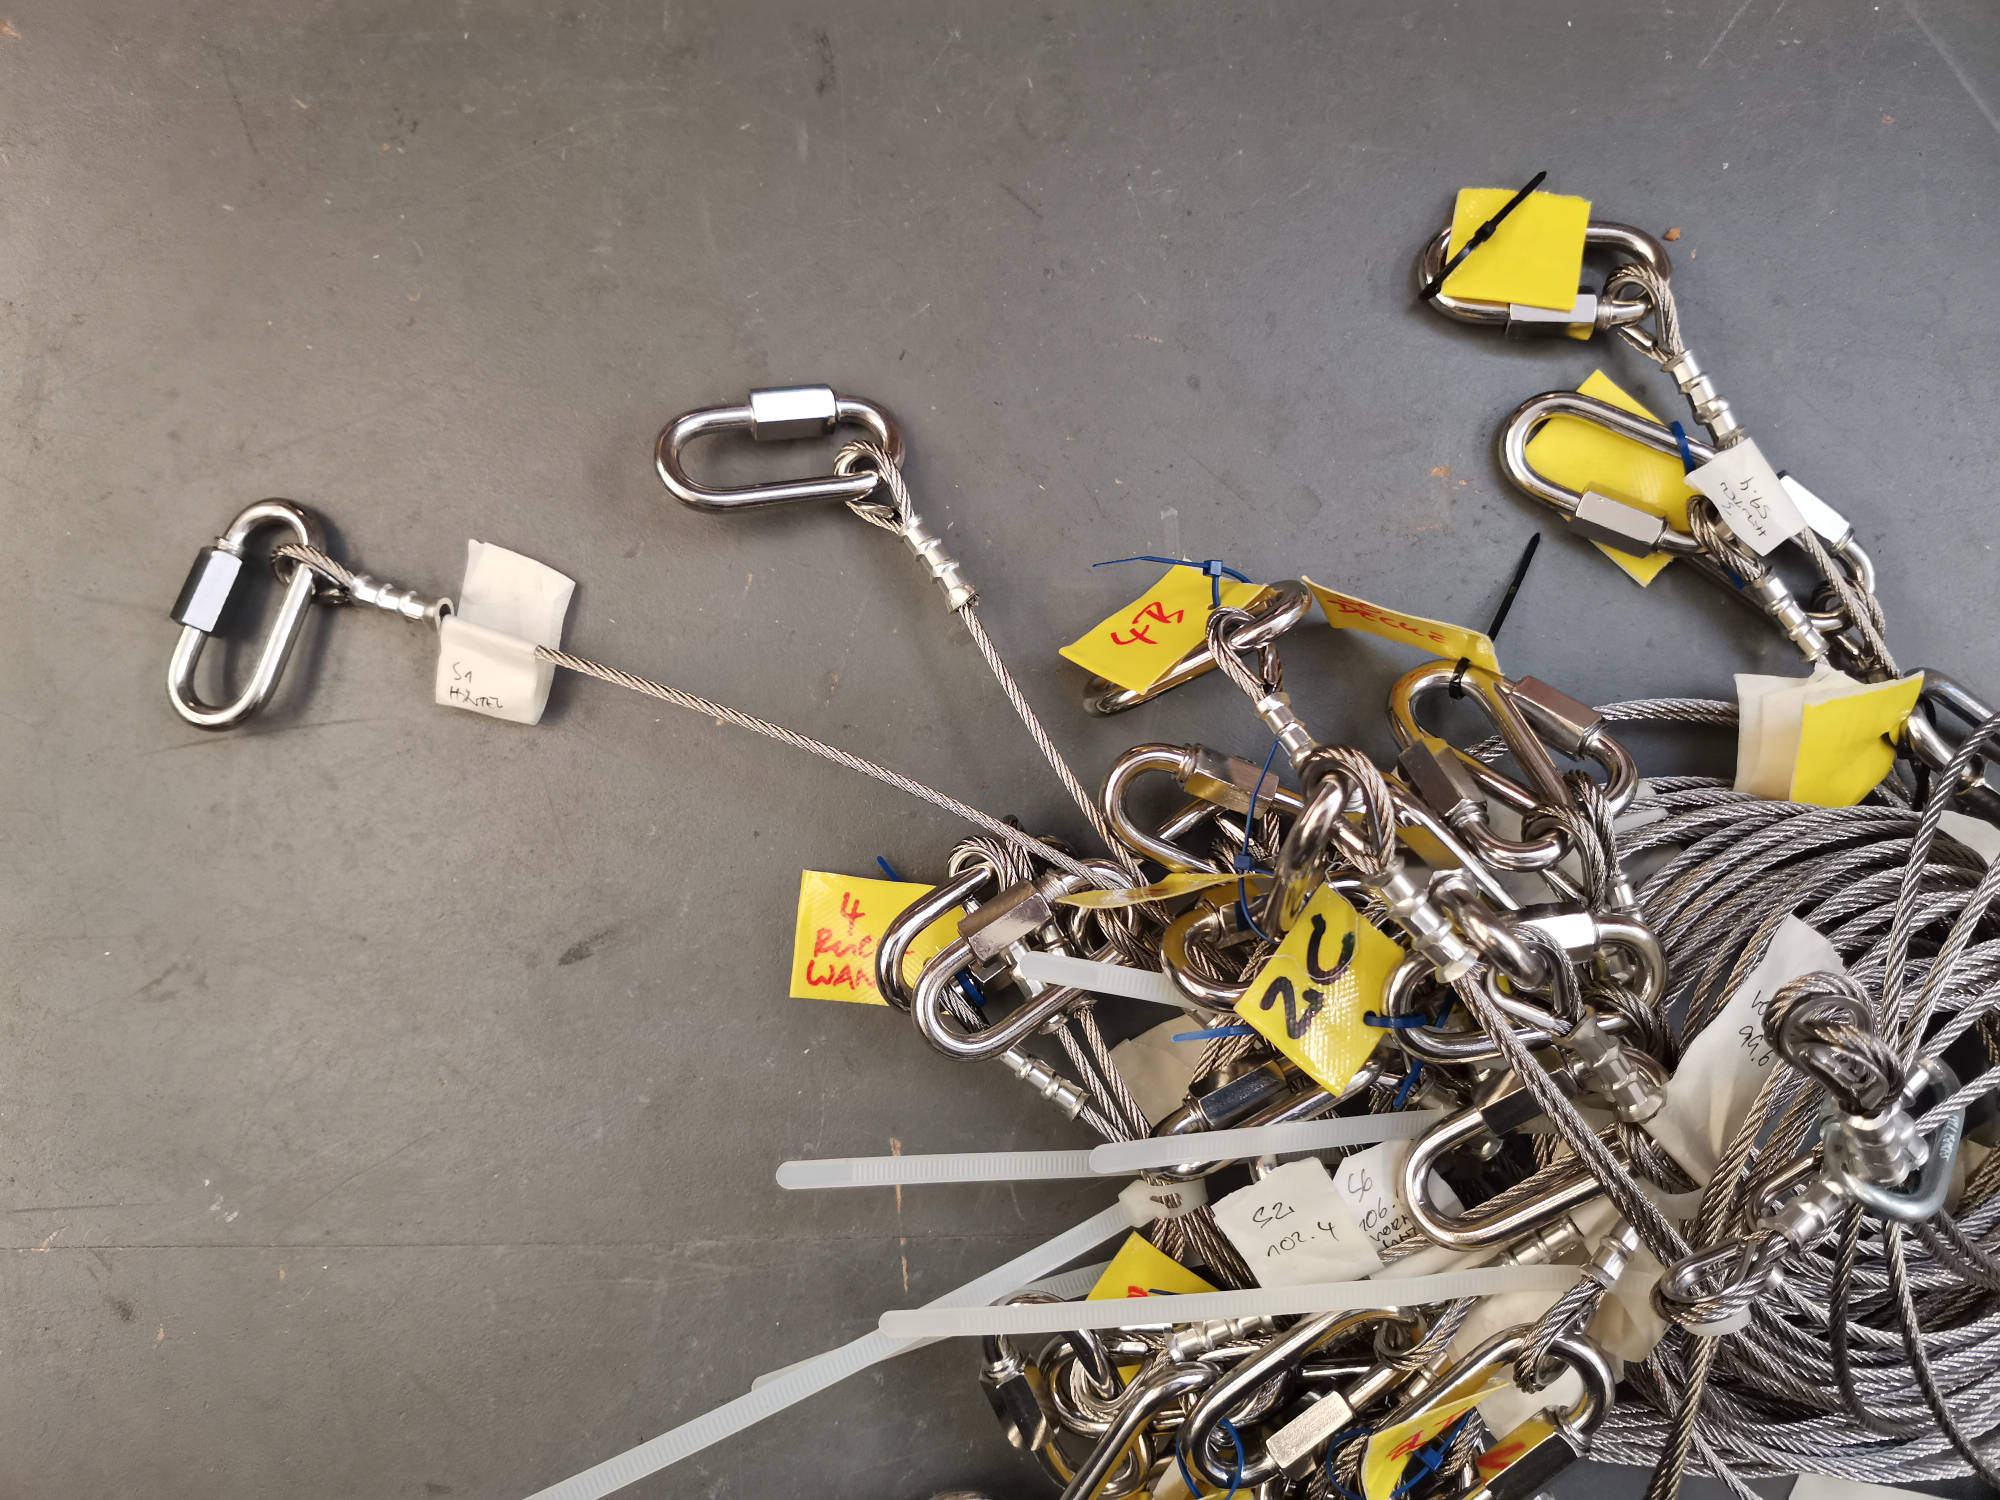
Preparing the cables
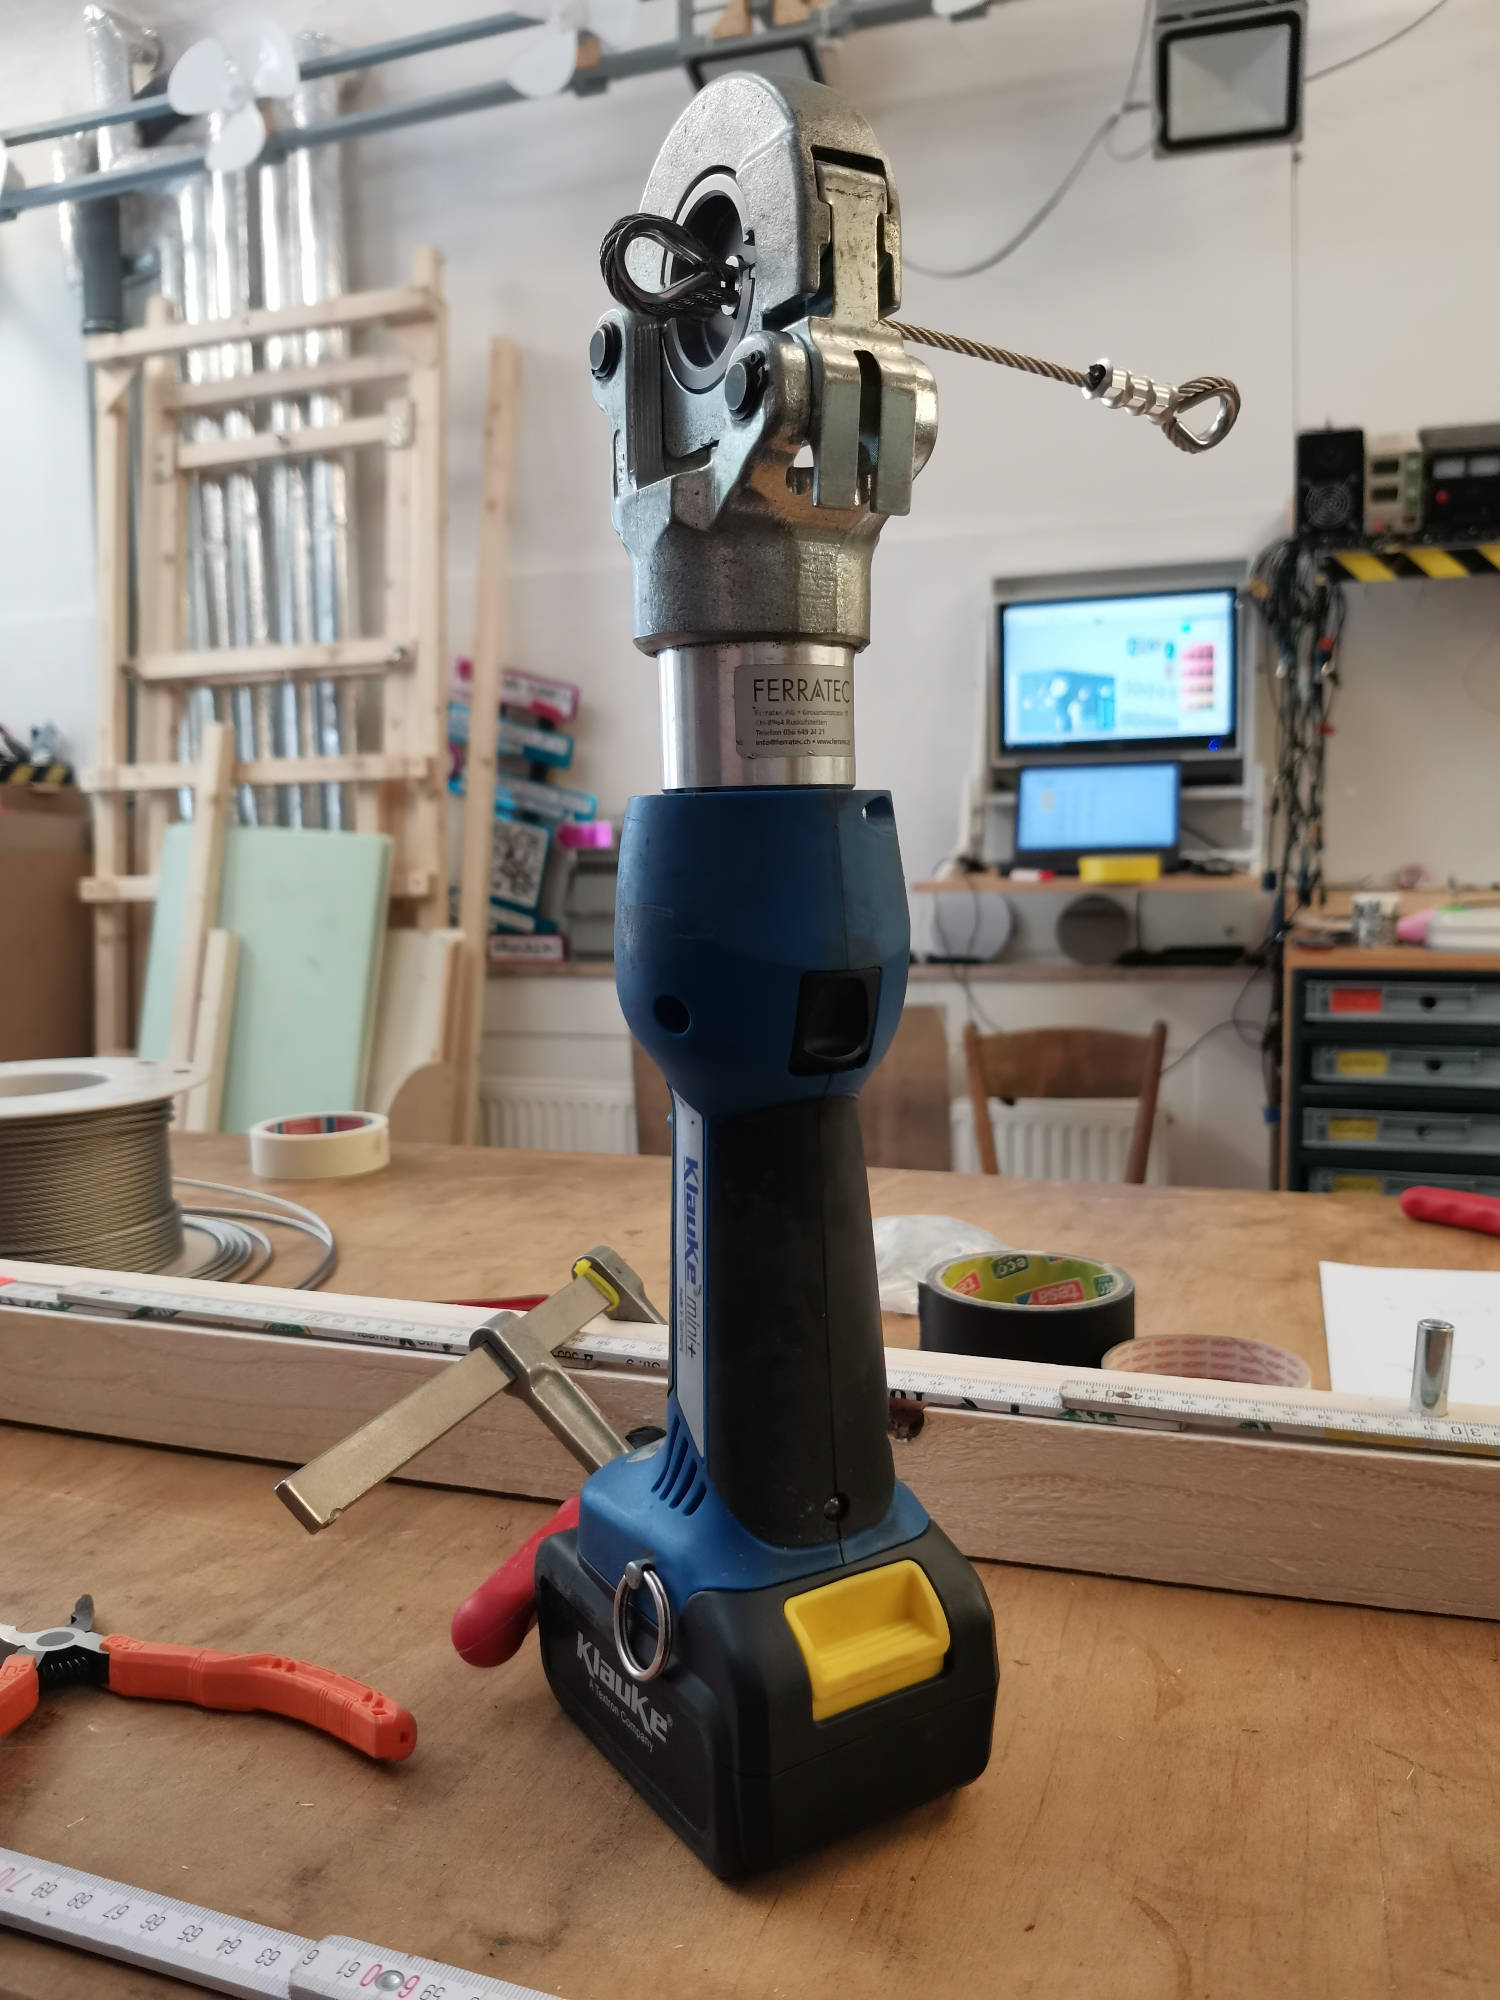
I decided to prepare the stainless steel cables for hanging the mirrors by myself. The reason was that I wanted to be flexible when mounting the mirrors. In case I found out that a cable had the wrong length while hanging the mirrors, I could have made a new one right on the spot.
Everything worked well, though. I made a wooden jig to adjust the length of each cable including the end loops and chain links, based on the measurements in the 3D model. Then I pressed the aluminum sleeves with a hydraulic hand tool. At the end, the length of each cable was +-2mm precise.
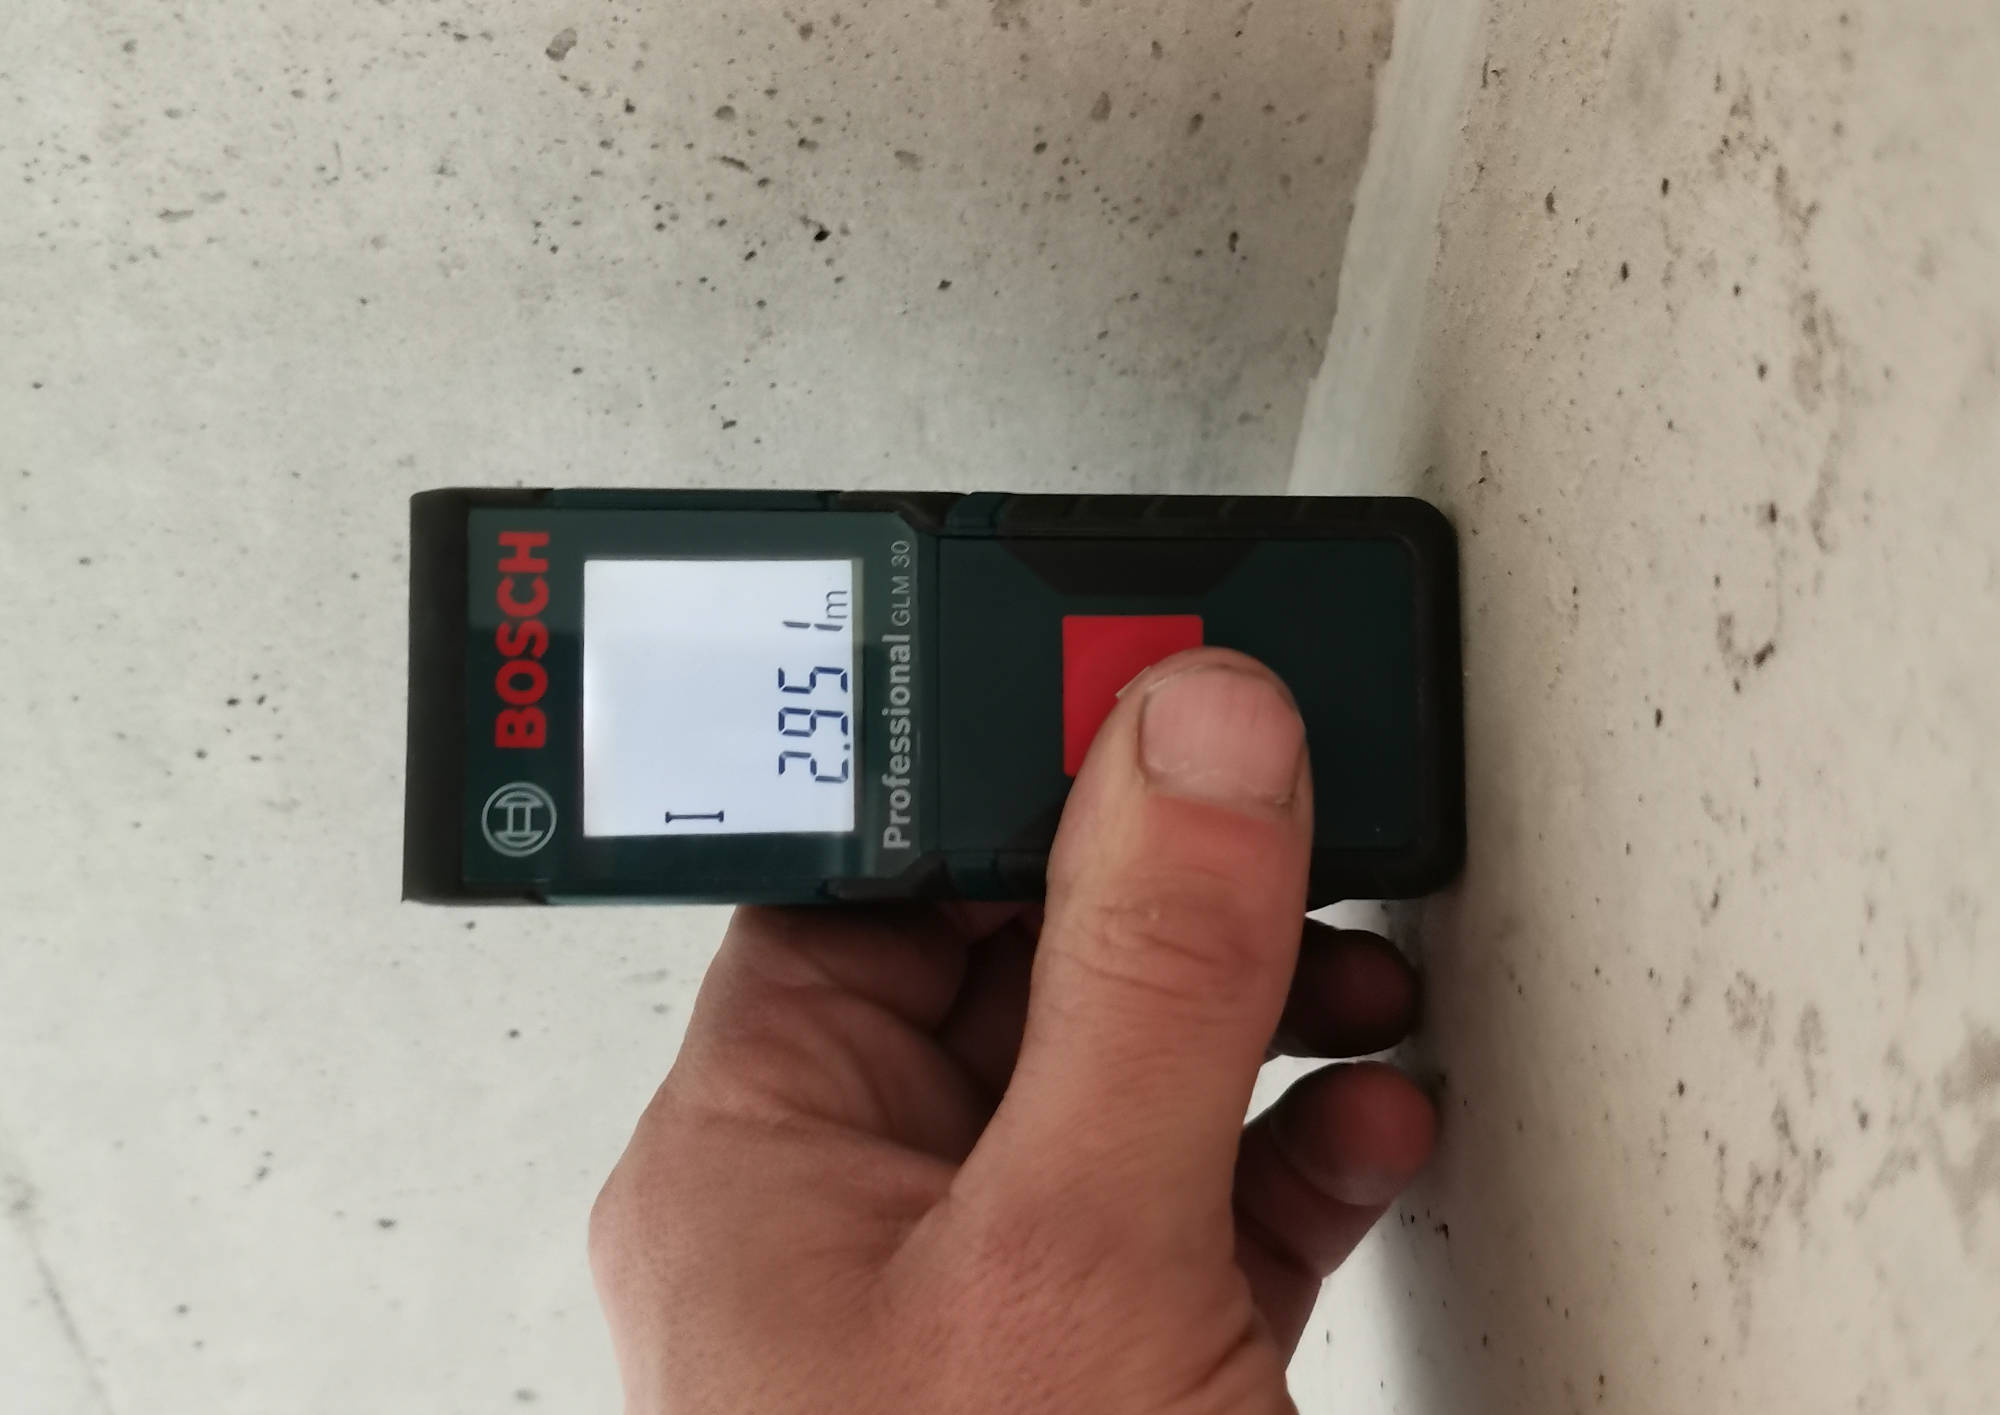
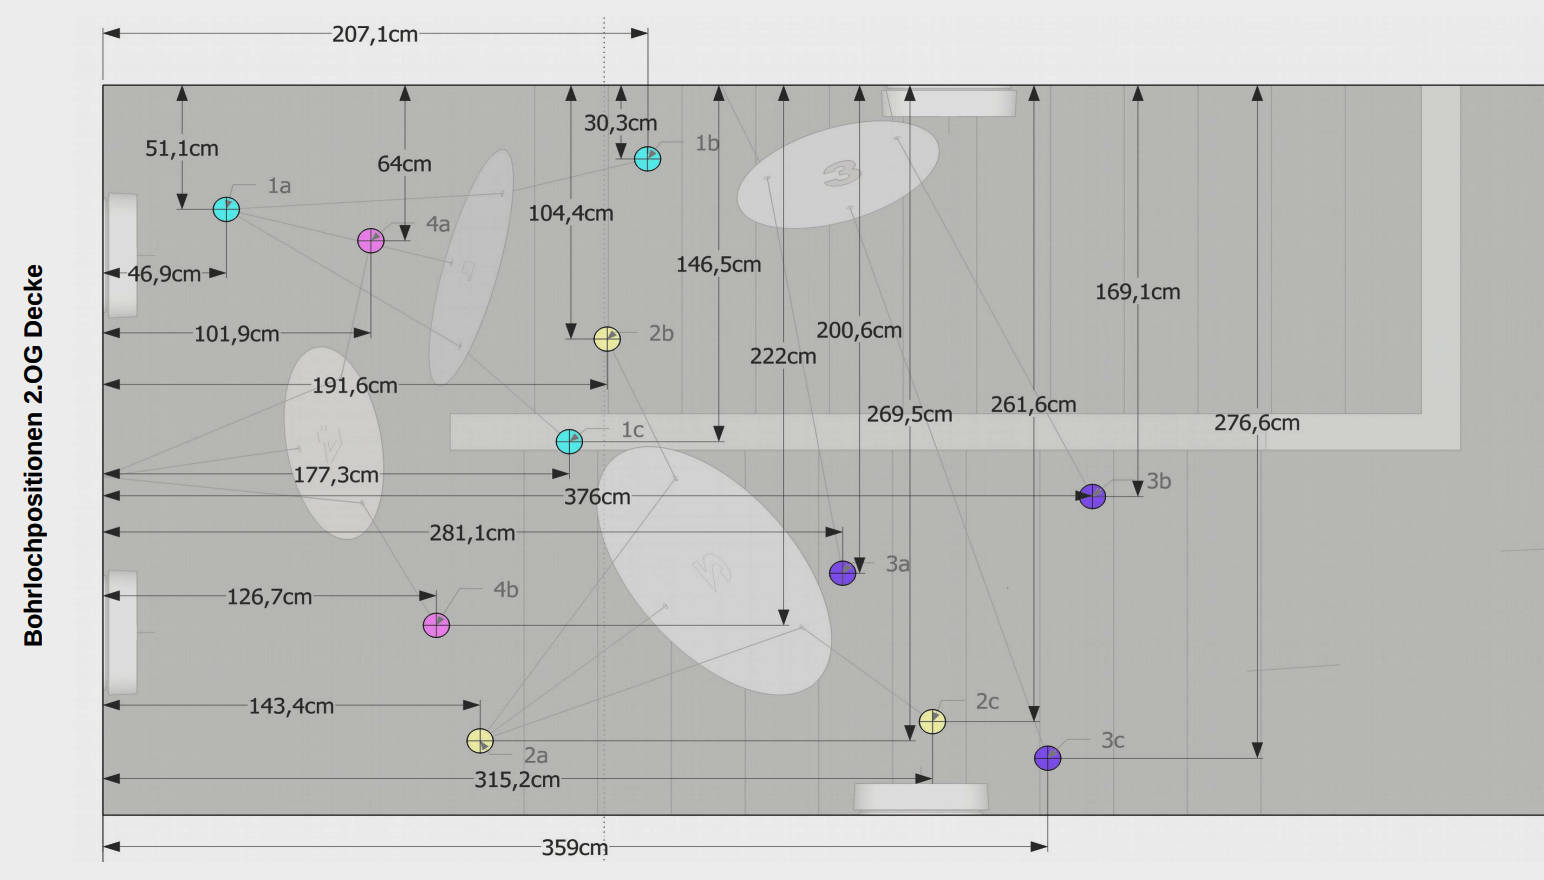
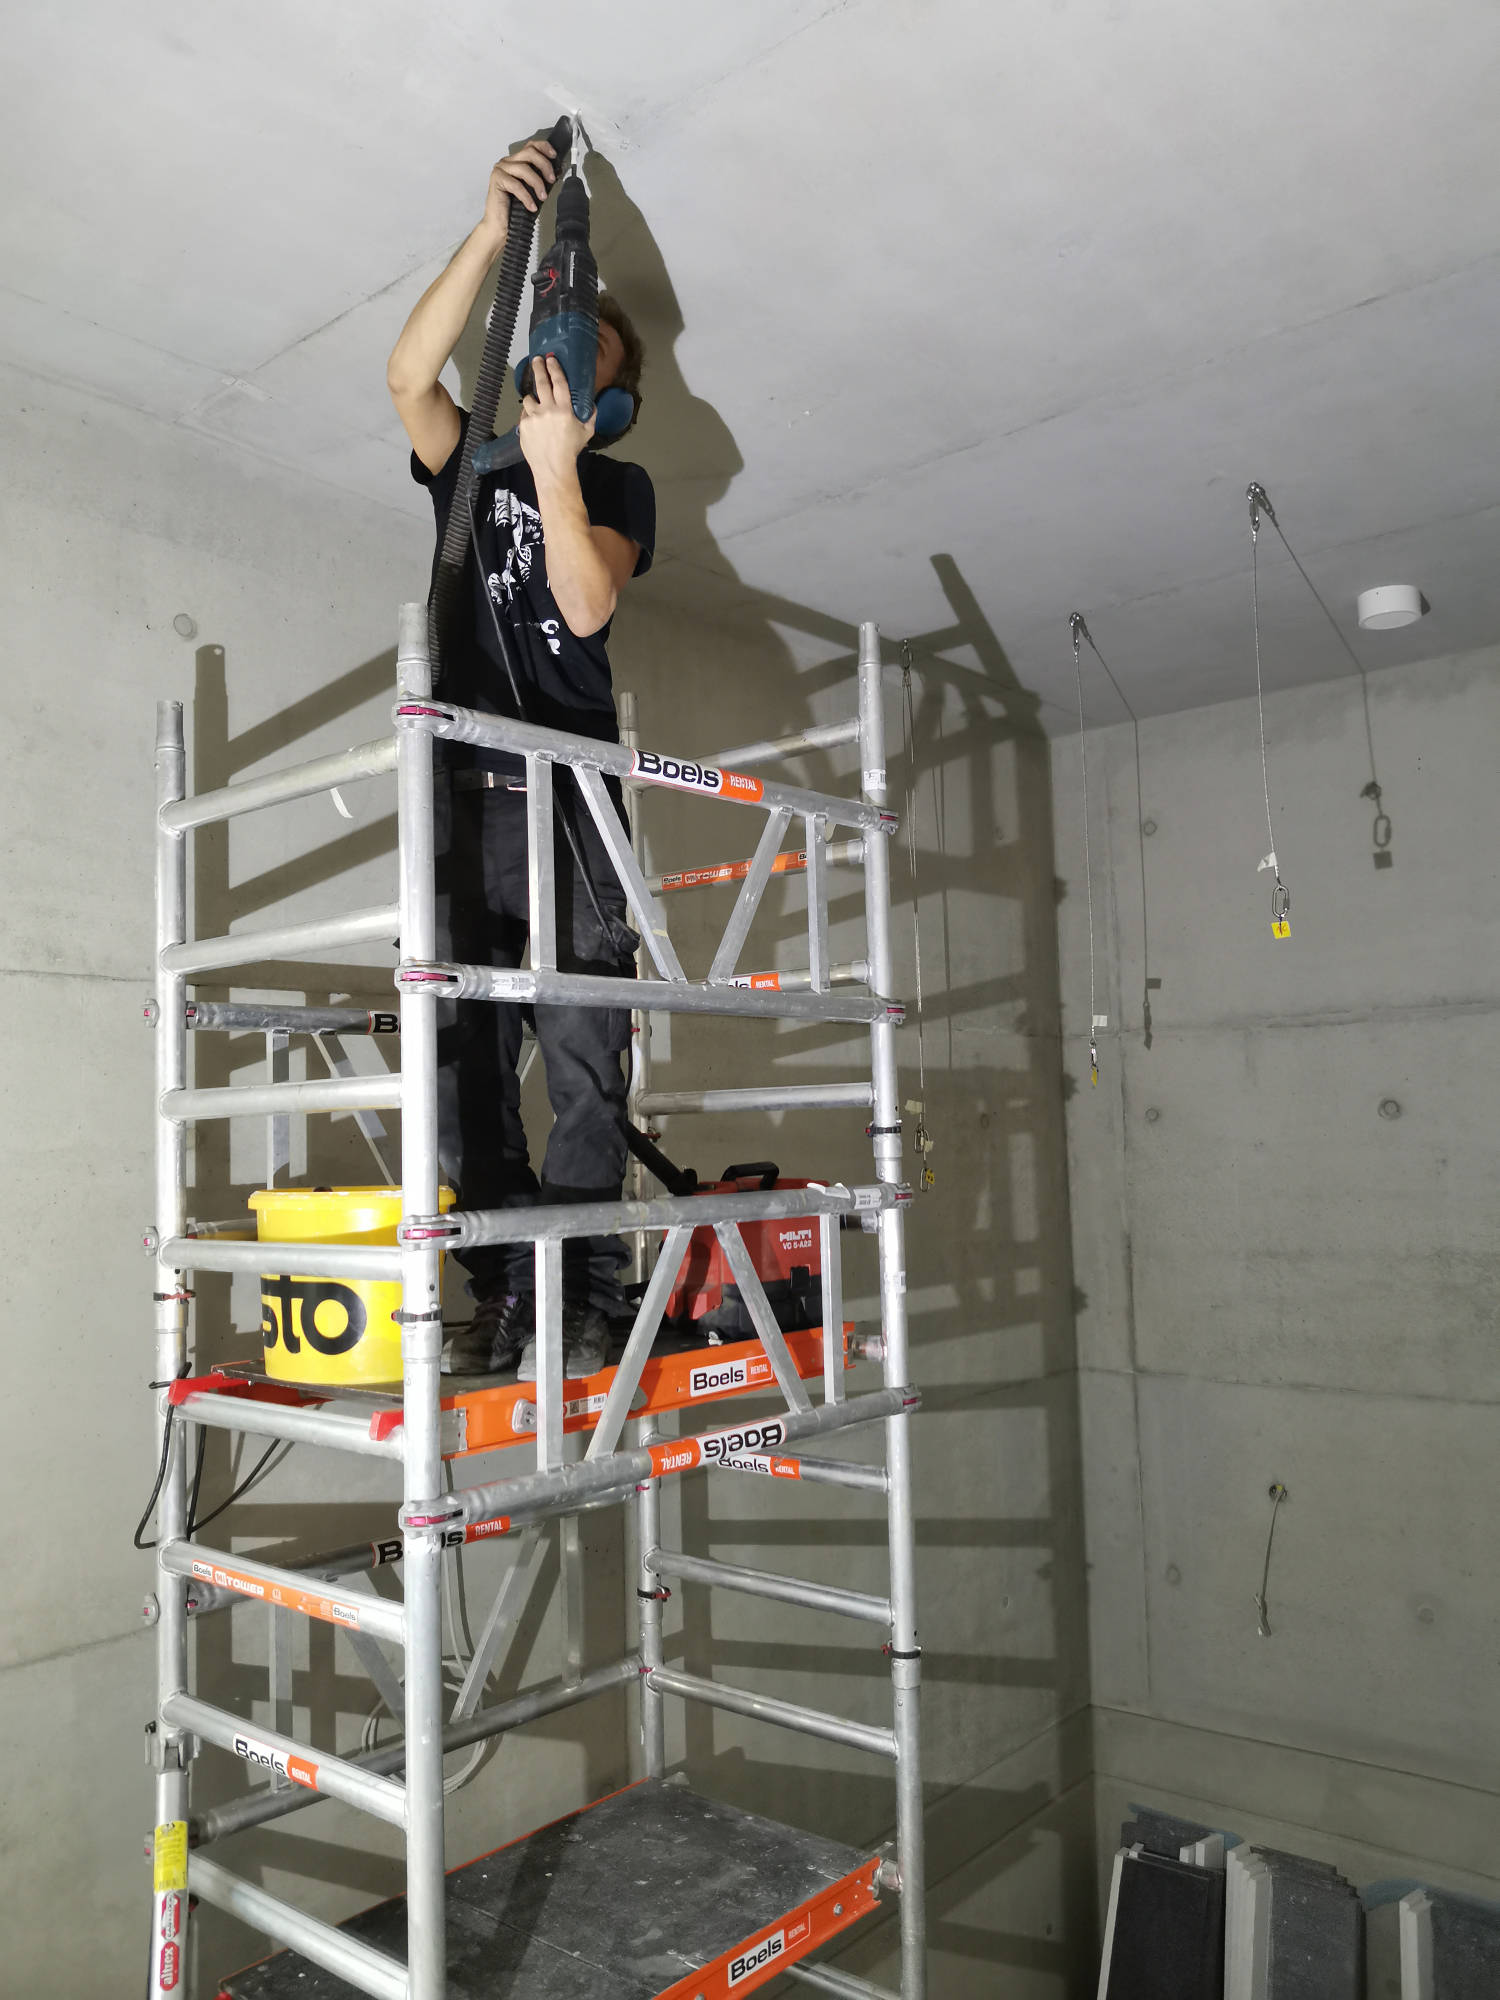
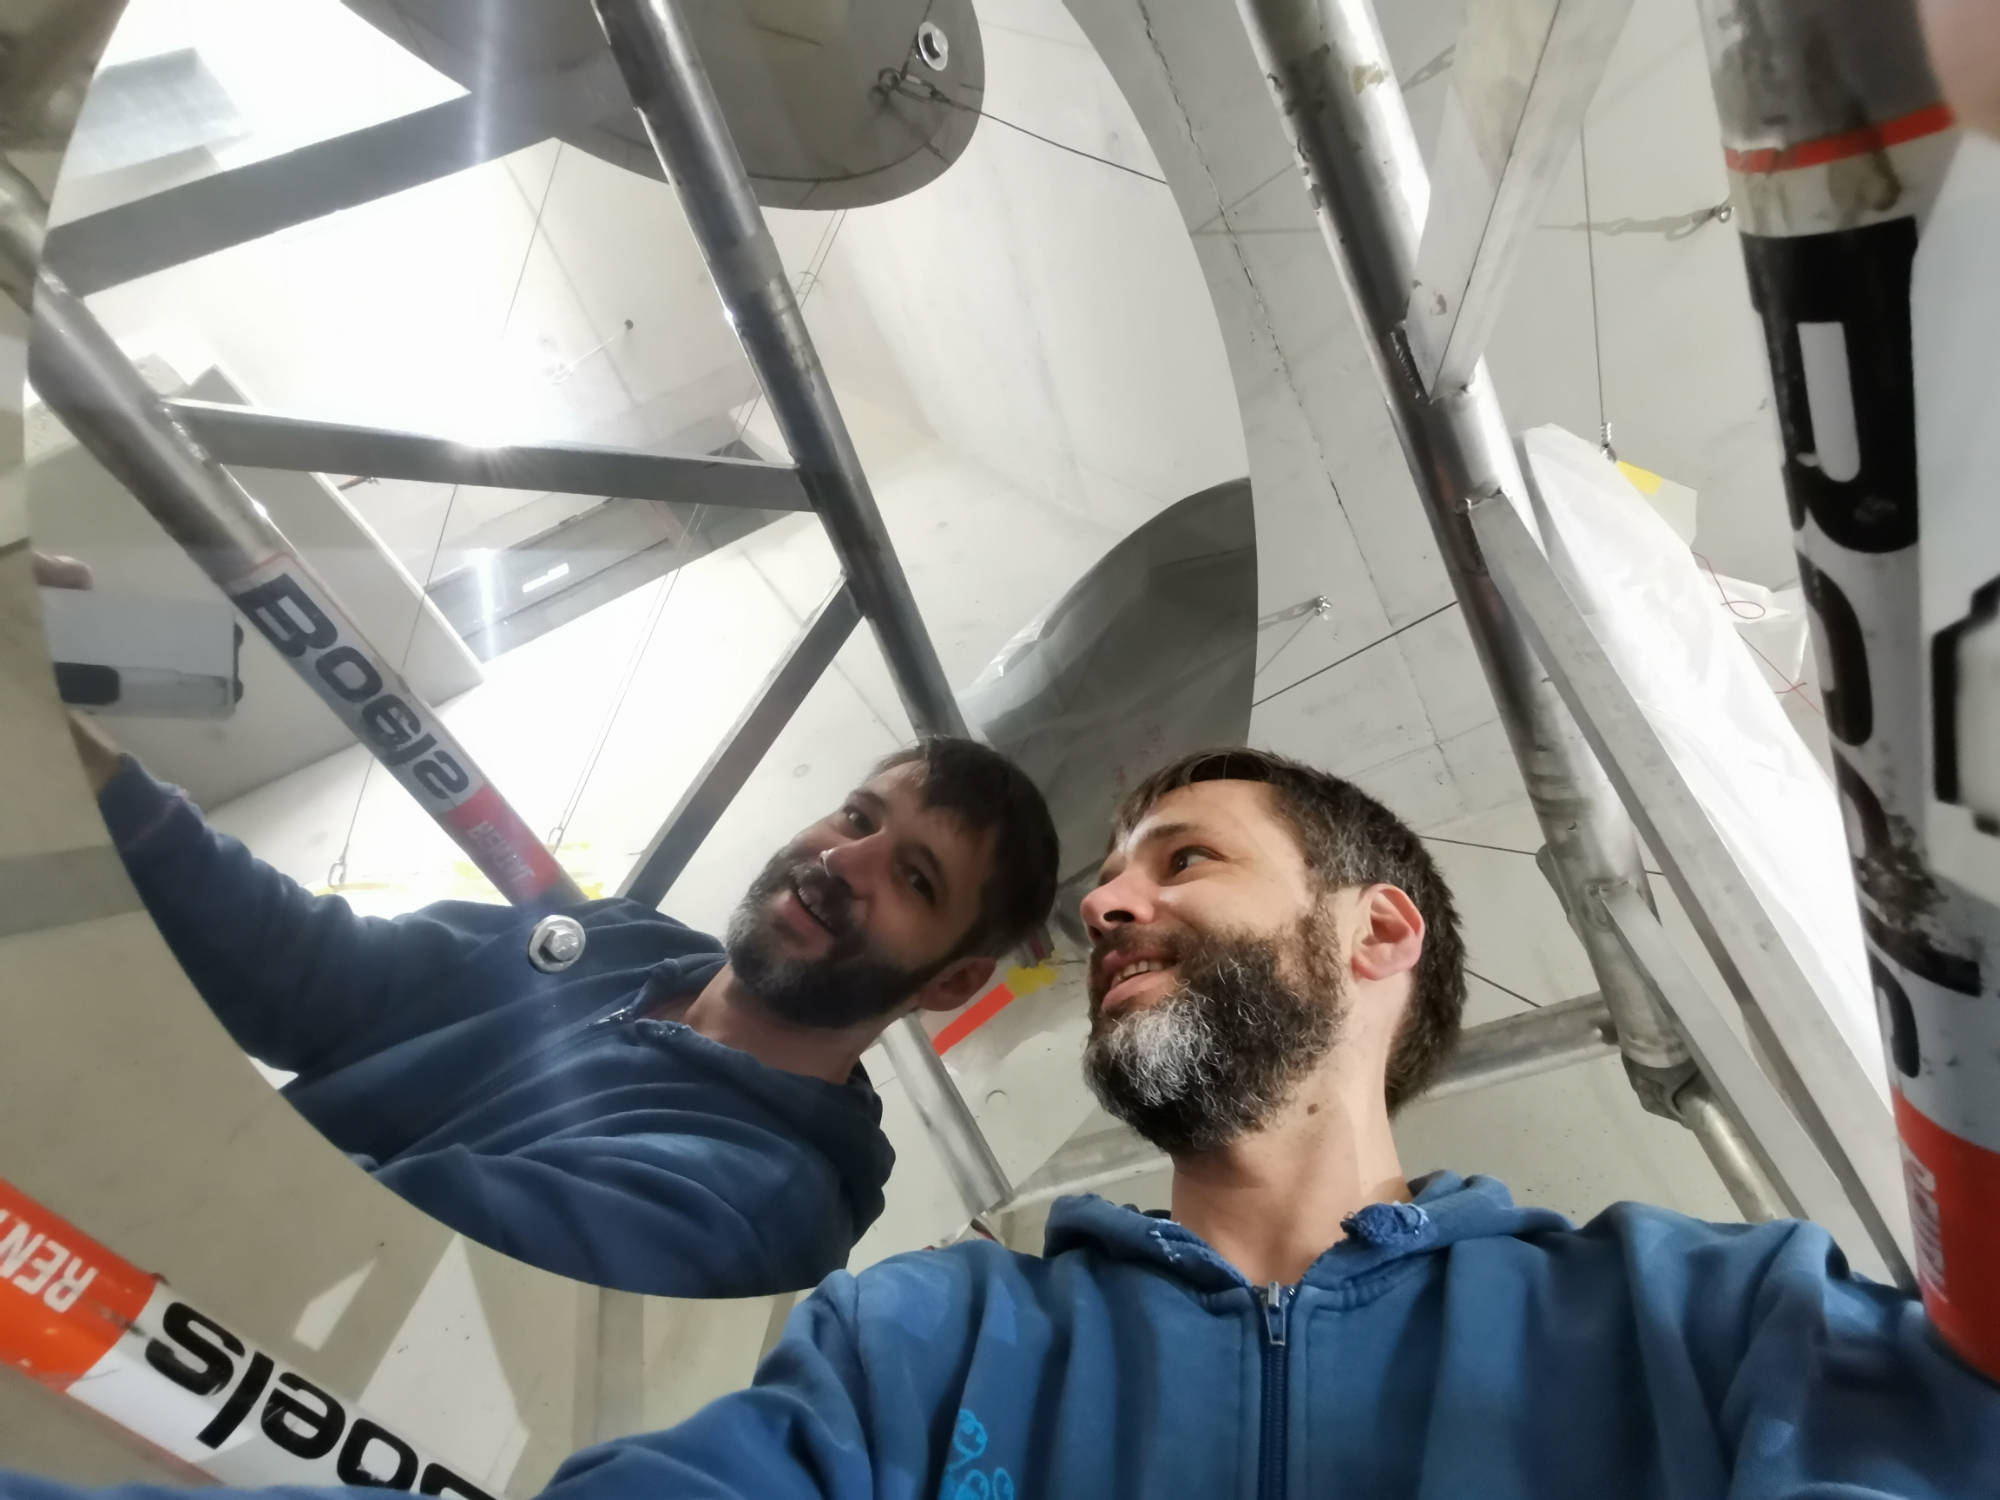
Hanging the mirrors
With all parts precisely produced, the actual installation of the mirrors was relatively simple. The 3D plan of the ceiling provided the exact coordinates for the anchors with one corner of the staircase being the origin of the coordinate system. A laser distance meter made it easy to find all the locations for the mounts, while standing high on the scaffolding. With the help of Philip Blank we just had to drill holes there, fix the anchors, hook up the cables and gently lift up the mirrors.
The moment when I first looked at all the hanging mirrors was very fulfilling. The virtual plan had become reality, and it worked! Every sheet of steel reflected exactly what it was supposed to show. At the first glance, the installation might look like a bunch of mirrors hanging in random positions, but when you look closer, the positioning of each mirror makes sense. You can see around corners, you can look outside, onto the trees and you can observe yourself, from a weird perspective.
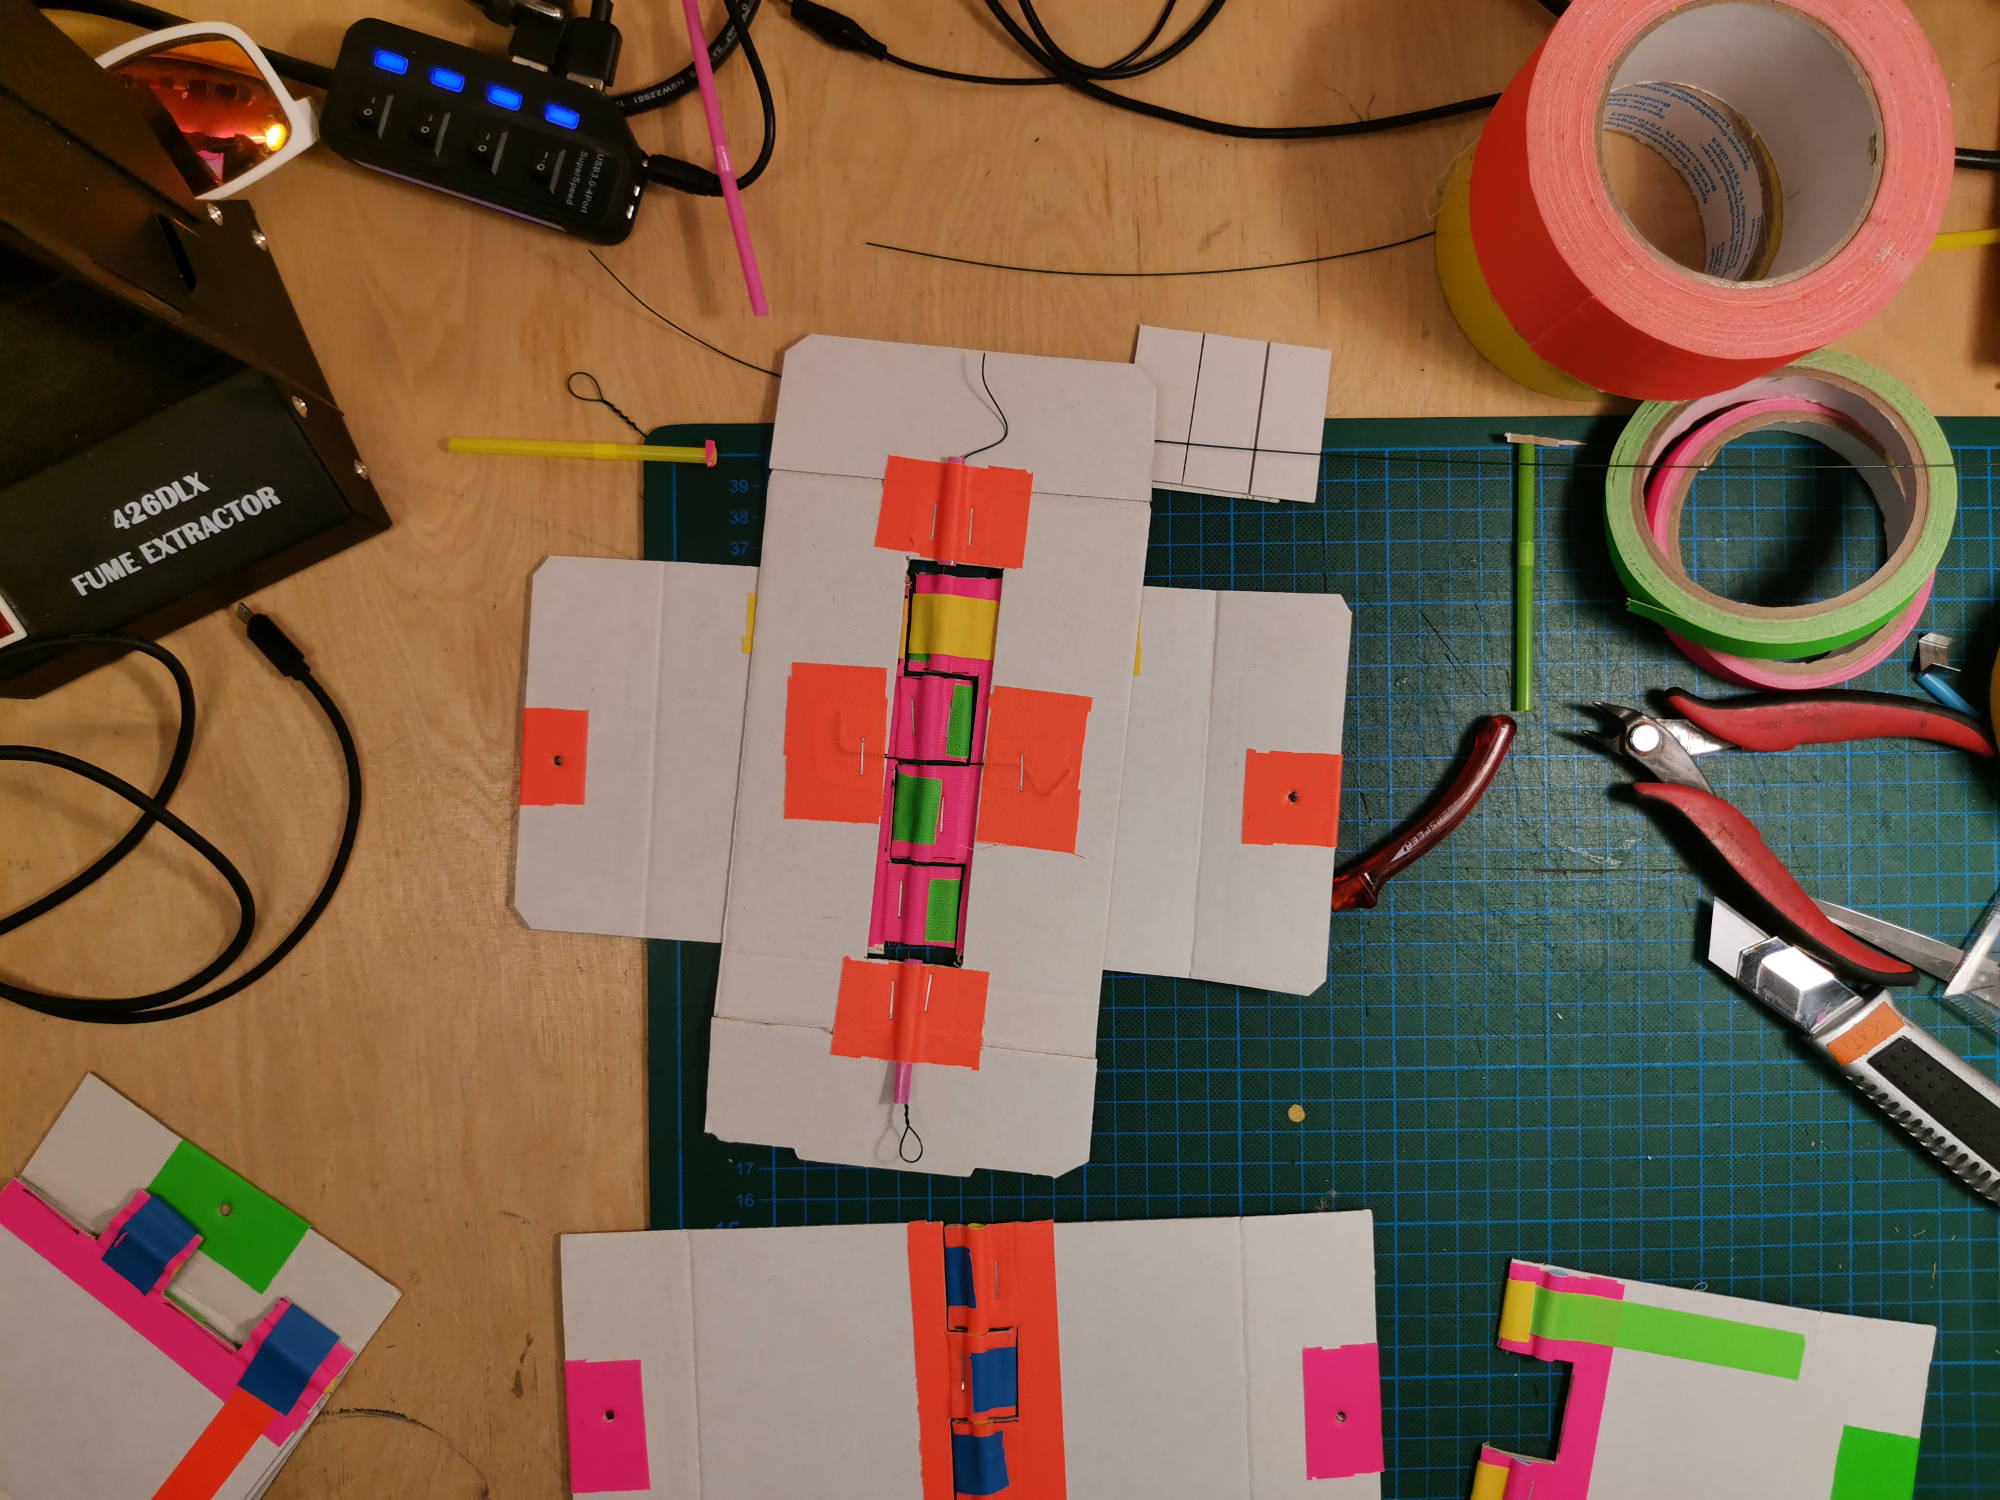
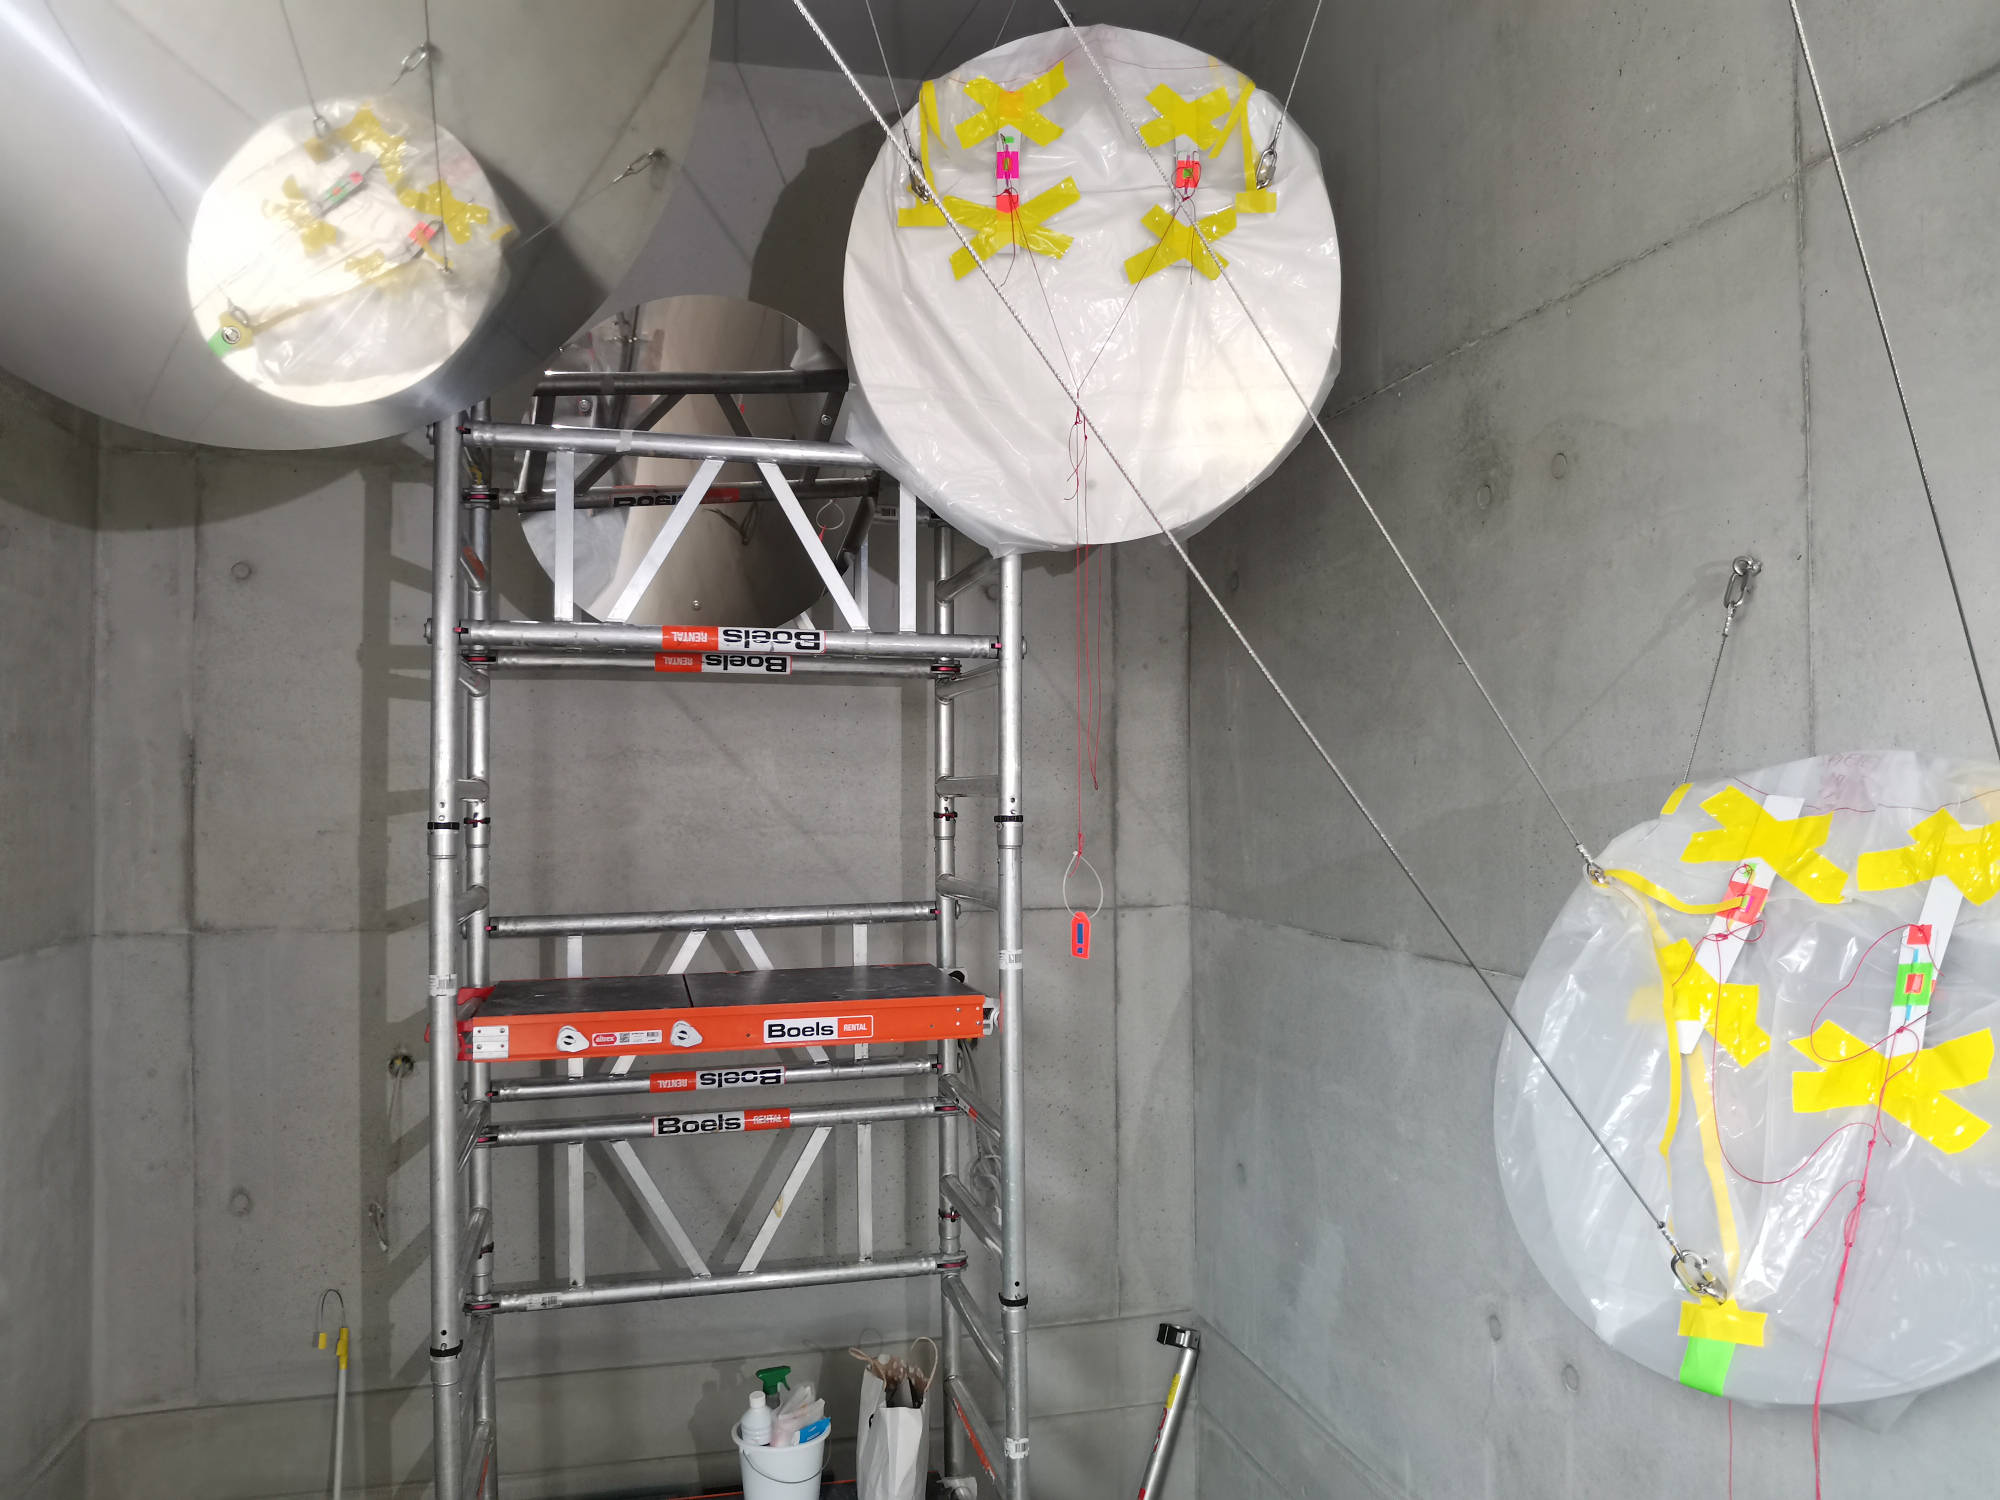
Protecting the mirrors
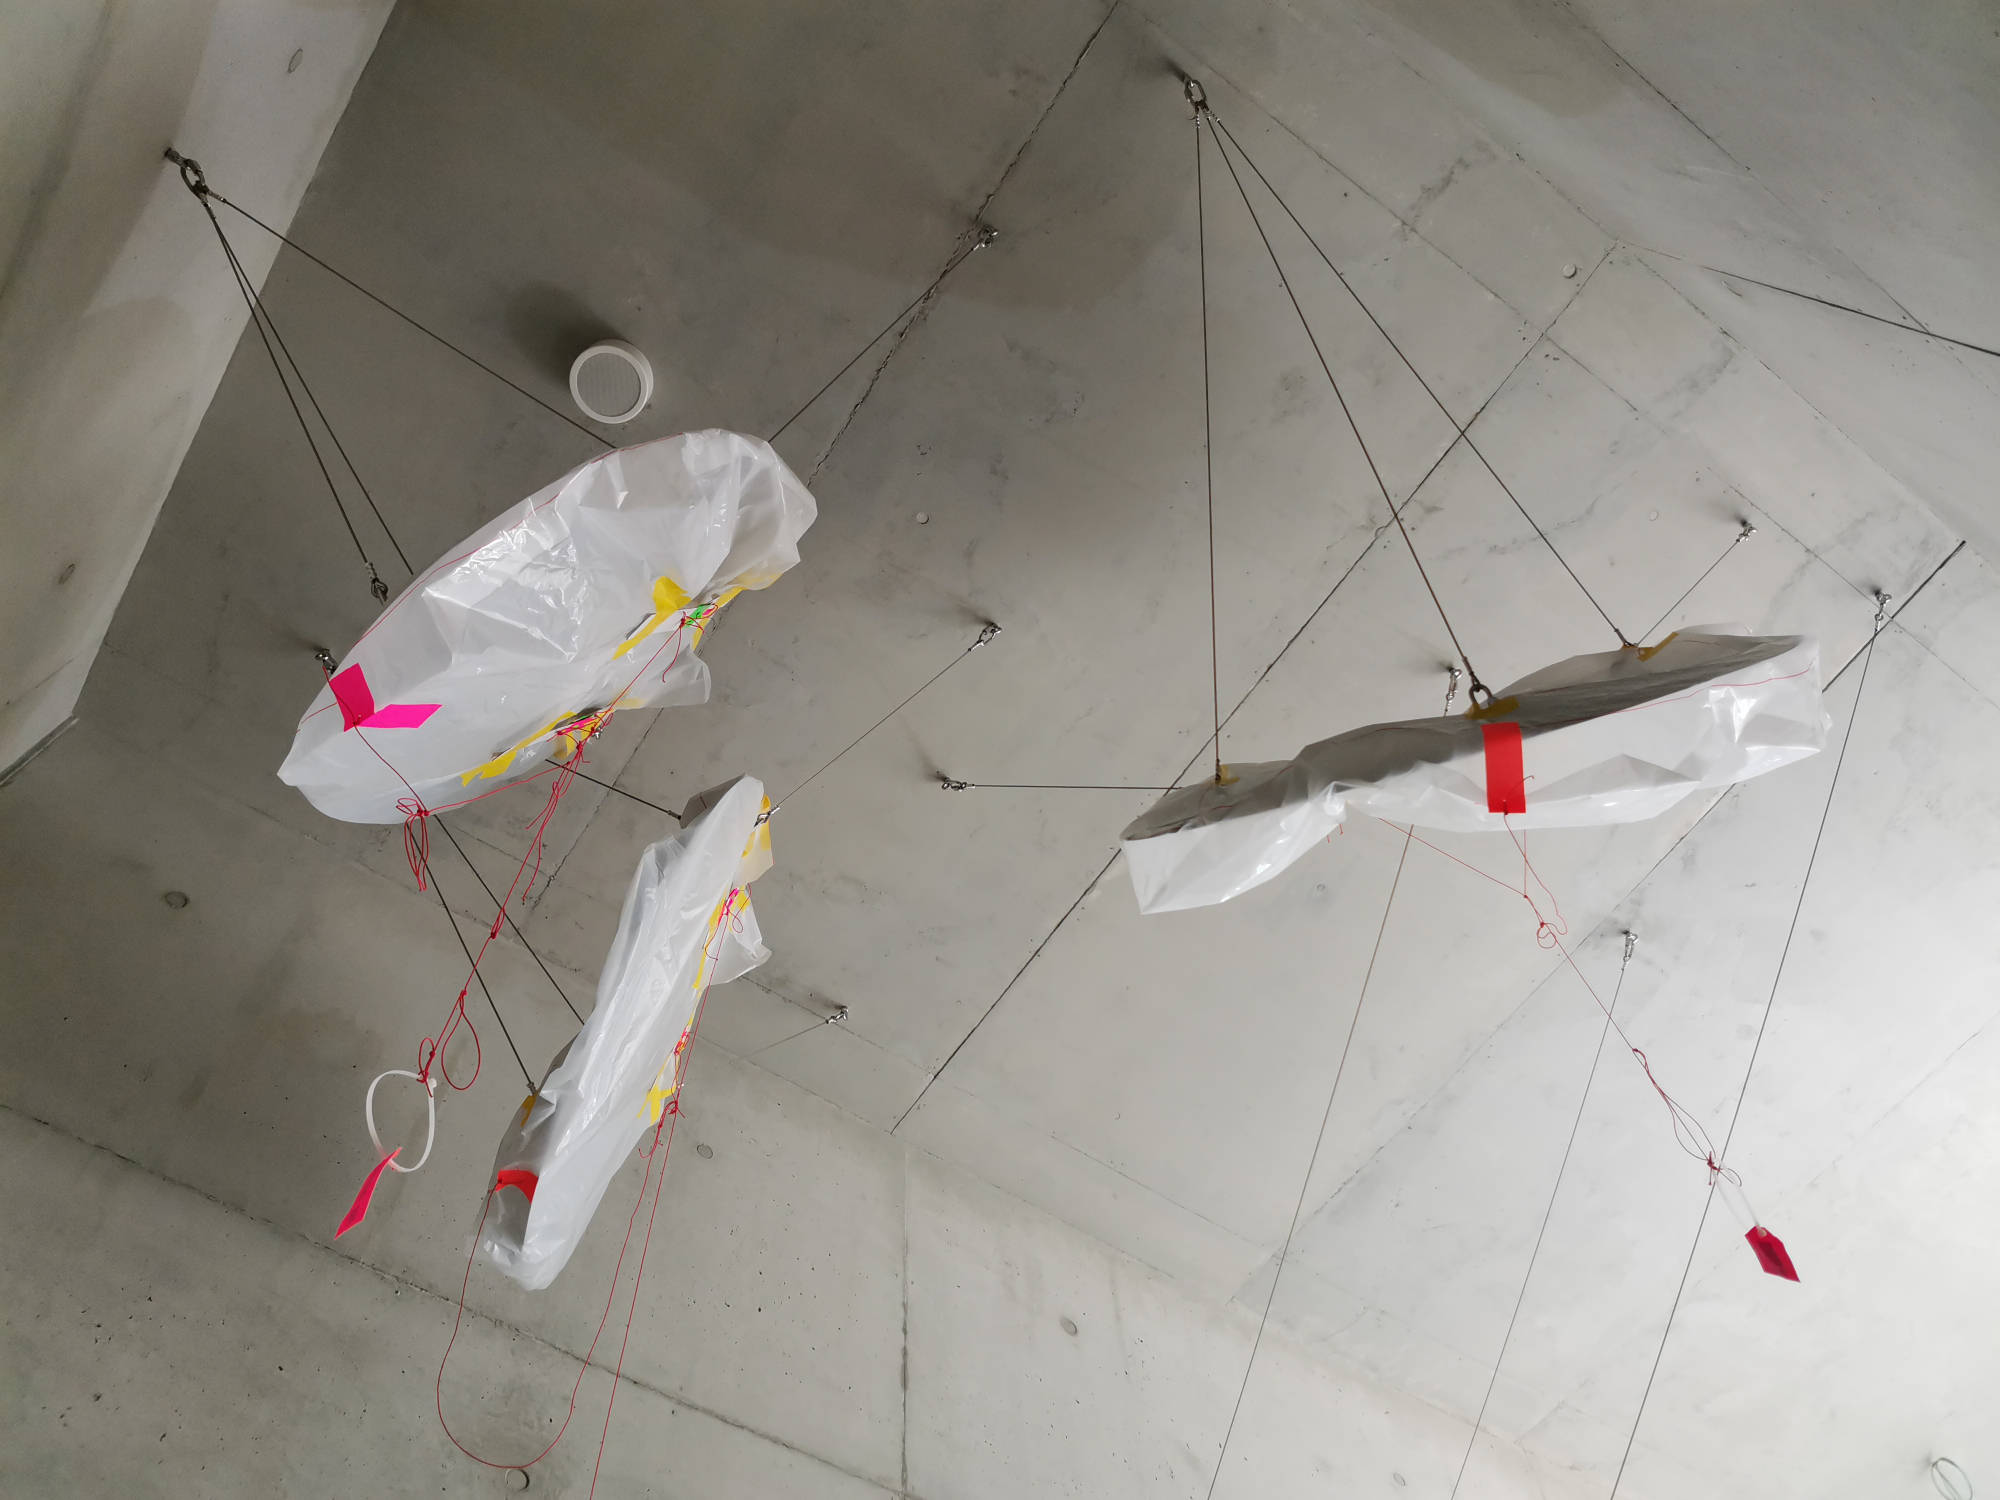
After installing the mirrors, the building was still not completely finished. To protect the steel sheets from the construction dust, I packed them all in plastic foil. However, I also did not want to rent the scaffolding again before the opening, just to unwrap the mirrors. Therefore, I came up with a latch system, made from cardboard, drinking straws, adhesive tape and wire which would close the wrapping. The latches could be easily pulled down with a hook on a long stick and the entire plastic protection would drop down.
Unfortunately I don't have a spectacular video of the unwrapping, as the construction authorities pulled the latches before the opening without informing me. Hmmm. Not cool.
Cool was a recent visit to the school, though. I returned there in order to shoot the video of the installation and the kids were quite curious about what I was doing, so I explained everything to them. It turned out that they did not only already investigate the different perspectives, they also really liked the look of the installation. That was nice to hear!
Pulling on a zip‑tie loop marked with “!” drops the entire wrapping.

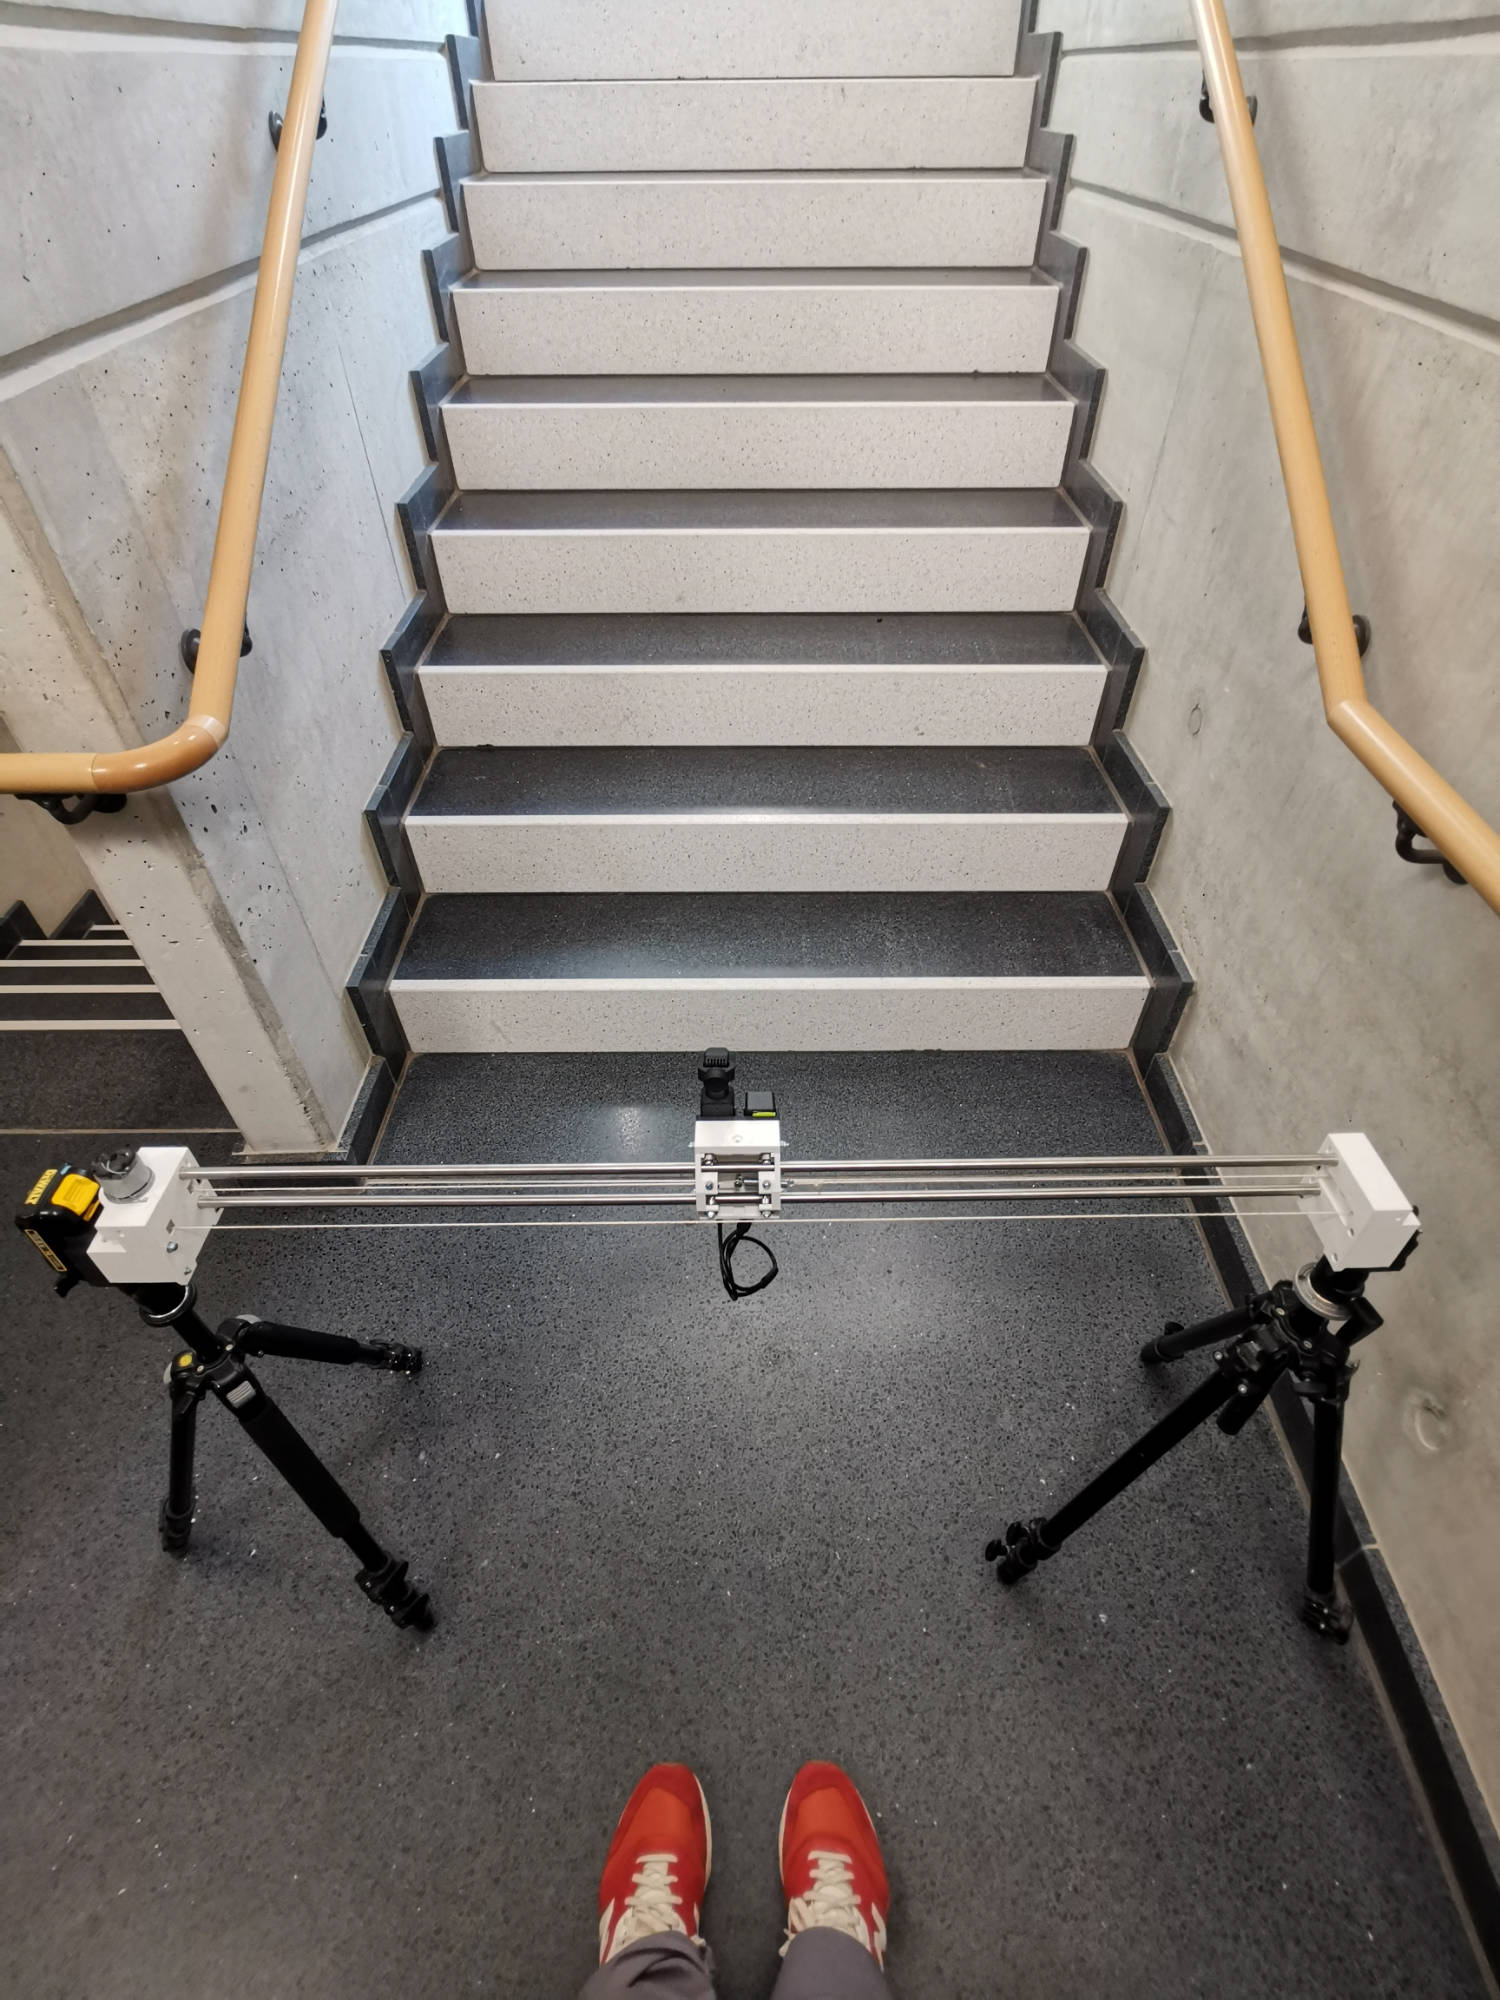
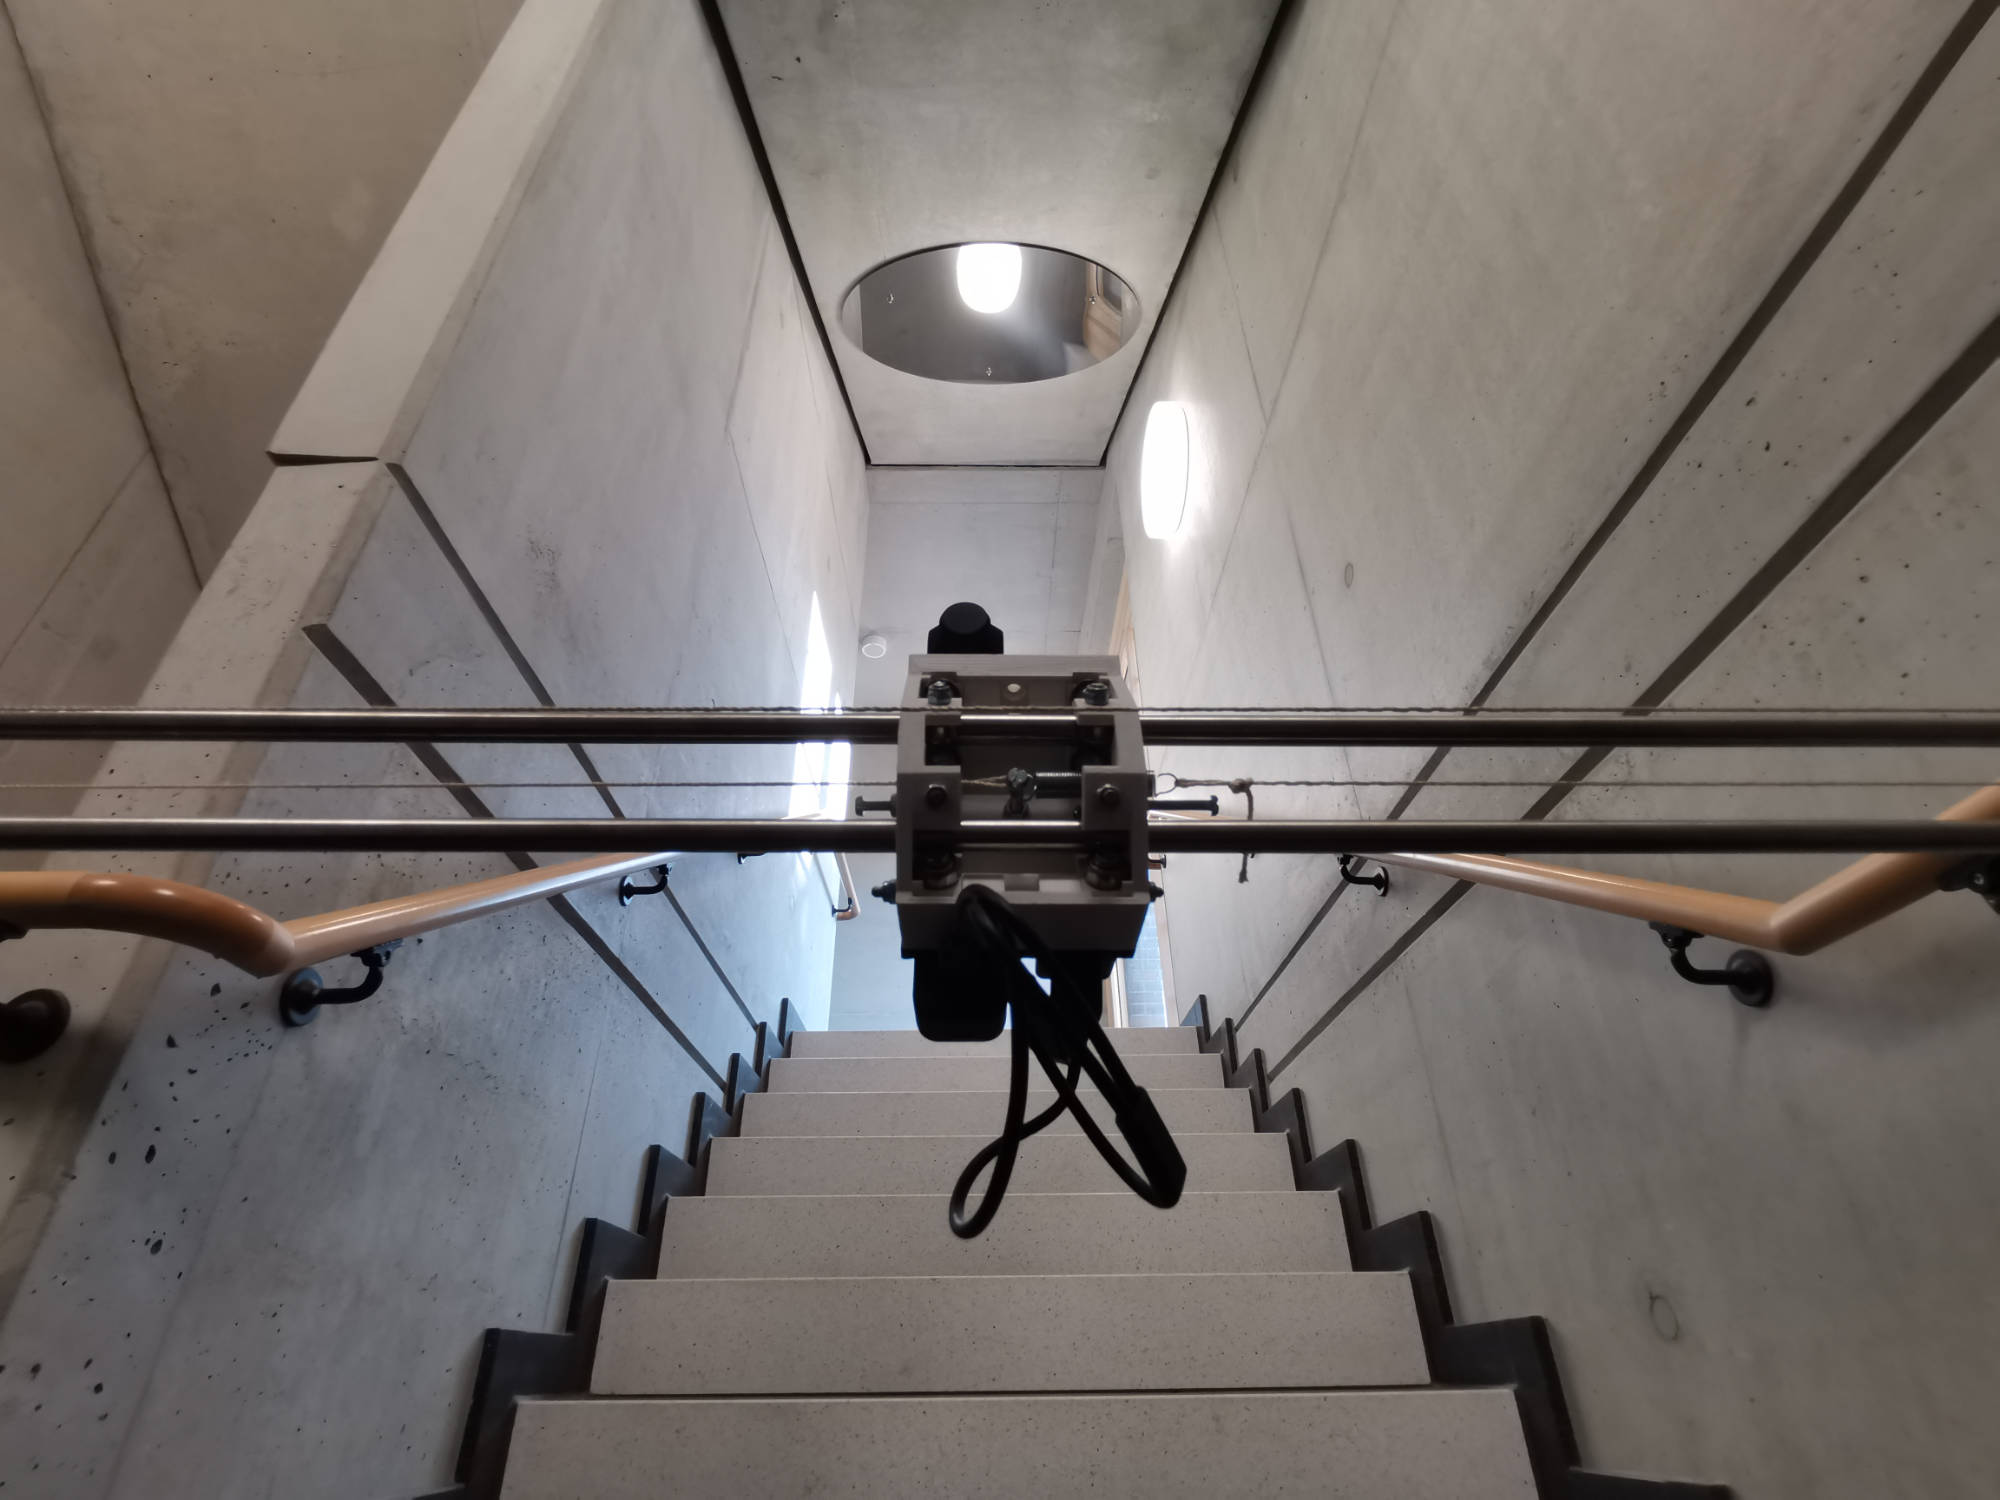
Filming the installation with a DJI pocket and a 3D printed DIY camera slider.
Thanks
Thanks to my friends at Basics09 and Handsiebdruckerei Kreuzberg for helping me with the production of the competition poster!
Links & Credits
Additional resources
- Video in high quality on archive.org
- Zip archive with all photos in high resolution
- Processing sketch for calculating the force of weights hanging on ropes in different angles