Micromarble etc.

Smartwatch Apps
This document covers a couple of programs which I wrote for the card10 badge. If you have no clue what the card10 is, you can just read on, as I'll explain that right in the beginning. In case you know the card10 already, you can also jump directly to the documentation of the different programs:
Background
In Summer 2019, I visited the Chaos Communication Camp, a wonderful international hacker gathering, which happens every four years in the nature around Berlin.
At large hacker events like this, you will see people wearing elaborately designed printed circuit boards as badges around their necks. These badges might come in unusual shapes and they are often decorated with colorful blinking LEDs. You’ll find many examples when you search for the hashtag #badgelife, or you can enjoy this short documentary.
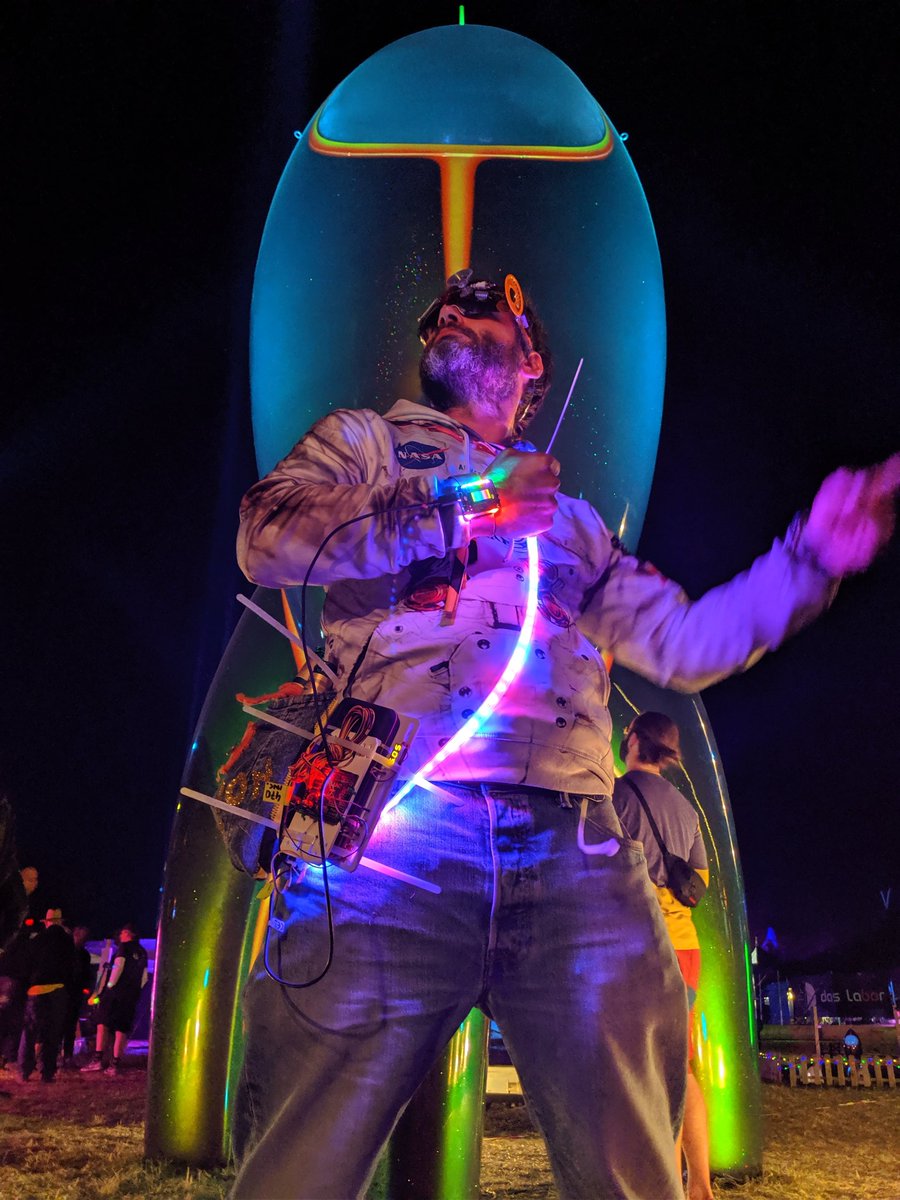
While many of those badges don’t have any useful functionality, the official badge of the Chaos Communication Camp was different. It was named “card10” and it consisted of a stack of two small rectangular circuit boards, with a tiny display on top of it and a few LEDs above. The badge came with a wristband, so it could be worn like a very geeky watch. With a couple of components exposed, it was a bit thrilling to wear it without additional protection, though. That’s why I designed a 3D printable case for it - a project about which I wrote here.
Card10 hardware
Card10’s shape appears kind of boring compared to badgelife standards, but its built in hardware is super interesting. The tiny device is basically a little computer, built around a dual core ARM processor. The CPU is connected with a lot of sensors, like an accelerometer, a gyroscope, a magnetometer, temperature, air pressure, humidity and an ambient light sensor. On top of that all, there's also a professional grade electrocardiogram chip plus a pulse sensor, hence its name. Furthermore, the device has Bluetooth Low Energy connectivity, a small vibration motor, four buttons (which are a bit tedious to use, as they are so small), the aforementioned LEDs and the display. It's basically open hardware for a smart watch.
Programming the card10
The developers of the badge built a sophisticated firmware, which makes the CPU run a real-time operating system on one core and a MicroPython interpreter on the other. This makes it easy to write own programs for the badge in Python and to share them with other card10 owners on an app-store-like platform, the “Hatchery”. I found that quite inspiring and used this as a reason to get into Python, a programming language that interested me already for a long time.
Like a total n00b, I began with modifying code from others. That works easy with Python, as the source codes are always available. My script-kiddie-style approach lead to creations like the “G-watch”, a gesture controlled watch app or “Gravitris”, a gravity based Tetris where I replaced the button interface in a code written by @jhartung10 with an accelerometer interface. After that, I felt that I understood enough to write my own programs from scratch.
Micromarble
I didn't really have much of a plan in my head, when I began working my first card10 app. However, I started with writing a simple 2D game engine, because I think that programming a game is always a joyful way to learn a new programming language.
Step by step, I wrote down what I wanted to see on the screen. At the beginning I made a little map of colored squares, then I added a rectangle to represent the player. During my work on Gravitris, I found that the orientation sensor makes a really nice input interface for the card10, so I stuck with it and made the player move by tilting and turning the device.
Next step was interaction! For that I was experimenting with collision detection, so that the player would not just scroll over the background, but could also behave differently, based on its location on the play field. The most simple way of detecting a collision of two objects is, if you know that they will only touch in one point, because then you only have to check this single point. That made me think of a sphere, which is placed on a flat surface. The sphere would always touch the ground at at the bottom below its center, so finding out if it’s rolling on ground or falling from an edge is super easy. The concept for Micromarble was born.
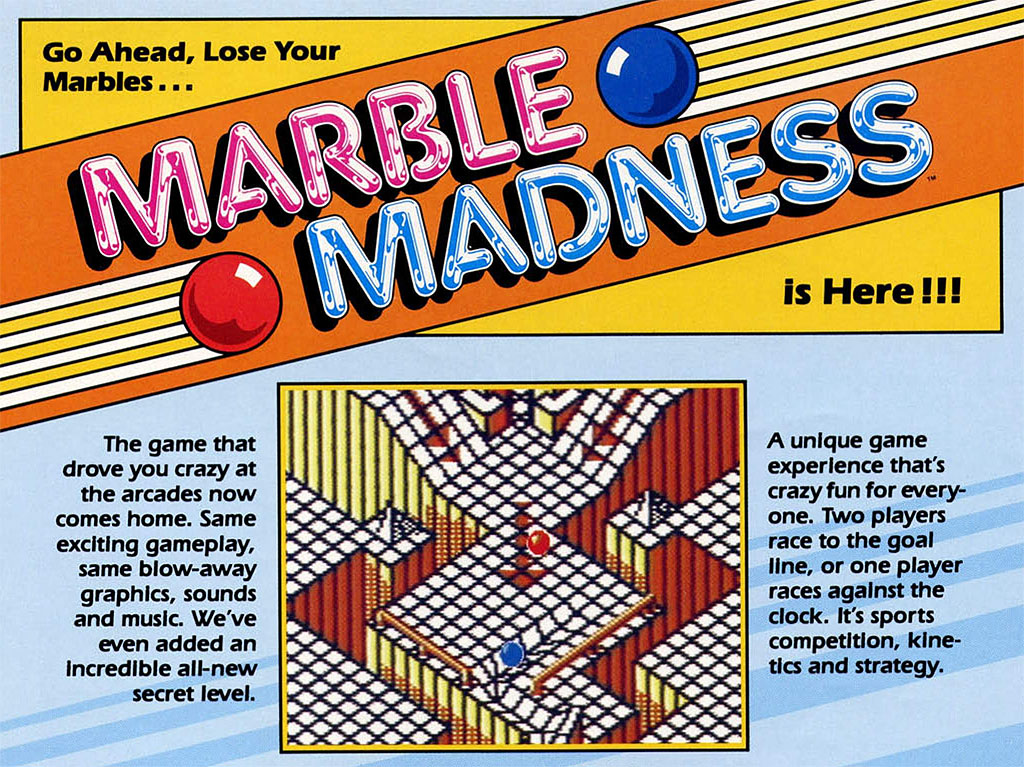
When I thought of a marble game, I immediately remembered the classic Marble Madness (Atari Games, 1984) but also BRIO’s wooden Labyrinth game, where the player has to steer a small steel ball through a wodden maze by operating two rotary knobs. When I was young, I played both of those games extensively. Micromarble certainly became inspired by those two, I’d even say it’s a remix of both games.
The aim of Micromarble is to safely steer a tiny ball through a little virtual marble run, which is comprised of colored tiles that seem to float in the void. During the first levels, the main challenge is to avoid falling off from the tiled surface and to make it to the goal in time. In later levels, the game becomes harder, when tiles with special functionalities are introduced: Boosters give the marble a strong kick, automatic dropping tiles fall down, once the marble has touched and left them, teleporters are magically moving the player from one location to another and power pills provide extra time. The card10’s built-in vibration motor accompanies all the action on the screen with a subtle tactile feedback. This creates an astonishing effect: It really feels like there would live a little marble inside the card10.
I also programmed a level editor for the game. In case you have a card10 in your drawer and you want to design your own Micromarble play fields – please go for it!
All in all, I enjoyed it a lot to program this little game. I think it turned out to be very beautiful and it was a nice way to get started with Python. However, since I’m not much of a casual gamer and as I had my fair share of playing Micromarble anyway while I was working on it – at least for me this won’t be card10’s killer app. In order to regularly wear the card10 on my wrist, I needed more useful software for it, which brings me to the next app that I wrote.
Download Micromarble from my server
Micromarble in the Hatchery
Download Micromarble Level Editor
Control Center
Regarding the card10’s small form factor and since it comes already with a wristband, using it as some kind of smart watch seems to be the obvious use case. But when you have a computer program running 24/7 on your wrist and if this program has also access to interesting sensor data, then it’s tempting to make use of that data as well. I am not really interested in surveilling my physical activities as a fitness tracker would do, but I’m interested in environmental data. This is how the idea for the Control Center was born.
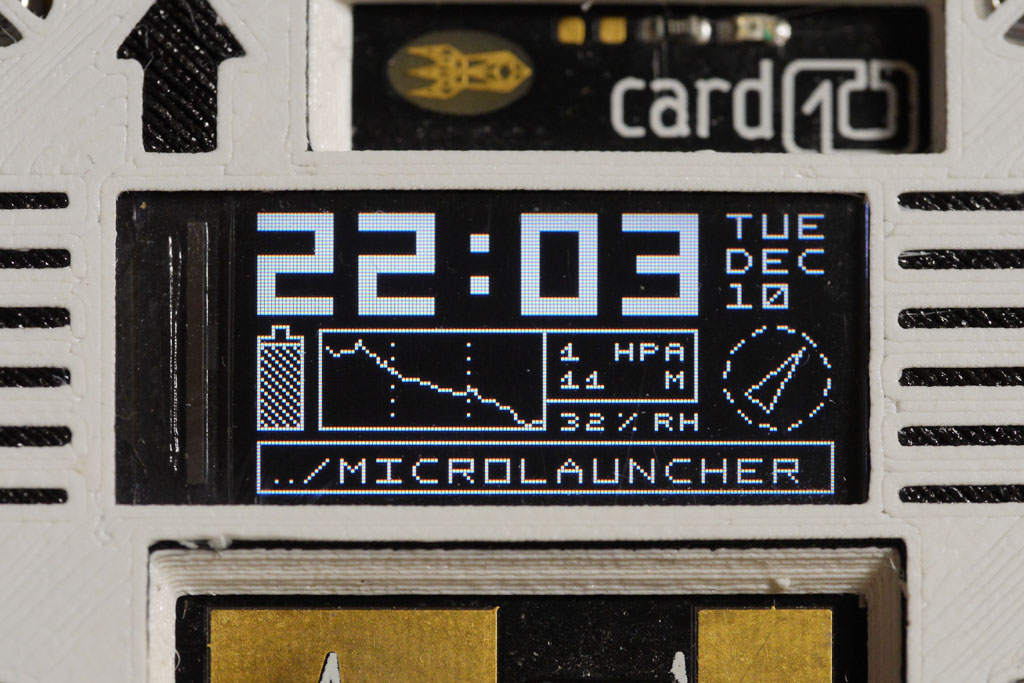
On its main screen, the app displays time, date, battery charge, weather information, a compass and a little launcher to start other apps. You can select each of those items with a button interface and open a more detailed screen with more data or functionality. E.g. if you select the time, a screen is opened where you can set time, date and an alarm. If you select the date, a little infinite calendar is shown and if you select the battery, the app displays everything about the battery charge and power consumption of the device.
Let’s have a closer look at the weather info. The built-in environmental sensor BME680 provides a stream of really interesting data. It measures humidity, air pressure, temperature and air quality. Not all of that is supported perfectly in card10’s current firmware (Leek 2019-10-19), but this might become better in the future. As of now, the barometer and hygrometer values seem to make sense. I decided to visualize their changes over time, as a falling or rising barometer gives an indication of how the weather is developing. Therefore, the app is constantly logging air pressure and humidity and the logs over the last three hours are drawn as graphs on the display.
Each item can be selected in order to access more in‑depth info
Another interesting sensor is the BHI160. It is an orientation sensor that fuses the data of accelerometers and magnetometers in order to calculate a virtual gyroscope. I’m quite bad at orienting myself and having a compass permanently at hand is actually really useful for me. The compass that the virtual gyroscope provides is quite fantastic, as it does not just rely on the geomagnetic field – instead it combines information on the magnetic field with IMU data. The result is a virtual compass, which is pointing to the north pole more reliably than a magnetic compass would.
Of course not all of card10’s potential functionalities are covered with the Control Center, so I thought it would be nice if I could access more specialized apps directly from the Control Center’s main screen. This is where the microlauncher at the bottom of the display comes in. It is a small menu that let’s you start all other apps which are installed on the system directly.
Download Control Center from my server
Control Center in the Hatchery
Magnetometer
One of those more specialized apps is the dedicated magnetometer app which I wrote next. When I was programming the compass function of the Control Center, I was impressed how well the magnetometer / accelerometer sensor fusion works. One thing that the virtual compass doesn’t do though, is to align itself to any magnetic field, which is exerted, e.g. by a magnet close to the card10. In a way, the virtual compass is better, as it understands when it is distracted by a magnet and it still tries to point to the earth’s north pole. But there might be some situations, where you actually want to investigate a magnetic field. For that, the virtual gyro is useless.
However, there is direct access to the magnetometer data and this little app visualizes that data neatly. It draws a virtual 3D magnet on the screen, which orients itself in all three axis to an exerted magnetic field. On top of that, the raw sensor data is also displayed as bar graphs for x-, y- and z-direction.
Download Magnetometer from my server
Magnetometer in the Hatchery
Tiny Typer
Since the little wrist mounted computer has plenty of memory, I thought that it would be also nice to use it for taking notes. That was the basic idea for the Tiny Typer. It's a small text editor, that automatically saves everything that you write with it, so you can read it later again. Once more, I went for a gyroscope based tilt and turn interface, as I thought that this would be the fastest and most comfortable way to select letters, numbers and special characters.
Just writing is a bit boring, though, when you can actually also do something with the written texts. Therefore I gave the app some more functionality: It has a light painting feature, which prints out the last line of the written text column by column on the LED bar above the display. If you wave your arm and take a long exposure photo in a dark environment, the text becomes readable again. This works especially well in darker environments, like hacker spaces.
Another feature of Tiny Typer is to send out text as Morse code via the built in LED’s. Maybe there aren’t too many people who can read Morse code, but of course, card10 can. Via its ambient light sensor, Tiny Typer can receive Morse code messages and turn them back into text. The Morse code interpreter even supports the latest morse sign, introduced in 2004, which is · − − · − · for the '@' character. This means it’s possible to send and receive email addresses!
For the moment the implementation has a slight problem, though: It doesn’t work over distances which are longer than a couple of centimeters. I guess the reason is, that the light sensor’s perception spectrum is quite narrow and doesn’t overlap much with the colors that the LED’s produce. But I still hope that I'll figure out how to improve this in the near future.
Links
- Card10 wiki
- Hatchery (the card10 “app-store”)
- Chaos Communication Camp
- Documentation of the Card10 cover generator